Advanced Lighting Tips That'll Help You Pull the Perfect Chroma Key
When working with green screen, lighting is everything. (Almost)
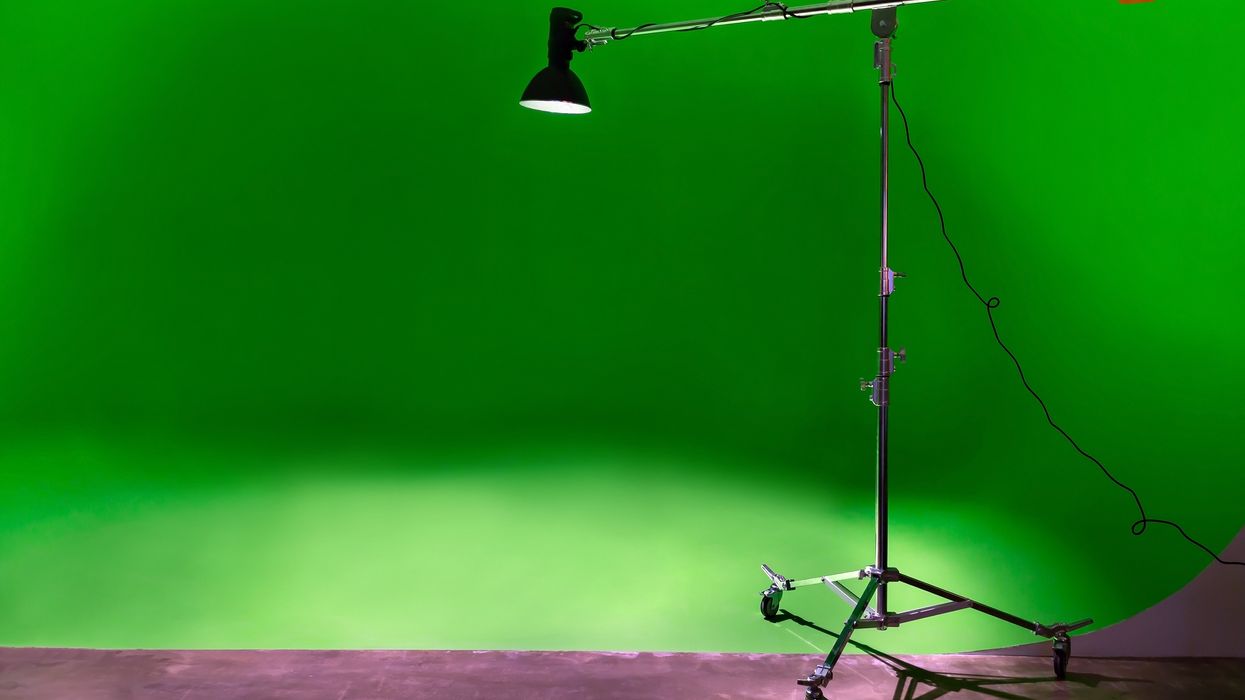
The basics of pulling off a good chroma key are pretty straightforward: light evenly, put some distance between your subject and the green screen, etc. But, how do you know if you're lighting your scene evenly? If you said, "Um, just look at it with your eyeballs, dummy," you might be in for a very frustrating, very expensive and time consuming surprise in post.
That's why this lighting tutorial from director/cinematographer Matthew Rosen is so helpful. In it, Rosen shows you how to use a waveform monitor to make sure that your chroma is balanced, how to expose correctly using color bars, and how to set your shutter speed to reduce motion blur. (Rosen says "shutter angle" which is essentially the same thing, only it's typically the term used when using film cameras -- or Blackmagic cameras.) Check it out below:
Remember to consider this before you start setting up your green screen: your needs are going to change depending on how large of an area you're trying to pull a key from. Rosen's area is pretty big -- considering the size most low-budget filmmakers and web series videomakers use -- and because of this, he had to use a lot of lighting to properly expose the screen and balance the light. Now, if you're going for the size of a medium shot to a close up, you're obviously not going to need as much lighting. If you're trying to get a wide shot or larger, you're going to need more.
If you're a professional who works in a large studio and has access to the lighting gear used by Rosen in the video, excellent! The video definitely gave you some tips that you can try out on your projects. However, if you don't have access to this type of equipment, you'll have to find some cheap and easy lighting workarounds, and we've got a ton of them here in our archives.
How do you light for a chroma key? What kinds of lights, materials, cameras, etc. work best, in your opinion, when working with green/blue screen? Share your tips in the comments below.
Source: Kinetek