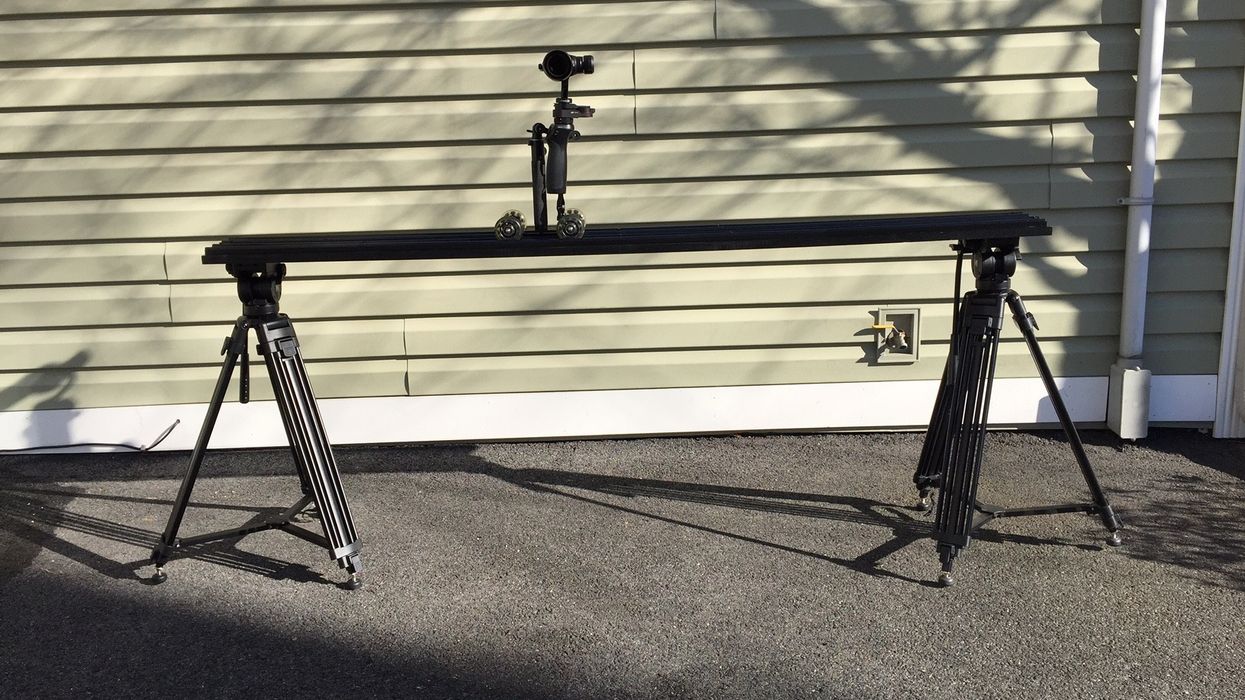
The DJI Osmo is a great gimbal that provides me with really steady shots, but sometimes there's no substitute for the stability of a slider. While working on a real estate shoot recently, I felt that I'd really love to have a six-foot slider that would enable me to get nice, cinematic shots outside without having to fly my drone 3 feet off the ground.
I did some searching to see what was available off the shelf and didn't find anything big enough that fit in my budget (The one 6' slider I found at B&H was over $2000), so I decided to see what I could come up with using my DJI Osmo mounted on a wheeled Pico Dolly. This is what I came up with, instructions below. I should mention that, while I created this and am using it with my Osmo, the Pico Dolly has a standard 1/4" 20 screw and was designed to mount DSLRs, so this slider should work fine with any smaller camera.
 Credit: Randall Esulto
Total cost of materials:
$130 and the project spanned two days (allowing for paint to dry in between coats)
Here's what you'll need:
- 1 Pico Dolly
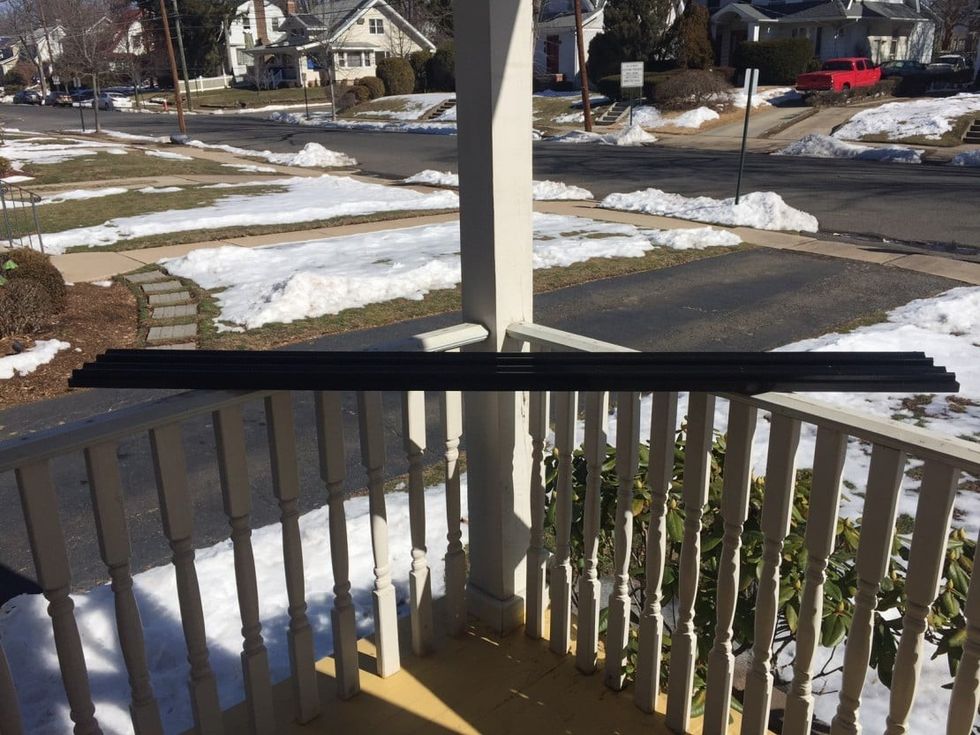
- 1 Smooth 8" x 6' wood board
- 4 pieces of chair rail moulding cut to 6'
- 20 #6 1-1/4" Wood Screws
- 18 #8 3/4" Wood Screws
- 1/4" Lock Washers
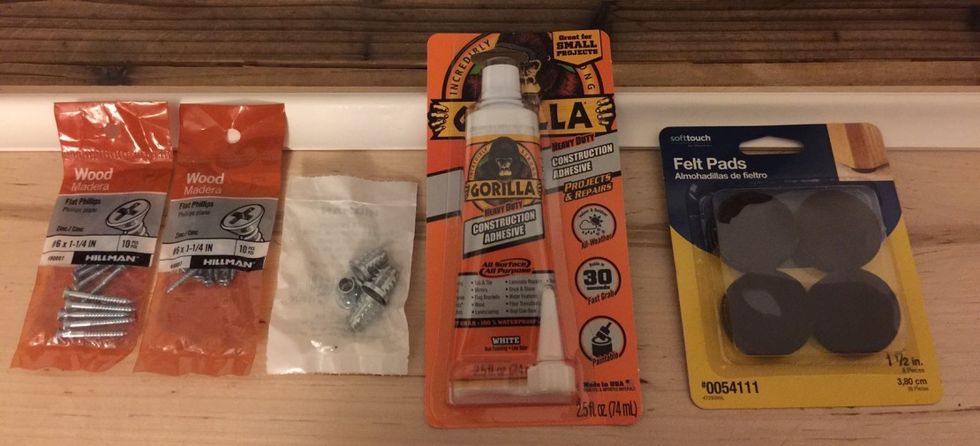
- Gorilla Wood Glue
- Black Gloss Spraypaint
- 4 Felt Pads (in case you want to put the slider on a wood surface that you don't want scratched)
- (2) Quick release plates for tripods (This is optional. My original design was to have 1/4" 20 threads counter sunk into the board and be able to use any stand/tripod with a 1/4" 20 screw. That didn't work out...see the "Lessons Learned" section for explanation)
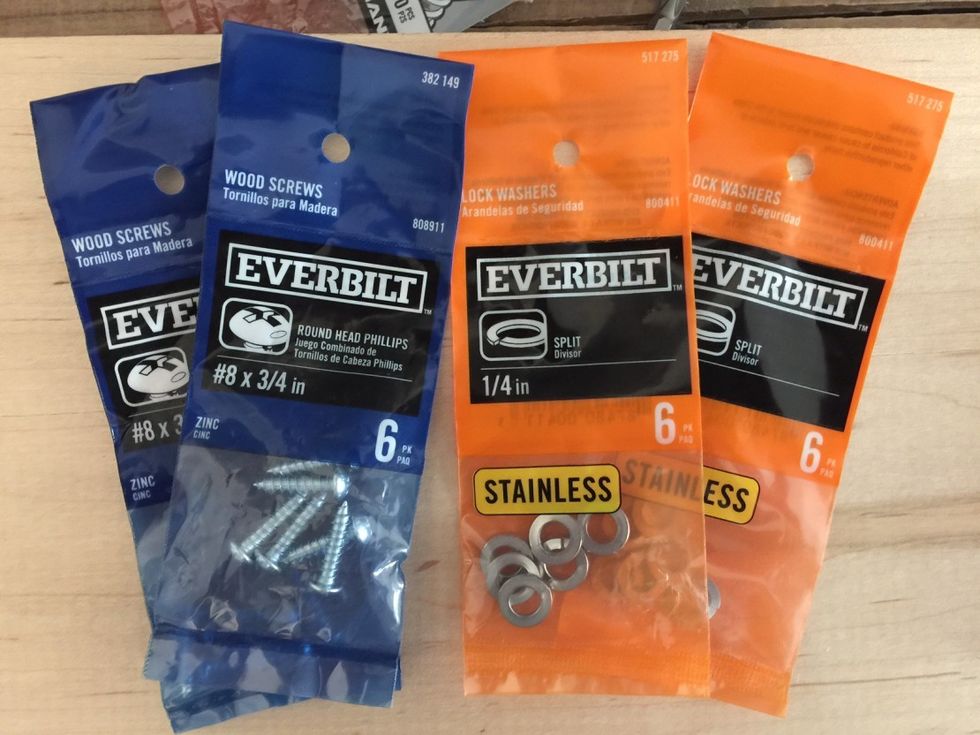 Screws and 1/4" Lock WashersCredit: Randall Esulto
 Hardware for DIY sliderCredit: Randall Esulto
Here's what you'll do:
1. Place marks at 1-3/4" in from each side on the 8" x 6' wood plank 2-1/2" in from the edges on both the long ends of the board. This is where you'll line up your outside rails.
2. Take one of the 6' pieces of chair rail moulding and line it up on the marks you've made. Then, drill pilot holes at the points where you'll screw the chair rail moulding to the board (Mine weren't very straight and so I had to put screws through them at the points where they were crooked in order to straighten them out.)
3. Squeeze a thin layer of the Gorilla Wood Glue onto the underside of the chair rail moulding and lay it down on the 6' board.
4. Drive your screws through the thickest part of the outside of the chair rail moulding and into the wood board to hold it in place
5. Repeat steps 2-4 for the other outer-most piece of chair rail moulding.
6. Now for the inner pieces of chair rail moulding. Take one piece and line it up edge-to-edge with one of the outer pieces so that when they face each other, their edges meet and they form a "U". This will make one of the tracks that your Pico Dolly wheels will sit in. Glue and screw this piece of chair rail moulding to the board the same way you did the outer pieces, then repeat for the last piece.
8. Give the entire thing 2 (or 3) coats of spray paint. (This is optional, but it looks much more pro than leaving the materials raw.)
 Apply 2-3 Coats of Glossy Black Spray PaintCredit: Photo by Randall Esulto
9. Remove the screws from your quick release plates.
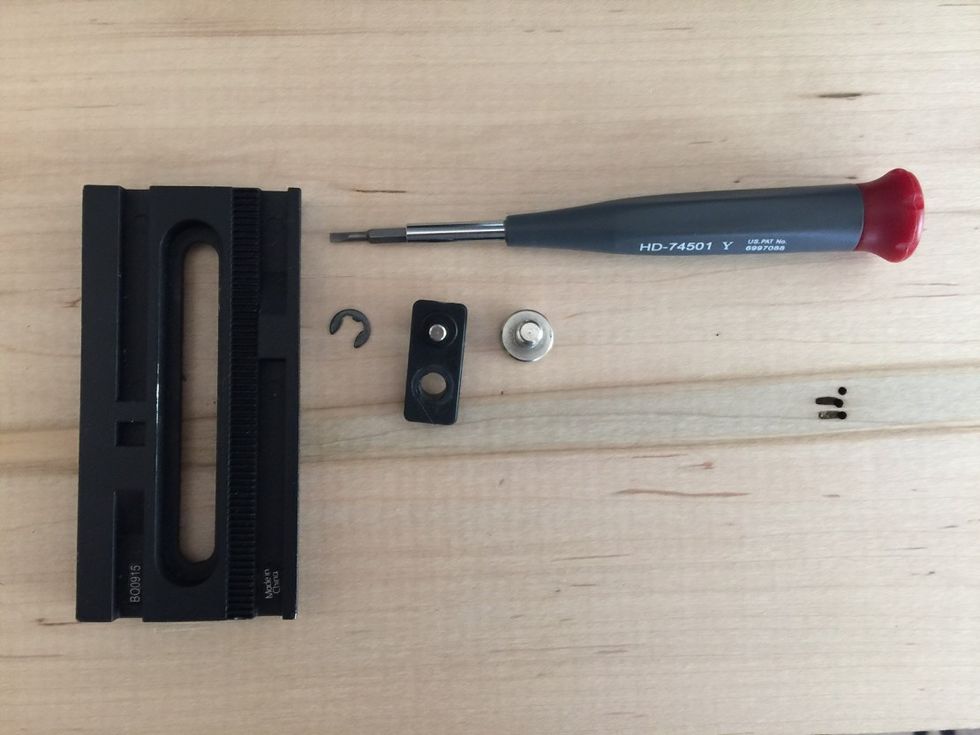 Screw removed from tripod quick release plateCredit: Photo by Randall Esulto
10. Once dry, turn the board over and decide where you want your quick release plates to attach. I mounted mine 5" in from each end, centered on the board (lengthwise works best because then you can mount them on your tripods in such a way that the tripod head can tilt and create a diagonal slide if you set one tripod up higher than the other). Use the 1/4" lock washers with the wood screws for a secure fit. After drilling the pilot holes, I dipped the wood screws in the Gorilla Wood Glue before screwing the plates to the board to keep the screws from vibrating loose over time.
11. Glue on the felt pads. (optional)
12. Mount your camera on the Pico Dolly and test! I had my challenges (see below), but I'm very happy with the way the slider performed, like in this sample clip:
Lessons Learned:
1. Initially, I wanted to drill three holes in the board and then put in 1/4" 20 wood insert lock nuts to let me attach any stand with 1/4" 20 screws to the bottom. Unfortunately, the board split (almost completely) lengthwise when I went to hammer the first one in. So, I had to sacrifice my two quick release plates for my tripods (and order replacements at B&H for $20). One acted as a splint holding the two fractured sides together with some of the Gorilla Wood Glue in between.
2. Had I not fractured the board, I could have mounted my tripod quick-release plates lengthwise (to allow for the tripod heads to tilt and allow for diagonal slides. I didn't do this on mine, because I needed to mount the quick release plates across that crack to hold the board together).
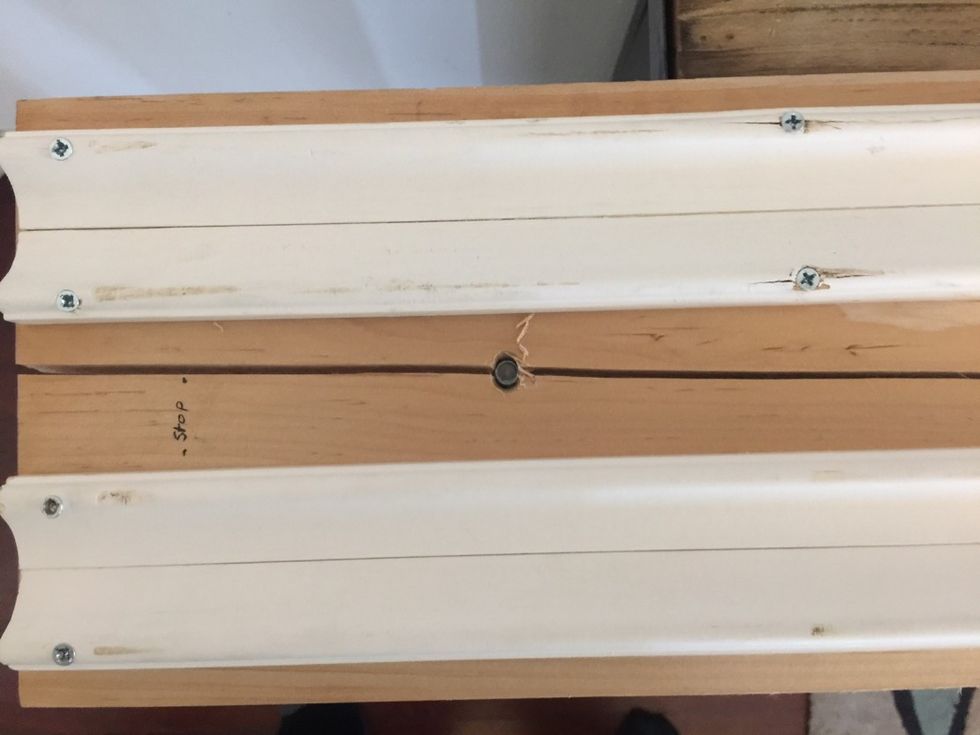 The board (with the 4 pieces of chair moulding already attached) split length-wise when I attempted to hammer in the insert lock nuts.Credit: Randall Esulto