We have traveled along the Eastern Sierras on Highway 395 many times. It’s the scenic route that we take for jobs in LA from our base in Northern California—a fairly empty landscape surrounded by high desert wilderness, several stretches of which have limited cell service and virtually no services at all.
This landscape has made for so many amazing videos and photos over the years, so when fellow DP Ryan Southwell and I wanted to tell a story about this area, we wondered what we could offer that hadn’t already been done. Our experiments led us to shooting a short in full-spectrum infrared. We are no experts in infrared filming; there are several others more versed in the nuances of this style, but we learned a lot along the way and wanted to share it here.
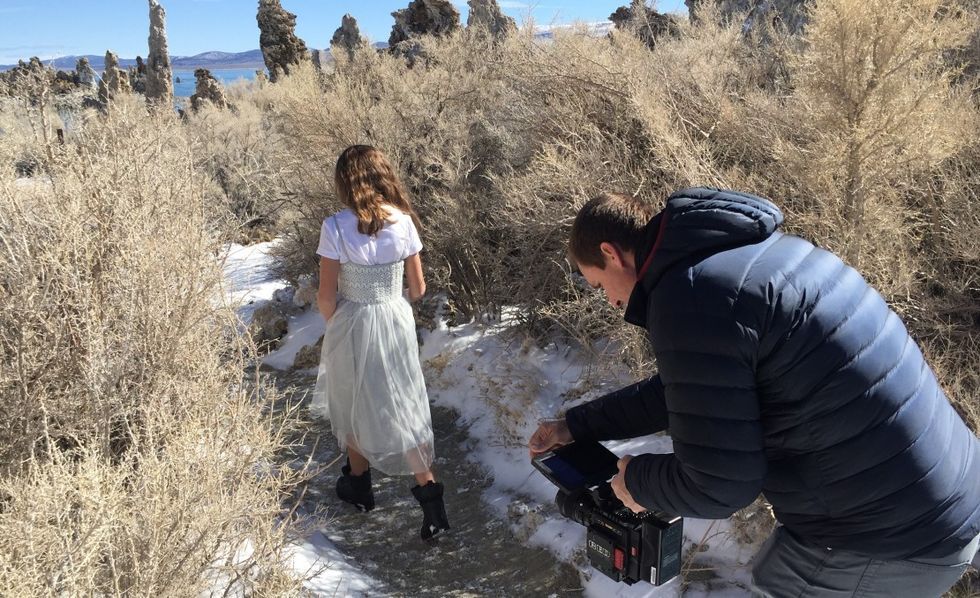
 Damon Chamberlain following Karissa with the Red Epic W on a Movi Pro from Freefly Systems.
Experimenting with optical low-pass filters
We had recently purchased RED’s Epic-W and knew that this camera came with great possibilities. Just Shooting in 8k alone with new Helium sensor would be amazing, but there had to be more. One of our favorite parts of the camera is the swappable OLPF (optical low pass filter) system. With the RED OLPFs comes the ability to work with low light, skin tone, underwater, and standard all offered for the purpose of preserving and capturing the overall color and detail of your specific scene.
As we started to explore the possibilities, we were very excited to find that are a few companies offering third party OLPFs. The one we were most interested in was a UK-based company called KIPPERTIE who offers an Infrared (IR) Spectrum and Full Spectrum IR OLPF, so we purchased both.
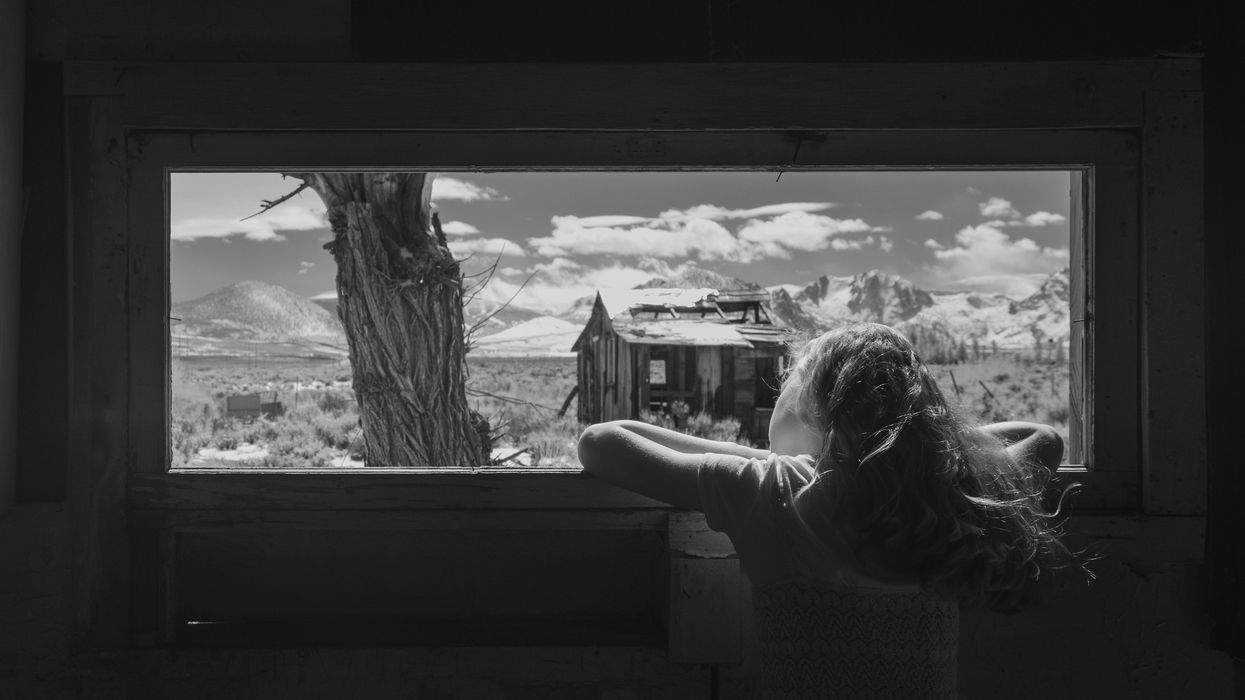
 Ryan Southwell filming Karissa through the window.
This was our first time attempting an IR project and using an OLPF specific to a project, so we honestly didn’t know what would work best. After a few tests, we found the Full Spectrum IR filter gave us an image a bit closer to a standard sensor, with IR properties. We chose the IR Spectrum OLPF, believing this would give us the look we wanted for the locations we had chosen.
Setting up the filter in the RED was simple and only took a few minutes. With the new DSMC2, we only needed to go into the settings and change the OLPF to third party. When turning on the camera for the first time, the image was pink. To fix that, we only had to go into the menu settings and turning RAW on, allowing us to see a cleaner image in black and white.
We watched as the images went flat, then came alive, then flat again, and so on as the clouds passed overhead.
Sunlight is the key
The next part of our process was learning how to approach shooting using the IR Filter, and what could we and couldn’t do. Right out of the gate, we learned that sunlight makes it all work. It would seem completely obvious, but it was a cloudy day during testing with occasional bits of sun. We watched as the images went flat, then came alive, then flat again, and so on as the clouds passed overhead.
It was also extremely obvious on anything green. Another note was the skies. During testing, we found that if the skies were a bit overcast or hazy, it left the image looking almost blown out or flat with very little detail. Very simply, the IR filter affects the image like this: blue skies, blue water, and darker objects go darker. Green colors, on the other hand, trend toward white So our recipe for the imagery became sunlight, blue skies with clouds, and greenery.
Our recipe for the imagery became sunlight, blue skies with clouds, and greenery.
Pre-pro for IR
Now that we had this initial testing out of the way, we did a bit more testing and scouting of a few areas in the Eastern Sierras. Mono Lake, the Inyo Forest, and Mammoth Lakes became our locations of choice The final piece of the puzzle was again determining exactly what we could do that was different—especially for a piece in IR.
We wanted to write something short and thought-provoking that featured a character experiencing this very empty, beautiful high desert wilderness for the first time. There was just one very big hurdle: we didn’t want the infrared light to make our talent’s skin translucent. What seemed to work best for us was keeping skin shaded wherever possible. Shooting backlit, or inside a structure, helped the skin maintain some color and tone. We also chose to place our subject in such a way as to minimize the noticeable infrared change to the skin, like shooting from the side or behind, so only some of the skin might show.
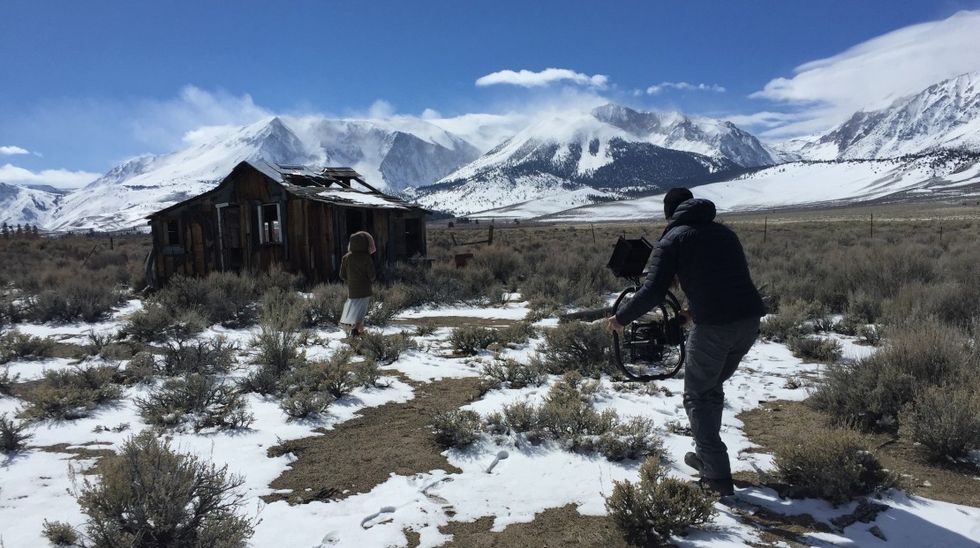
 Damon Chamberlain following Karissa with the Red Epic-W.
After we had a working script, locations, and our actress, we split the shoot into two days. We watched the weather forecasts to help predict which days looked best for filming, especially since we chose to shoot in February in the often unpredictable backcountry of the Sierras.
The gear & the shoot
When it came time to shoot, we used two RED Epic-Ws, one on sticks and a slider, and one on the new Movi-Pro and combined with the Alta 6. Lens choices were Canon 70-200, Sigma Art 18-35, Sigma Art 50, Canon 100macro, and a Global Dynamics United 24.
Our settings for the RED were 8K WS, with frame rates between 24 and 38fps. 38fps at 7:1 compression was the maximum we could do for the Epic-W without stepping down in resolution.
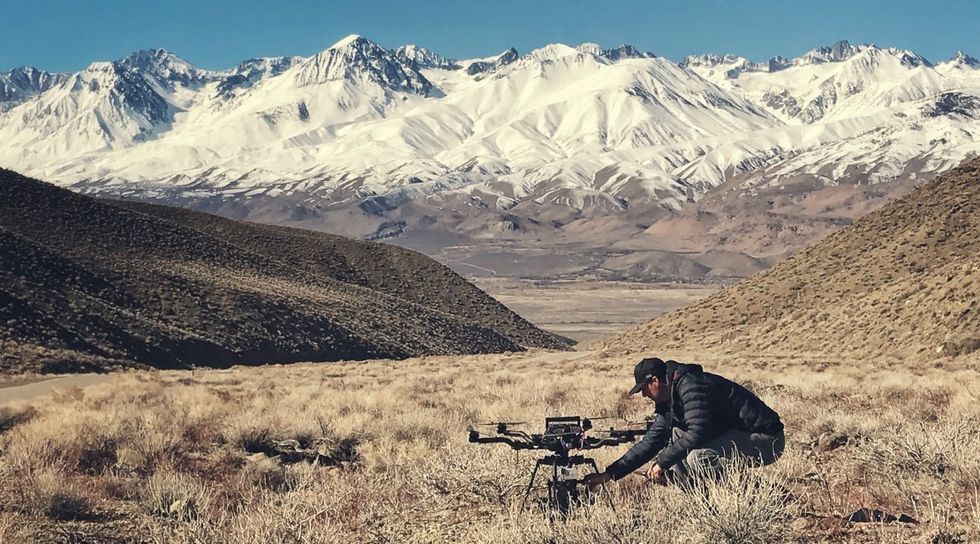 Damon preparing to shoot aerials with the Alta 6 Movi Pro and Red Epic W.
This happened on both days, making it a bit more difficult to get what we needed. We had to be patient and wait for the sun to come out. In the end, we were able to capture almost everything we wanted.
The dynamic range of the Helium sensor held so much information in the shadows and highlights, which really boosted the overall contrast.
Post-production & challenges
The final part of the process was editing the images. We used REDCine-X Pro for the look and Premiere Pro for the edit. Once in Cine-X Pro, we were able to see just how great the new Helium sensor is. The dynamic range held so much information in the shadows and highlights, which really boosted the overall contrast. Then, of course, the 8k just put an exclamation mark on the details in the image.
 Screenshot of an infrared clip before color correction.
This experience challenged us to think about things that we hadn’t previously considered as much. First: what are the perfect conditions for infrared filming? Second: because we chose the infrared, we had to make sure our subject matter or the object of our focus actually stepped into the light or, in some cases, stayed out of the light. Finally, we had to be patient and wait for the right ray of light to make the scene come alive.
The final results
Check out the final film, Undefined, below, and let us know what you think:
Frequent collaborators Damon Chamberlain and Ryan Southwell are both Directors of Photography, and are and involved in all things production at Frontside Films and Ryan Southwell Films, respectively.


