Three Quick Tips to Make Your After Effects Compositing Look Way Better
Making your compositing look naturalistic is not as easy as it seems, but these quick tips will help.
Compositing is all about making disparate visual elements work together in order to create a unified final image. It can be as simple as taking green or blue screen footage, keying it, and placing a new environment in the background, or as complex as layering elaborate 3D animations into previously-shot live action footage. However, no matter what kind of compositing you find yourself doing, the basics never change.
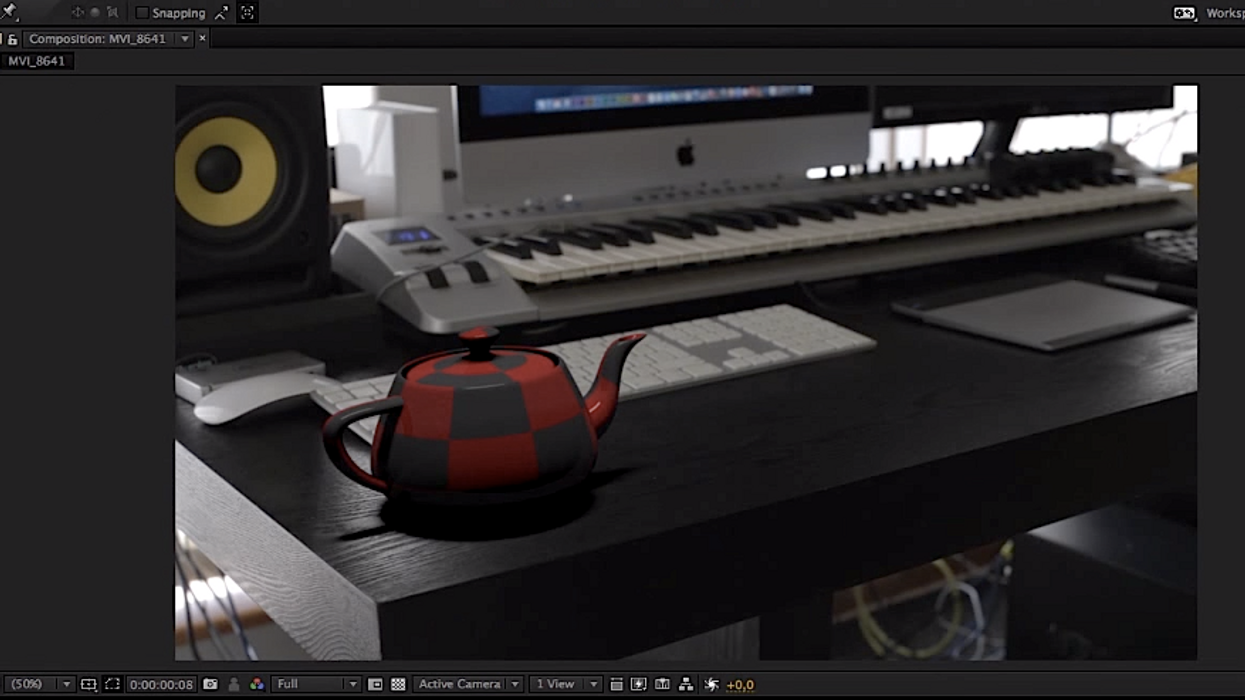
In a brief tutorial on his YouTube page, Ruan Lotter at TunnelVizion TV recently shared a few tips that will help beginning compositors seamlessly blend visual elements:
Although matching the saturation and sharpness cues of your visual elements is compositing 101, it's still one of the dead giveaways of composited green screen footage in amateur (and sometimes even professional) productions. However, as Ruan showed in the above tutorial, it's extremely quick and easy to match the saturation and sharpness of your CG element or keyed footage to that of the background. It literally takes about a minute to accomplish both of those tasks. What's even better is that you don't really need a fancy compositing program to do either because all it requires is simple color and blurring tools which are available in pretty much every NLE.
Ruan's other tip here is a fantastic, albeit extremely subtle one. By using After Effects' "Match Grain" effect, you can emulate the digital grain present in your background footage and apply it to all of your composited elements. It may seem superfluous unless you're a perfectionist, but since it's so quick to do, and because every little tweak can really help to sell the final effect, there's really no reason not to do this.
Source: TunnelVizion TV