Tutorial: Seamlessly Blending Live-Action & Timelapse for a Stunningly Surreal Effect
Motion timelapse is a surreal effect in and of itself. When you composite live-action footage atop said motion timelapse, the effect becomes indescribably beautiful. And the best part? It's pretty damn simple to accomplish.
Kyle Hart, founder of Rhino Camera Gear (who has a history of putting together awesome tutorials), recently shared another kickass tutorial with the world, this time showing how to create live-action timelapse composites in a few simple steps. Check it out:
There are several stringent requirements for making this technique work, at least if you want the post production process to be relatively simple. First and foremost, you need a motion control system (like the one that was just successfully Kickstarted by Rhino) that allows you to shoot both live action and timelapse clips at the exact same speed of movement. This is simple to set up, as it just requires that the slider move the same distance for both clips, and that both clips have the same final duration. The Rhino Motion system makes this absurdly simple (I've been testing it for the past few weeks, and programming moves is about as straightforward as it gets), but other motion control systems might require a little more deft calculation in order to make sure the final duration of your timelapse matches your live-action clip.
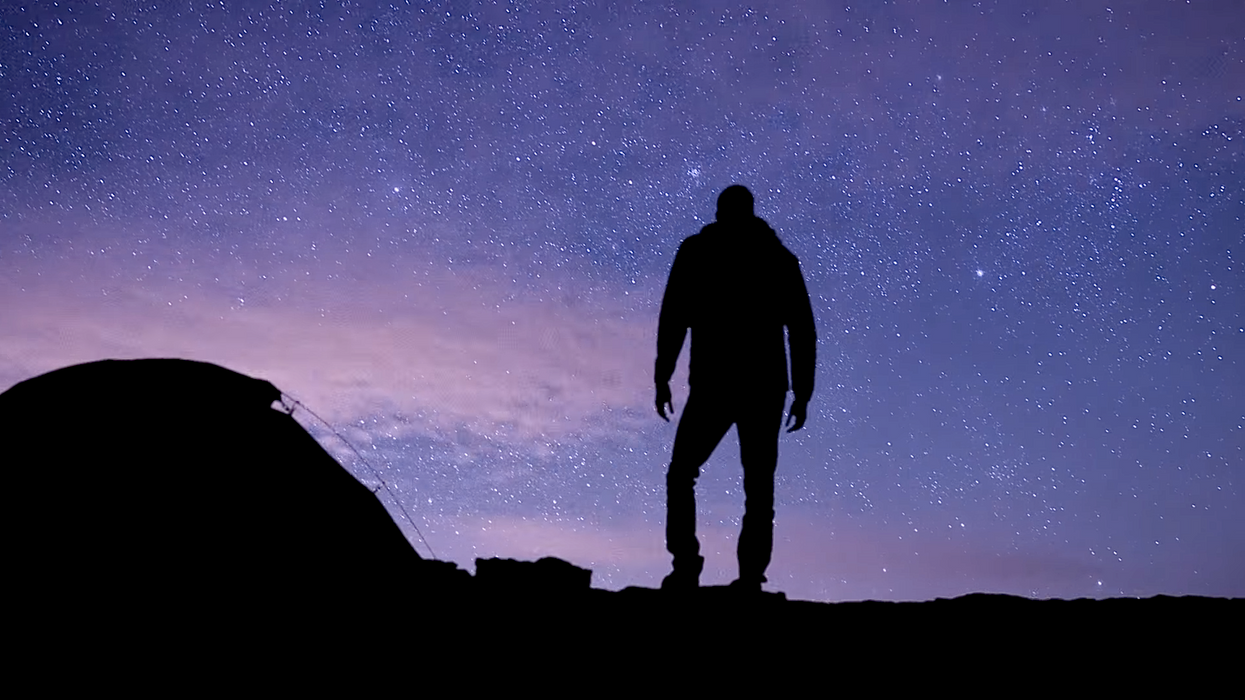
Secondly, since the compositing here is essentially based on keying out the sky in the live-action clip, the best results come when the subject (or subjects) in the live-action clip are shot as a silhouette. Kyle's ground rules for shooting proper silhouettes are to avoid shooting into the sun (flares will be a dead giveaway that something is amiss in the final composite) and that you avoid shooting against mountains, water, or other highly detailed backgrounds since they can be very difficult to key.
Once you've shot both your timelapse and live-action clip, the post production process is actually really simple. All you've got to is throw both clips into a timeline in your NLE (with the live-action shot on top), key the silhouette in the live-action clip, and then invert the matte so that it's actually the sky that ends up getting keyed out and not the silhouette. Outside of some color manipulation to make sure that you can pull as clean a key as possible, that's literally all there is to it. Sure, this effect might not have many practical uses outside of looking really damn cool, but for how simple it is to pull off, I'd say it's definitely something worth trying.
Be sure to check out Kyle's post on the Rhino blog for his exact Premiere Pro effect settings for pulling this off, as well as some additional information about the challenges of making this work seamlessly.
Source: Rhino Camera Gear