Premiere Editors, Here's What You Need to Know to Start Cutting with DaVinci Resolve 12
DaVinci Resolve is now a comprehensive non-linear editing system. And with powerful color features and a price tag of zero, it's more tempting than ever to jump ship from another NLE.
The unfortunate part of this situation — if you really want to call it unfortunate — is that Resolve isn't quite like any other NLE on the market, which means that editors looking to switch over aren't likely to have a seamless, painless transition. Resolve 12 differs from other NLEs on some pretty fundamental levels, including the way it handles media management, timeline trimming, rendering, and a few other essential editing tasks.
Luckily, Alex Jordan, who offers some of the best Resolve courses out there through his excellent site Learn Color Grading, recently put together a video in which he talks about the primary differences between the editing functionalities of Premiere Pro and DaVinci Resolve 12. Needless to say, after watching this, you'll be far more prepared to make the jump:
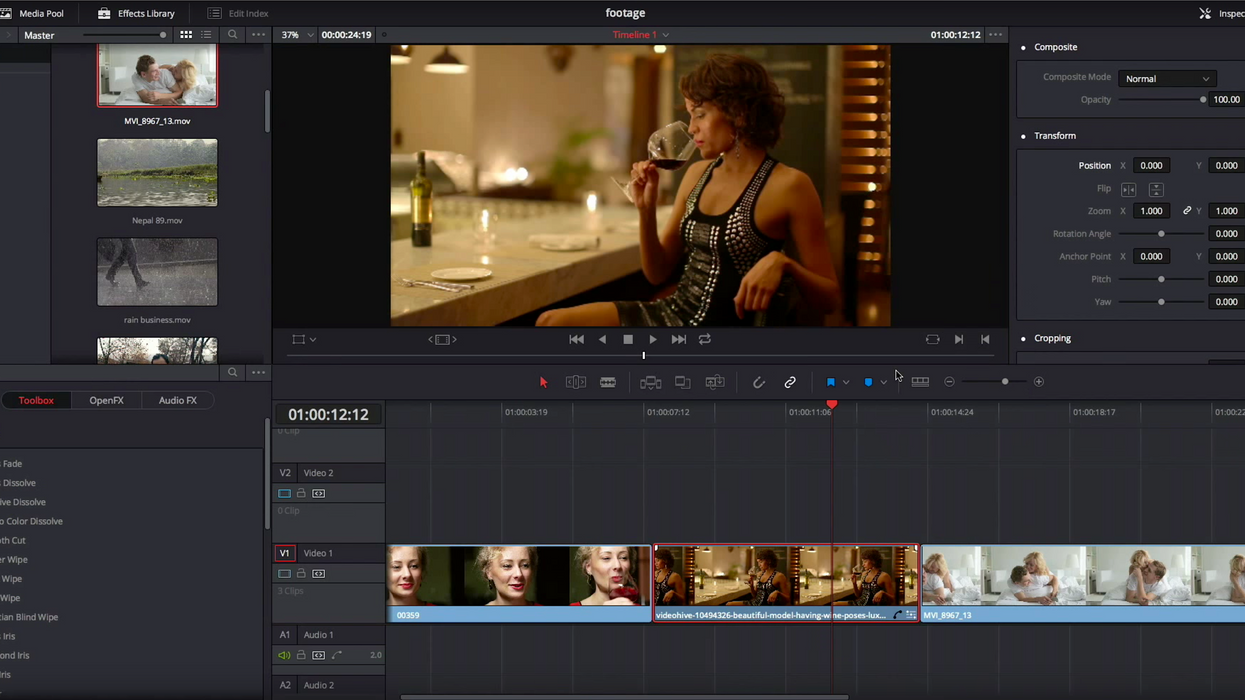
Perhaps the most significant difference between the two programs, and the one which seems most likely to throw Premiere editors off, is the way that Resolve handles trimming media in the timeline. Unlike Premiere, which uses an array of indiviual trimming tools (ripple, roll, slip, and slide), Resolve has trimming modes.
In the "normal" trim mode (enabled by the mouse pointer button above the timeline), the timeline acts just like you're used to with Premiere. Dragging a piece of media to the timeline will perform an overwrite edit, and moving media around/trimming will result in gaps. The "trim" mode in Resolve, on the other hand, is where the magic happens. Depending on where you hover the cursor, the type of trim will change contextually. In this mode, all of the media will ripple as you edit, which means you can do all of your fine cutting without worrying about accidentally making small gaps between edits.
If you've made the switch from Premiere (or any other NLE) to Resolve 12, share your experience with us. What have you liked, not liked, or been confused by? What advice would you give to someone thinking about switching? Let us know down in the comments!
Source: Learn Color Grading