We’re into the nuts and bolts of our podcasting where we'll dive into the mechanics of production. Keep in mind that these are broad strokes of what you can do and depending on the platform, software, or format you use, your workflow may be slightly different. Check out parts one and two of this series here.
Let's dive in.
5 Steps to Launch
- Create a script
- Record
- Edit
- Upload
- Key Art
The goal here isn’t to go in-depth into all possibilities. Everything presented is only one of the many ways to do things, but this will get you well on your way.
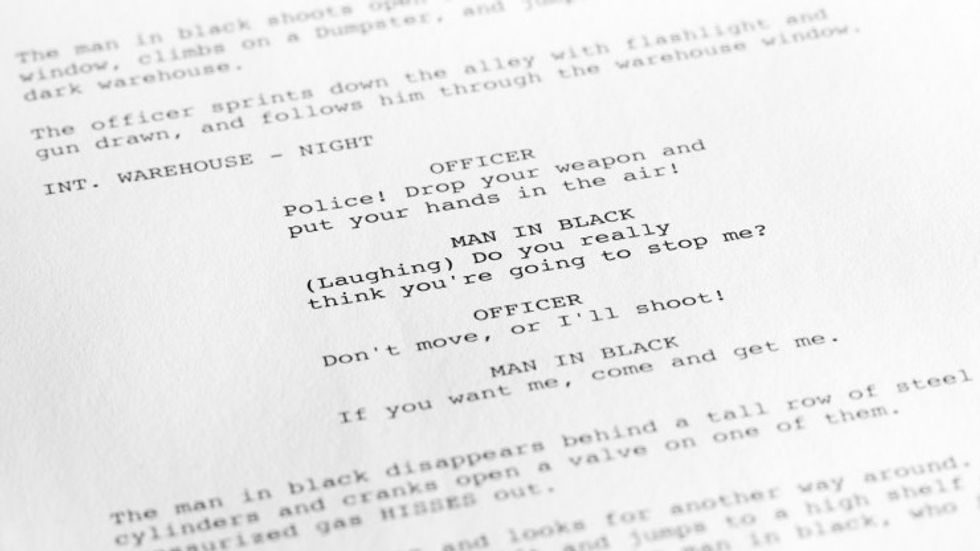
Scripting
Before you begin recording, write an outline or a script. Narratively speaking, poignant silences can be gold. But a long stretch of silence or stammering as you figure out what to say is a bad experience for the listener.
Don’t wing it.
Even if you are comfortable riffing, make yourself a clear outline of topics to keep the show flowing. If you happen to stumble when you do record, don't worry too much, you can always edit it out later.
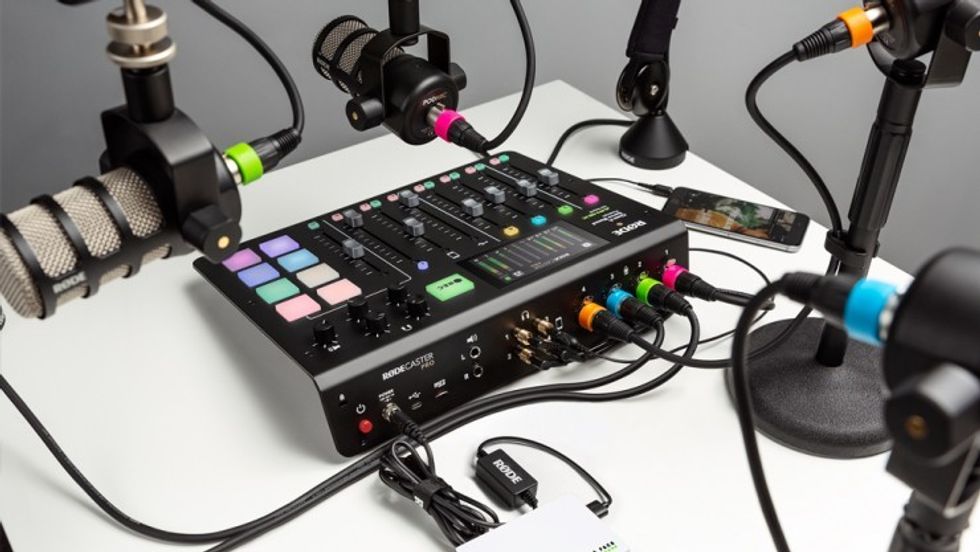
Recording
Build the best recording environment you can afford. If you can't afford much, find a quiet room in your house and place heavy blankets on the walls to dampen the reflection. You want to try and eliminate any echo or reverb in the room as there's only so much noise reduction tools can do in post. This includes eliminating all the ambient noise you can like on a film set. Turn off the AC, refrigerator, send the kids away, turn off all phones, etc.
Keep in mind that your goal is to record rich, full vocals.
To do that, place your microphone about six inches away from your mouth. A good tip is to put your thumb on your chin and stretch out your pinky finger. That distance is a good mark as to where to place your mic. You just don't want to be on top of the microphone or it could muffle the recording.
Minimize plosives
- Plosives are the “p” popping sounds which can be removed in post
- Buy/borrow a nylon pop filter to place between your and the mic
After setting everything up it's important to test it out. Record a dry run to hear how it sounds. You'll not only want to listen to it through laptop speakers but through headphones. The majority of your listeners will be listening that way. If it doesn't sound good in headphones, you'll want to fix any issues.
Once you've figured out any technical limitations it's time to grab a glass of water, settle down, and hit record.
Onsite or remote guests
Guests equal extra expense, so prepare to spend the money.
Onsite Guests
- Must have: Buy/borrow a second microphone
- Nice to have: Buy/borrow a small mixer to ride the levels during the recording
- Headphones
- Crafty
Off-site Guests
- Technically-capable guests can record their audio and send you the files over afterward
- Use Skype or Zoom to record the calls but keep in mind audio quality may suffer with bad connections
- Explore other options like Zencastr that can also record podcasts for you
When it comes to guests, don't hesitate to ask them to repeat something that may not have recorded properly or heard. You can always edit it out later. It's also important to remember not to talk on top of them when possible. Also, wait a beat in between their responses and your next question. It will be easier to edit out the dead air than you trying to edit out overlapping dialogue.
With off-site guests, you will be relying on the quality of their microphone if you don't send one to them. It's also better if they record the audio on their side and send the file to you after the recording to sync.
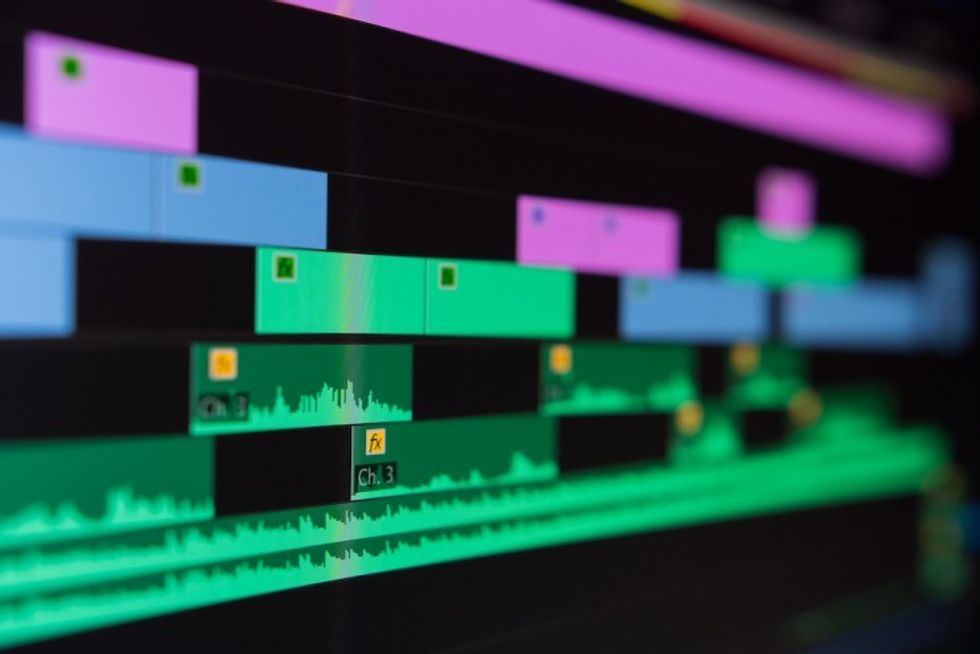
Editing
The basic steps in delivering a high-quality show don't have to be too involved. If you start with a quality audio recording, all you may need to do is add your show elements, EQ, level matching, and be done.
- Edit the audio for narrative drive and clarity
- Clean the dialogue track of any hums, clicks, or noise
- Enhance the dialogue track with music and sound design
- Mix the dialogue, music, sound design, sound effects
- Export the episode to suggested delivery specs of your hosting platform
If you want to find out more tips and best editing practices, check out this article.
Uploading
Deciding on what platform to host your podcast can be daunting. There are dozens of services available with different prices, different features all vying for your content.
The No Film School Podcast started off hosting podcasts on the free version of SoundCloud. Then as it grew, it switched to a paid version until it outgrew SoundCloud completely. The podcast is now hosted on Megaphone for its monetization features. But there are several other popular players in the podcasting hosting world. Here are some of our favorites.
After finding your hosting platform you can then submit your podcast to iTunes, Google, and Spotify. Depending on the platform you chose you may need to manually submit your RSS feed to the various services or the platform may do it automatically, like Libysn.
The one thing to note is that it may take multiple days for iTunes or Google to approve your podcast. It doesn't happen instantly, so be sure to plan your marketing and launch accordingly.
Creating Key Art and Metadata
If a listener doesn’t find your key art and podcast metadata (such as title, description) interesting enough to click, it may not matter how great your episode is. So make sure to create compelling key art, land on a memorable and relevant podcast title, and write punchy metadata.
In the final part of the series, we’ll detail how to launch and promote your podcast.
For more, see our ongoing coverage of Sound Week 2020.

No Film School's podcast and editorial coverage of the Sound Week 2020 is sponsored by RØDE.
Read the other parts of this series:
Part I: Before You Begin
Part II: The Skillset You Need
Part IV: Launch & Promotion