We’ve reviewed how to work with creatures big and small, real and fake, and how to make them larger than life. We’ve learned how to drench your film in blood and build prosthetics that bring your gore to the next level. Now, we’re launching into the world of action filmmaking to unpack some easy practical effects for your next high-speed indie.
Though horror and fantasy are top of mind when discussing effects, practical or otherwise, almost all films include effects in some way. Action films include them in a big way, and they don't have to be exclusive to big-budget Hollywood movies. Below, we break down some great effects that may appear impossible to pull off with a low budget.
Poor Man’s Process (or, creating the illusion of a moving vehicle)
There are a lot of reasons why shooting in a moving vehicle is a total production headache, especially at an indie level. First of all, it can bump up your insurance fees significantly. But in addition, you have to be thinking about rigging gear, blocking off a stretch of road, the nightmare of getting clean sound, and making sure your actors are performing well while also driving safely—not to mention all of the other inherent elements of a shoot. It’s just not always worth it.
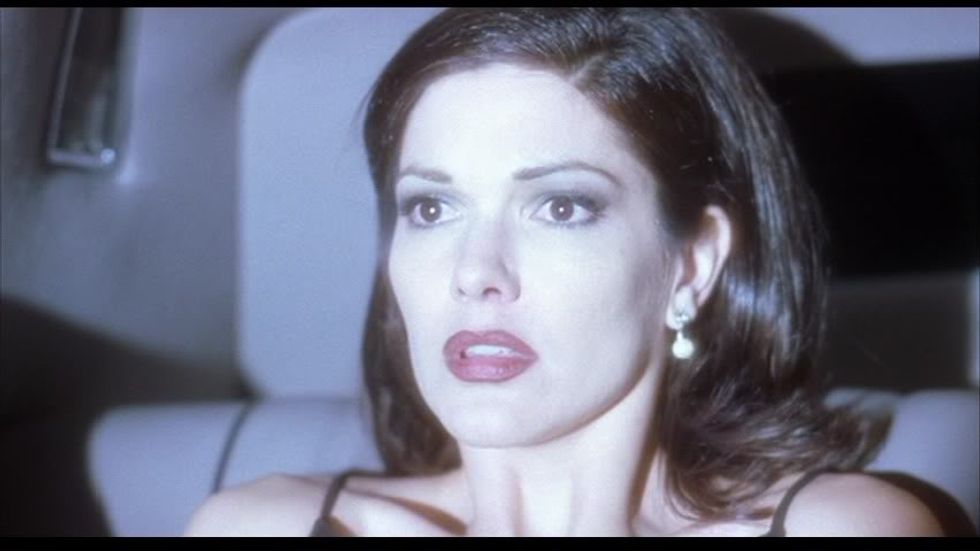 David Lynch used the PMP effect when shooting Mulholland DriveCredit: Image courtesy of Universal Pictures
Lovingly named the “Poor Man’s Process,” this shot creates the illusion of a moving vehicle without all the hassle. Many, many films use this method, on all budgetary spectrums— including David Lynch’s Mulholland Drive.
Let's go over the basics, but keep in mind that this is a complex setup that will take some finessing on set. In addition to the tips below, play around with shadows, rain machines, and colored lights to match the atmosphere of the location you wish to convey.
For nighttime shots, you’ll want to shoot in a black studio or somewhere you can erect enough duvetyne to black out all around the car. First, expose the actors as you normally would— though note that blackness is important in this kind of shot, so be sure not to overexpose. A general lighting setup for this would be a dashboard light, a backlight, and something soft illuminating the front of the car.
Next, add your lighting effects. There are several different gags with which you can experiment. To create the illusion of cars passing from the opposite direction, have two electrics work together with mounted lights. The first will stand in front of the windshield off to the right. The second stands off right, just behind the driver’s side mirror. This second light will have a red gel on it. The two electrics coordinate sweeping their lights past the driver: first the un-gelled light, then the red-gelled. We suggest using 300w Fresnel lights, but if you’re not renting a lighting package, try construction lights from any hardware store.
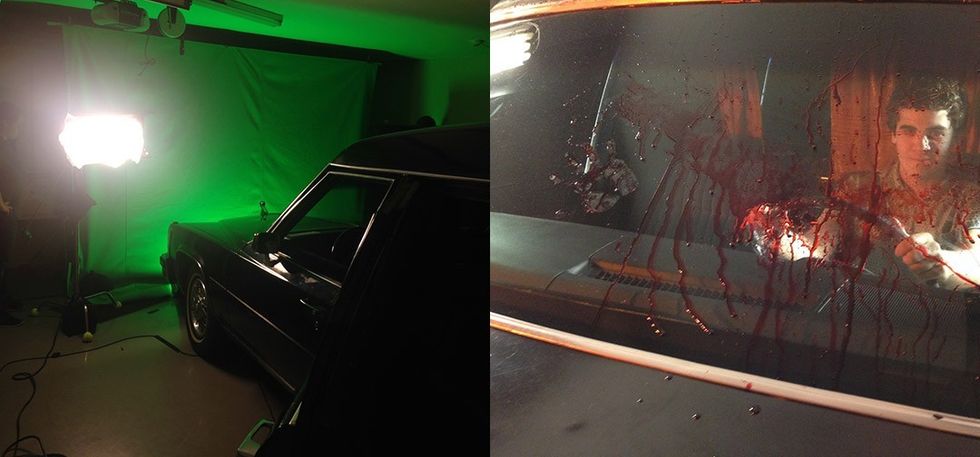 Poor Man's Process at work in Ben Nelson's short film, Karkass KartsCredit: Image courtesy of filmmaker
Next, you’ll want to try creating rear headlights. Have an electric in all black stand about 15 feet behind your car with two inkies or two LED flashlights. They should float slightly to imitate the movement of another car. Play around with distancing and motion here to imitate braking and acceleration. You can also have this person “turn off the road” at any point and come back later as another vehicle. To add more vehicles, just add in more lights!
To create the impression of passing street lamps, try rigging a light overhead. Make sure the rig is moveable and extends over the windshield of the car. During shooting, periodically spin the light so that it reflects onto the driver. Be careful to have a lot of slack on your cable, as it will wrap around the stand. An inky is best for this gag. Try adding a sodium vapor gel to emulate the reddish-orange of streetlights.
In addition to lighting, add motion to complete the full effect. Have several grips gently rock the vehicle, from behind or out of frame, and add some slight camera movement.
With a little coordination and planning, these tricks can take you a long way towards a believable car shot. Here’s the method in action during The Big Lebowski’s handoff scene:
Gunshots
Many great films— and not-so-great ones too— use gunfire. A lot of the big productions do it practically, and not in post, using real firearms to shoot blank rounds. But the gun show isn’t relegated to Hollywood, and for very little money, you too can create a pretty convincing gunshot. The below video tutorial from FX Requests shows a great method for achieving this effect.
Start with the prop gun. The best and cheapest option is a spring-loaded airsoft gun. If you already have one for recreational use, the video suggests getting another to use specifically as a prop. In addition to the gun, you’ll need: a flashlight, a pen, rubber tubing, baby powder, and compressed air.
The most complex part of this effect is the gunshot smoke. Use thin rubber tubing taped to the off-camera side of the gun and snaked down your actor’s arm. In one end of the tubing, put some baby powder. In the other end, use the compressed air to trigger the expulsion of powder, in coordination with your shot. At the same time, use a flashlight to emulate a muzzle flash.
The final in-camera step is adding in a spent round. You can buy these fairly cheap, but they can also be replicated using the brass metal point of a pen. Simply place the “round” on your thumb, away from the camera, and toss it up in conjunction with the gunshot. Add some booming SFX in post, and you’ve got real gunfire!
There are many different ways to recreate a gunshot, and this is only one. Depending on the kind of gun you’re using, you’ll need to research its firing attributes in order to properly emulate them.
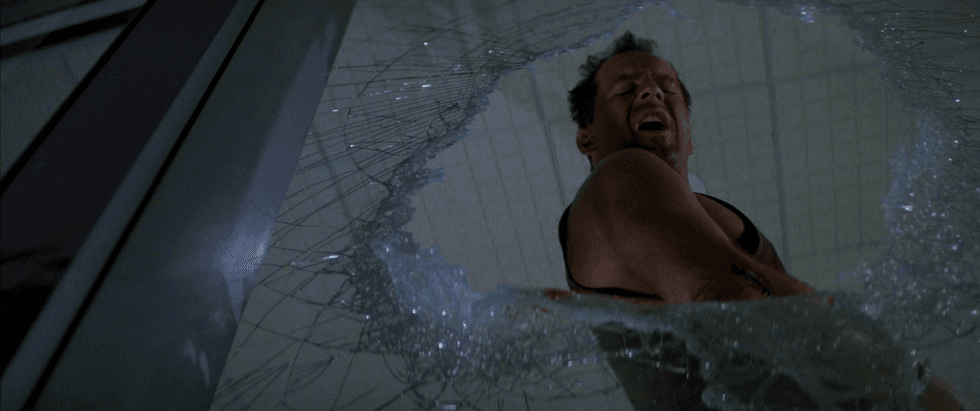 Shattered glass in "Die Hard"Credit: Image courtesy of 20th Century Fox
Breaking glass
Throwing characters through glass has been a long-time action movie staple. And if you’ve ever tried to purchase breakaway glass for your own film, you probably know that it’s wildly expensive and difficult to ship (unless you live in LA, where most film breakaway glass is manufactured). The good news is that you can make your own.
There are a few different recipes that you can play around with, but the following is fairly standard and largely made up of household items:
2 cups of distilled water
1 cup of light corn syrup
3 1/2 cups of sugar
1/4 teaspoon of cream of tartar
Food coloring (optional)
1 large pot
1 cookie sheet
Cooking spray
These ratios are for a small, cookie pan-sized sheet of glass, so adjust accordingly for more or less. Once you have your ingredients, bring them all to a boil in a large cooking pot. If you’re making colored glass, be delicate when adding the food dye—a little can go a long way.
Boil the mixture on high until it hits 300 degrees. While you’re boiling, you can prep your cookie sheet. Again, if you’re making a larger amount, ensure that your cooling container is level and walled. Spray your container with non-stick cooking spray.
When the mixture has hit 300 degrees, pour it into your sheet and let cool until hardened. It should easily fall out of the tray when ready.
You can also use your knowledge of molds from the previous article in this series to make breakaway bottles and glasses. Just be careful to practice— if you can, use a stunt performer for all glass breaking scenes on your film.
That’s it for our series on practical effects! We hope you enjoyed learning about using Creatures, Gore, and Action in your indie productions. Did we miss any cool special effects? Let us know in the comments below!
Featured image from Kill Bill Vol. II, courtesy of Miramax Films