
Steadicam operating is a true craft that can take a lifetime to master. I’ve been Steadicam operating for over seven years and I'm still always learning, honing, and practicing my technique.
With the advent of gimbals, Steadicams have taken a back seat for many of today’s filmmakers, but I believe they remain the right tool for the right job. Gimbals are new and exciting tech but not a full 360 solution. And while I think the future is a hybrid of the two, there is still a reason to understand the basics of flying and operating the Steadicam.
When I first started out, I read books, watched Youtube videos, and searched forums—but there just wasn't enough out there for me to grasp the basic operating concepts. With the high cost of entry coupled with the specialized aspects of operating, Steadicams are one of those true craftsman skills that you just can't learn completely online. That being said, I will share some basic tips here that will give you the fundamental understanding you need to get started. By no means will you be up and running with these tips, but hopefully this will inspire you to discover your own best path to flying.
“My first Steadicam, a Tiffen Pilot, had me strapped in velcro, which was weird, but totally enough.”
1. Know the parts
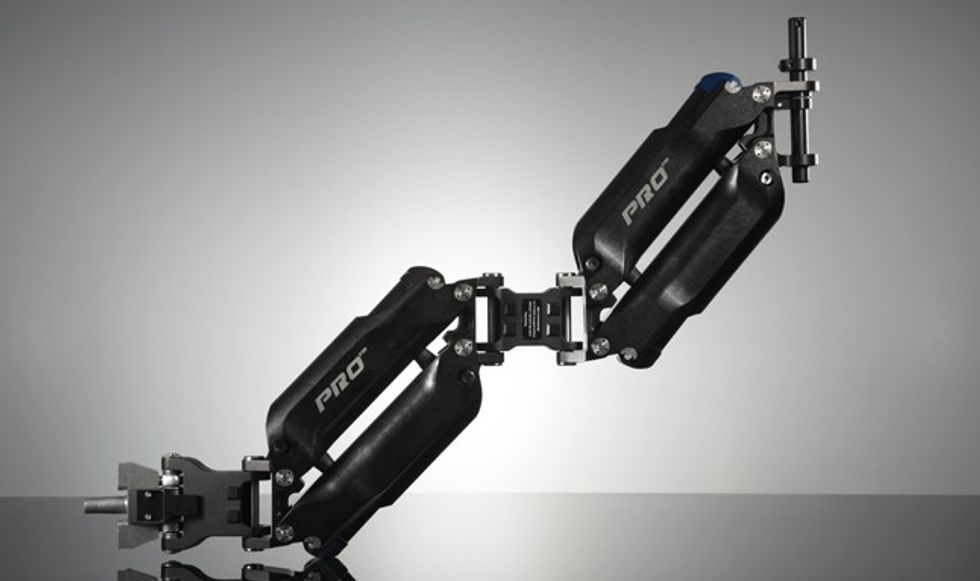 GPI Pro Titan Arm
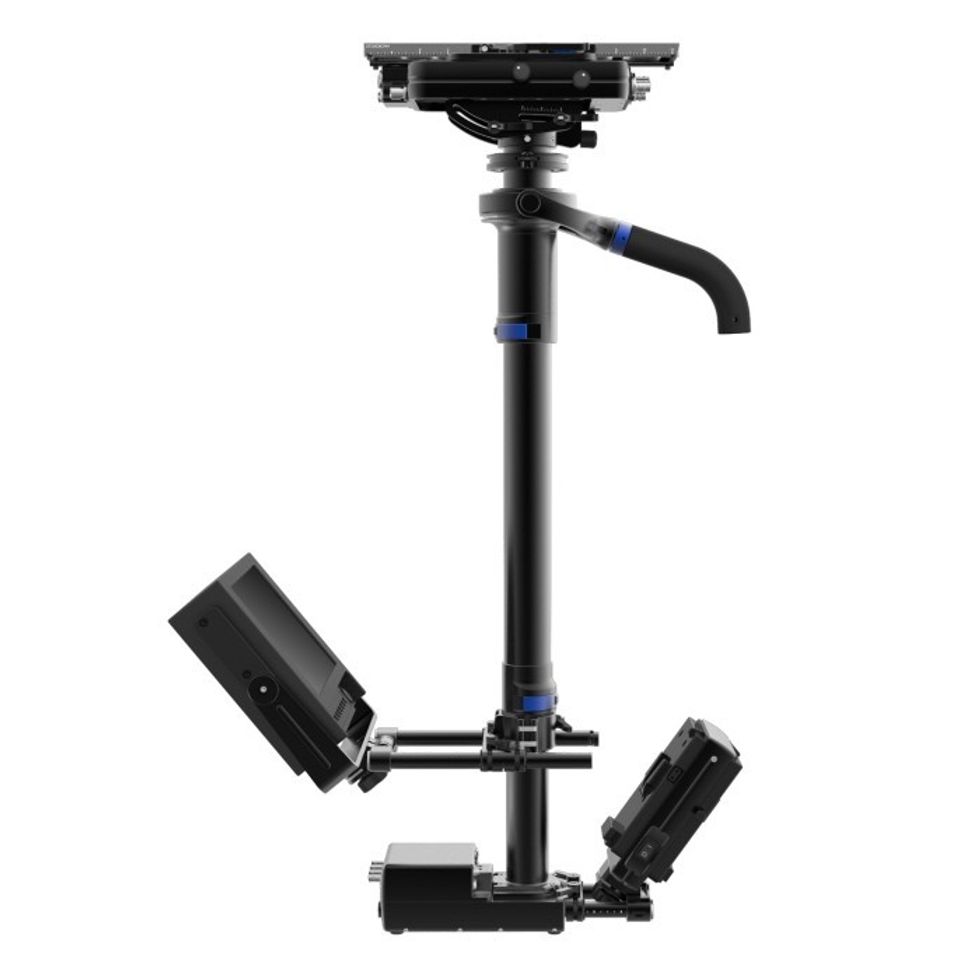 Tiffen Steadicam M1 sled
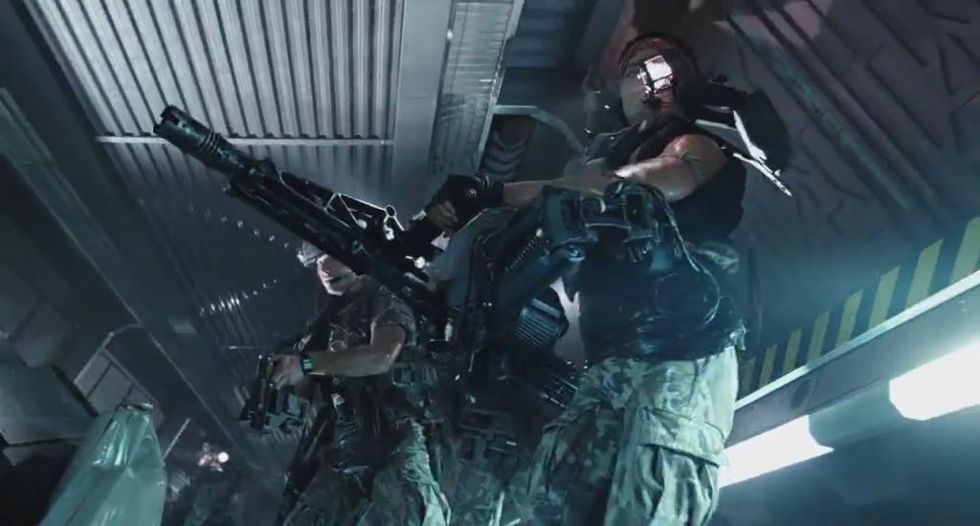 Aliens M56 smartgun with Steadicam bodymount
2. Understand balance and drop time
There are three aspects that I find to be the most important when balancing a sled: dynamic balance, drop time, and horizon. But what does balancing a sled even mean? Well, the sled must be able to achieve a neutral balance at the point of the gimbal on the sled so that when there is lateral movement, the camera floats effortlessly. How does one achieve this?
First, you need to position the camera, power, monitor, accessories and gimbal position on the sled to achieve dynamic balance. Basically, you need to get the all the elements of the sled on the top and the bottom to be balanced with the adjustable gimbal. This is done with major and minor adjustments on the top stage and bottom stage.
Next, Drop time, which is the amount of time the sled will drop from horizontal to vertical on the gimbal. You place the sled on a solid, beefy baby to fine tune the gimbal post position on the arm. The goal is to get a drop time of about 3 seconds. This will allow the operator the best options for flying.
I know all of this is hard to visualize, but doing it and seeing it in real life will answer all your questions.
3. When flying, let the rig do the work
Flying the rig is actually quite simple. Strap the vest on, attach the arm to the vest, then throw the sled on the arm. Rest your hand on the gimbal arm, and with your other hand feather the gimbal grip.
My main advice for the beginner is to let the rig do the work. The initial intuition is to control the rig and fight the springs and movements. The Steadicam is an ingenious invention, but true control is built around allowing the rig to do the work.
I could write pages about the movements, but you probably won’t get it until you try it on. Flying a Steadicam is much like riding a bike. There is nothing better to help you understand it than to just go ahead and try it.
4. Be diligent about mastering your skills
The one thing I'll say about Steadicam is that it’s a tool, and a tool is useless if you don't know how to work it properly. Read this book,The Steadicam Operator's Handbook. Find a mentor, like I did with one of the best steadicam ops I know, BJ McDonnell, who gave me my first lesson. Take a class. Develop the right habits. Then, practice forever.
5. Consider investing in gear
Steadicams are expensive, and the initial investment is always tremendous. The pro gear rigs can cost upwards of 80K, while the smaller ones can cost 1-2K. My first Steadicam was a Tiffen Pilot and, although that was a major purchase, I couldn't fly anything bigger than DSLR. At the time it was fine, but as time went on, I upgraded to a Steadicam Zephyr. While the Zephyr can't fly the big rigs, it can fly most of the cameras that I get jobs for with a max camera weight of 25 lbs.
There are a multitude of rigs out there and I'll do a big review of those on No Film School. Like cameras, they all have their quirks like cameras but fundamentally they all do the same thing. Find the rig that you can afford and see if you even enjoy the process. Steadicam is not for everyone and its a big commitment. I find the steadicamforum.com a great resource for user reviews on all the rigs out there.
We don't view the world in handheld. We see it in a balanced, dynamic, mobile perspective. The Steadicam enhances this perspective and creates a visual that is unique and special.
At about 16:00 in of this video, you can see me showing the basics of flying the rig.
Support Evan Leong’s new movie ‘Snakehead’ on Kickstarter (last day is September 8 at 9 PM EST), or follow him on Instagram @arowanafilms @snakeheadmovie for cool Steadicam shots and updates about his latest projects.