New Zealand photographer and VFX supervisor Mark Gee has achieved numerous accolades for his astrophotography and has worked on visual effects on such films as Avatar, Rise of the Planet of the Apes, The Hobbit trilogy, and most recently as the Visual Effects Supervisor on Steven Spielberg's The BFG. Gee's astrophotography and video time-lapses are truly gorgeous, and now he has shared his technique for capturing these time-lapses of the night sky using the Syrp Genie and Magic Carpet. Check out the video to learn how to scout locations, set up the Genie and Magic Carpet for optimal movement, and complete the time-lapse in post.
Good locations actually start with the foreground, not the sky
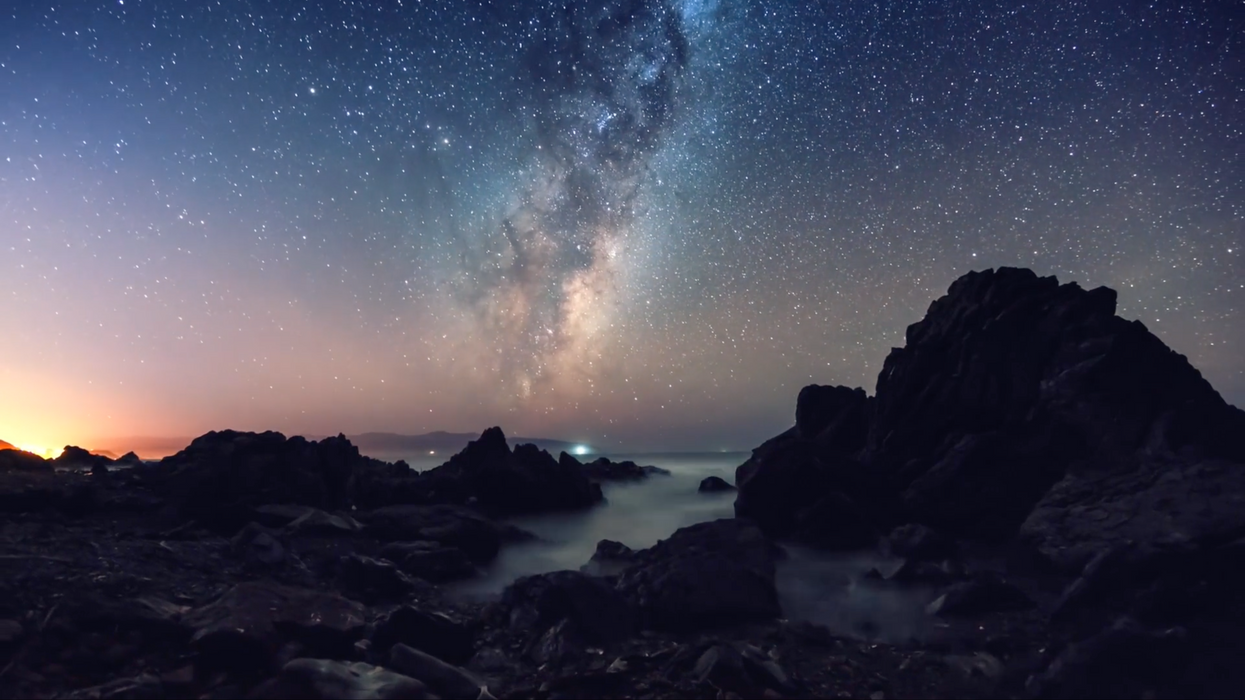
Gee begins the tutorial with tips on how to scout for good locations to set up your night sky time-lapse. While you may think finding a location with an expansive view of the sky is paramount, Gee actually seeks out interesting foregrounds to contrast with the movement of the night sky or frame it in unique ways. Finding bodies of water to reflect the movement of the stars is another technique Gee uses in his location scouts.
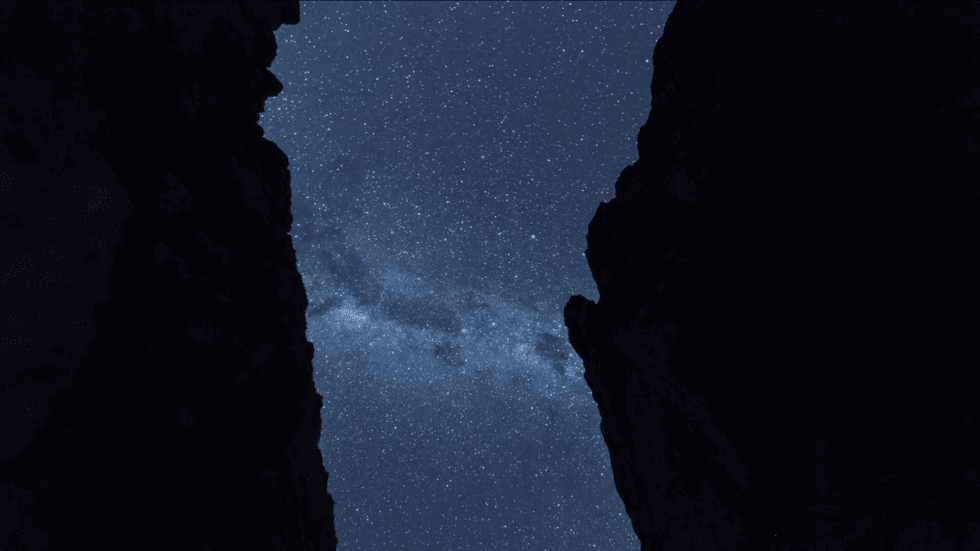 Consider the foreground when choosing the location for your star time-lapse.Credit: Mark Gee
Use mobile apps to pre-visualize the Milky Way from your location
Gee uses PhotoPills, a mobile app that includes a lunar calendar and a 2D Milky Way planner, to determine the best days and times for his time-lapses. You want to shoot during the new moon to see the full effect of the Milky Way, and the 2D Milky Way planner enables you to figure when the Milky Way will be passing over to optimize the timing of your shoot.
Gee also uses Star Walk, another mobile app that lets you see which constellations will be visible on a clear night from a specific location using your phone's GPS. Since you will need to arrive in the daylight to set up your gear, Star Walk allows you to pinpoint which sections of the sky will be optimal for your framing later at night.
Set your shutter speed, aperture and ISO to avoid the effect of star-trailing
Gee walks through the specific settings he uses with his Canon 6D when capturing star time-lapses to avoid star-trailing in his images, but he also offers some general guidelines on how to set your shutter speed, aperture and ISO for the best results. For shutter speed, Gee recommends the 500 rule: dividing 500 by your the focal length of your lens, then rounding to the nearest whole number. Open your aperture all the way and use the lowest f-stop to allow the most light possible to reach your camera's sensor. Gee sets his ISO between 3200 and 6400, but recommends that first-timers start with an ISO of 1600 to experiment and then move up to see how their cameras handle noise at higher ISOs.
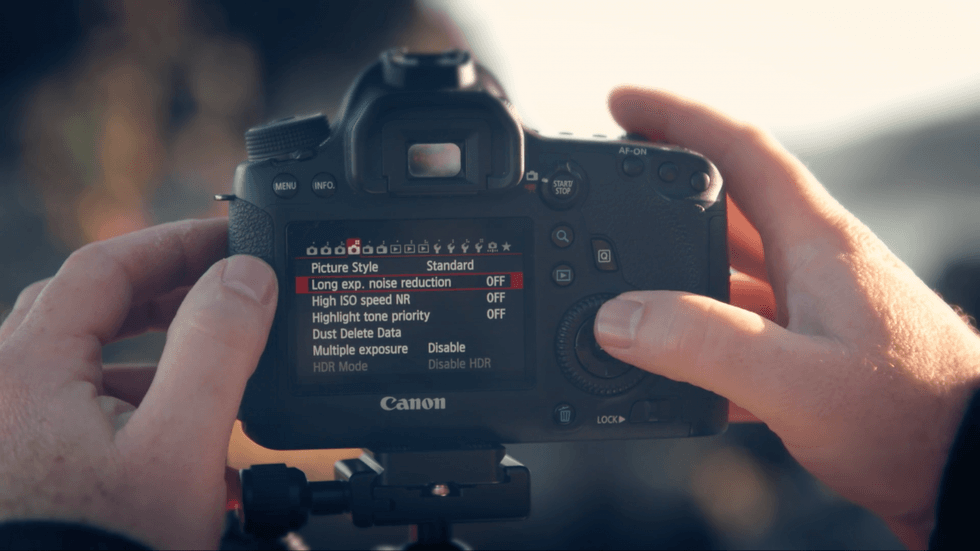 Be sure to adjust your camera settings to capture the optimal images for your time-lapse.Credit: Mark Gee | Syrp
Add buffers to your shoot interval time and ramps to your linear movement
After calculating your shutter speed using the 500 rule, you also need to remember to add buffer time to the start and end points to allow the camera to come to a stop and save the image before moving along the track again. Gee demonstrates how to set up the Syrp Genie using the move-shoot-move sequence for crisp images and how to program the Genie to add the right amount of time on the front and back end of your shutter speed to get the perfect image without disturbing the camera.
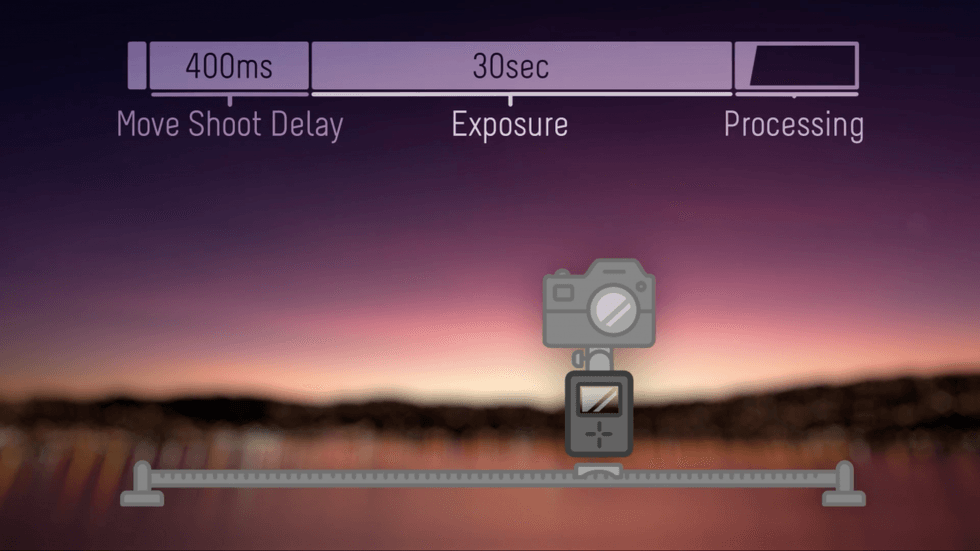 Add buffers to shutter speed to ensure crisp image capture.Credit: Mark Gee | Syrp
Gee also likes to add ramp-up and ramp-down speeds at the beginning and ends of his time-lapse movement. The Genie provides ease-in and ease-out setting to enable this effect, which Gee sets to four seconds at the beginning and the end of his 30-second movement.
Optimize your night sky images in post-production
Finalizing your star time-lapse images in post-production is brings out your unique vision as Gee points out. He opts for a more natural look in his astrophotography, but he notes that others may want to manipulate their images in post to achieve their desired effect. Gee uses Lightroom and LRTimelapse for his post-production workflow. By working on a particular image in the sequence, Gee demonstrates how to make color adjustments, set white balance, make lens corrections, reduce noise, then fine-tune the image to make the night sky pop in key areas while still maintaining a natural look. All of those adjustments can then be added to each image in the sequence and exported to LRTimelapse. From LRTimelapse, you can export your movie in your desired codec, output size and frame rate.
 Adjust an image in Lightroom, then apply globally across all of your images to create your desired final look.Credit: Mark Gee | Syrp
Be sure to check out the whole video to watch Gee go through each of these stages step-by-step to learn how he creates his award-winning images and turns them into mesmerizing star time-lapses. The Syrp Genie and Magic Carpet slider track kit is available from B&H for $1,197, or you can buy the Syrp Genie separately for $789.
Featured photo by Mark Gee, The Art of Night, from "Tutorial: How to setup a motion star timelapse using the Syrp Genie"