Here's a Step-by-Step Tutorial on Creating the 8mm Look in Premiere Pro
If you want to include an 8mm film sequence in your next project, this tutorial will walk you through the entire process.

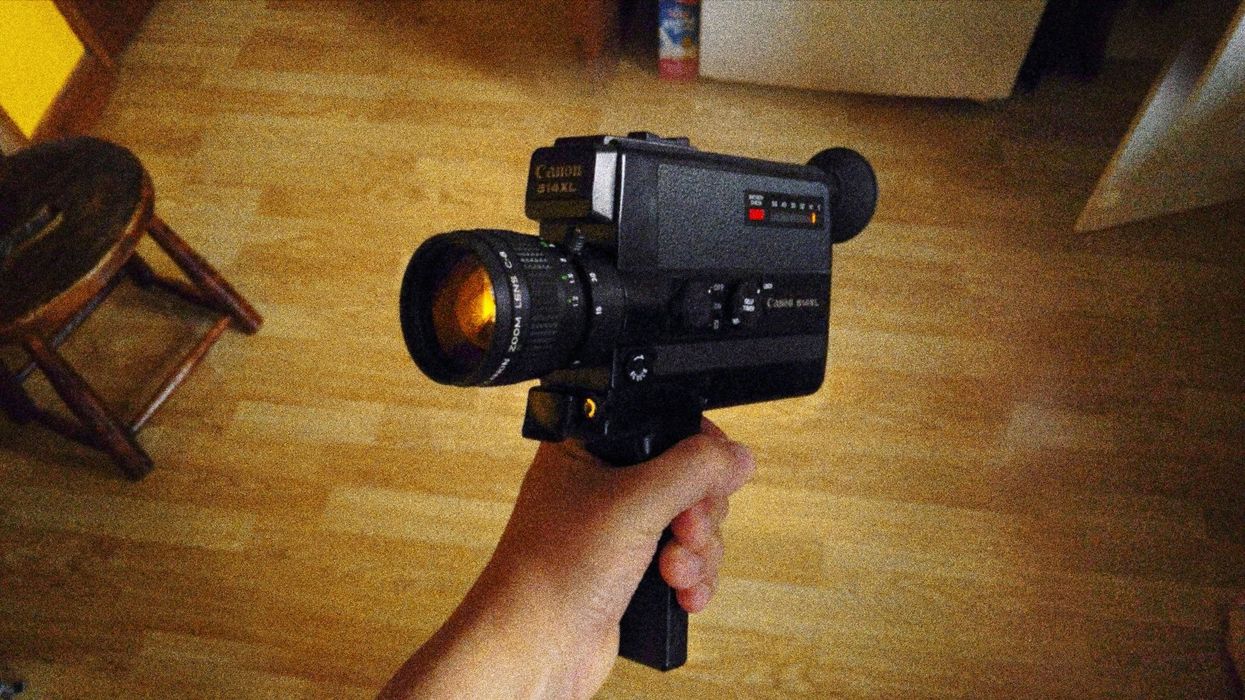
Film stocks that have aged and weathered with time seem to have the power to bring people back to the days of old where they can reminisce and muse over the past. This is why so many dream sequences and flashbacks in films are either shot on 16mm or 8mm film or are made to look like they were.
If you're a filmmaker who is planning on including one of these types of sequences in your film and would like to avoid the hassle of working with actual film, editor Justin Odisho has made a tutorial that walks you through the fairly simple process of giving your digital footage the look of 8mm film, complete with flicker, grain, aspect ratio, and grade. Check it out below:
Knowing how to give your digital footage the look of film, whether it's the drastic 8mm washout or the subtle grain and color composition of 35mm, is one of those skills that always comes in handy. Sure, you could slap a LUT on top of your clips, but if you want to create your very own look, Odisho shows you which Premiere Pro tools will help you do it.
And yeah, these old film looks are great for creating flashback sequences, but they're also great for grades. Personally, I love the look of 8mm and 16mm film—it's gritty, grainy, distressed. If I shoot in 4K (or even 1080p sometimes), I degrade the shiz out of my footage, because (get ready for an unpopular opinion) I just don't like the hi-res look of 4K for certain narrative films. It's just too clean for my preferences. I like a little grime. I like a little fuzziness. I like to not be able to see my subject's wrinkles and pores in razor sharp focus. Am I alone on this? I feel like a crazy person! But, I digress—kind of.
Regardless of what your application is for this vintage film look, Odisho provides you all of the tips and know-how you'll need to start understanding not only what these post-production tools do, but also how you can take greater control of them to create specific looks in a more precise way.
Source: Justin Odisho

 No Film School's coverage of


