Premiere Pro’s Lumetri color workspace provides users with a plethora of tools. In the Lumetri Color panel, you can perform a simple color correction with basic exposure settings, or create a custom look with advanced grading tools. You can also monitor your color and luma information with customizable waveform and vectorscopes in the Lumetri Scopes panel. If you have limited experience with color correction or grading, simply use one of the many preset looks already installed.
For this tutorial, I’m going to give you a quick introduction to the Lumetri color workspace and then show you how to save out a custom preset for later use. Let's get to work!
Step 1: Create the look
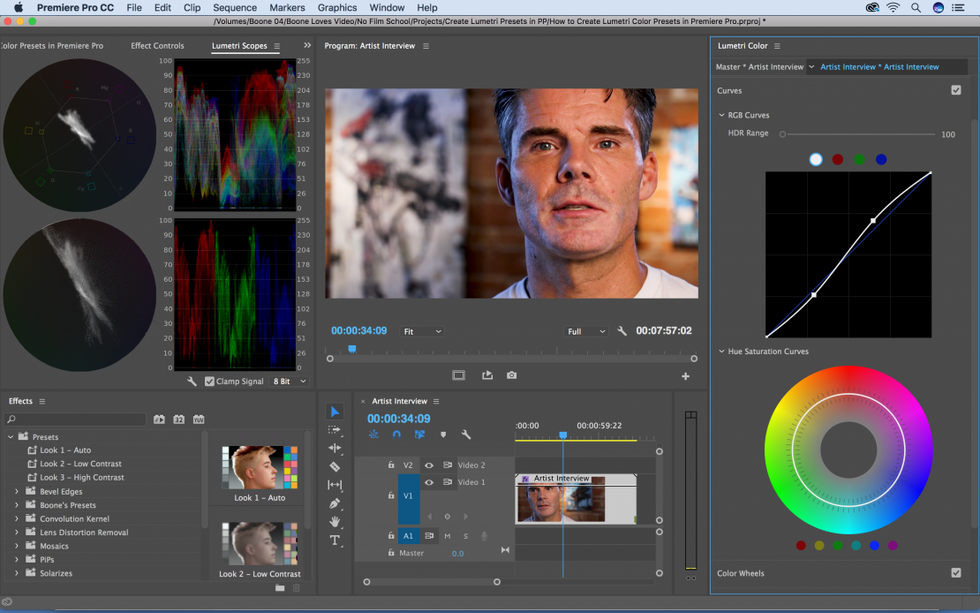
The first step is to open up Premiere’s default color workspace by selecting Window > Workspaces > Color. The Lumetri Scopes panel works in tandem with the Lumetri Color panel, allowing you to keep a close and detailed eye on color and brightness information.
Once you have your clip selected, you can make adjustments in the color panel. As soon as you begin adjusting any of the parameters in this panel, a Lumetri Color effect will be applied to your clip. You can open up the Effect Controls panel and make all of the same adjustments that you can in the Lumetri panel if you are so inclined. The color panel has six different sections of tools, including basic color correction, creative, curves, color wheels, HSL secondary, and vignette. After creating a look, save out your settings as a preset.
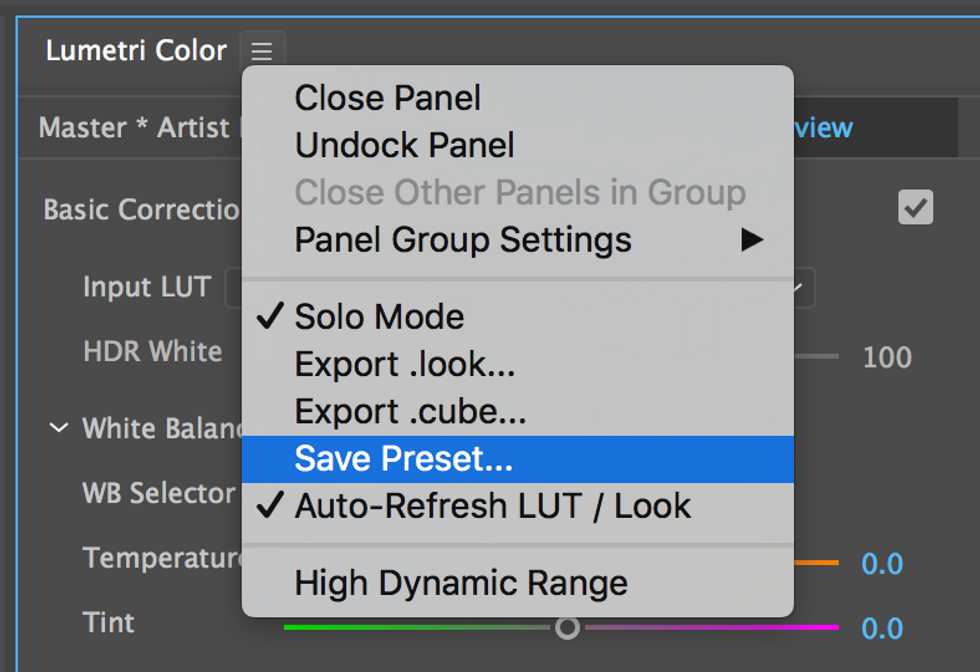
Step 2: Save as a preset
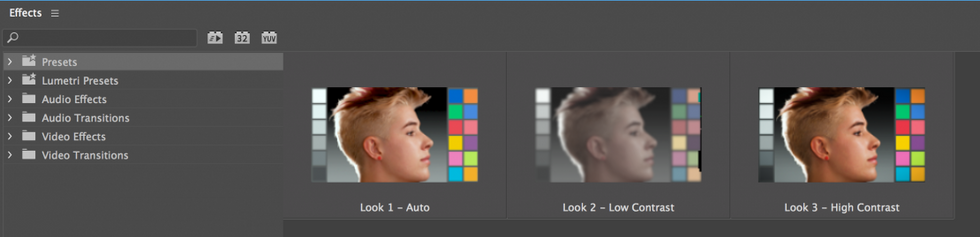
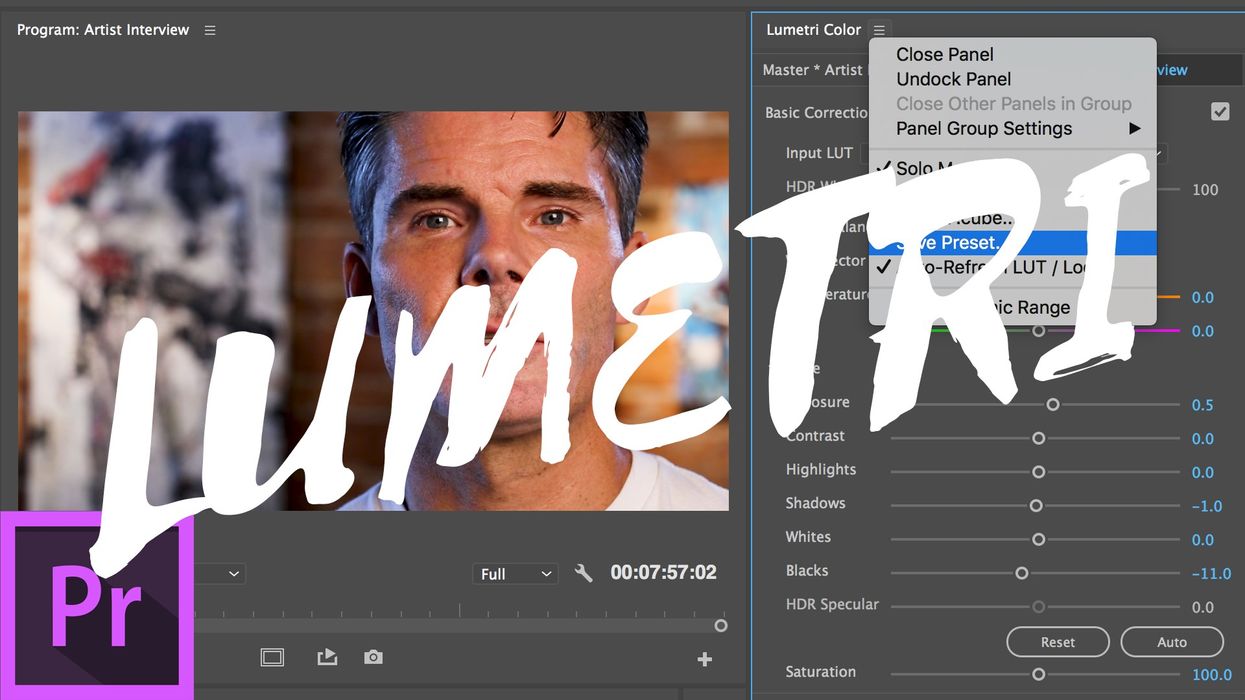
When you're happy with your color settings, you can save out a preset to reuse on other clips in your project. To save a preset, go up to the panel menu settings menu and select Save Preset. Select a name for your preset and click OK to save the preset. All of your settings in the six sections of the Lumetri Color panel will save to your preset. For this tutorial, I created three different looks with my interview clip, including an auto adjustment look, a low contrast look, and a high contrast look.
Step 3: Apply the preset
The presets you created show up under the Presets folder in the Effects panel. A handy visual reference is provided in the panel, which gives you a quick way to select from a variety of different looks. You can apply these effect presets directly on a clip, or you can create an adjustment layer to apply the effects on. In addition to the presets you create on your own, Premiere also has a handful of great Lumetri presets you can apply. Many of these are designed for specific camera models, such as the Speedlooks collection. Since I shot this interview with a Canon 7D, for example, these would be perfect for me to test out. Finally, If you're not entirely happy with one of these presets, you can use it as a starting point, applying changes and then saving out your own preset.