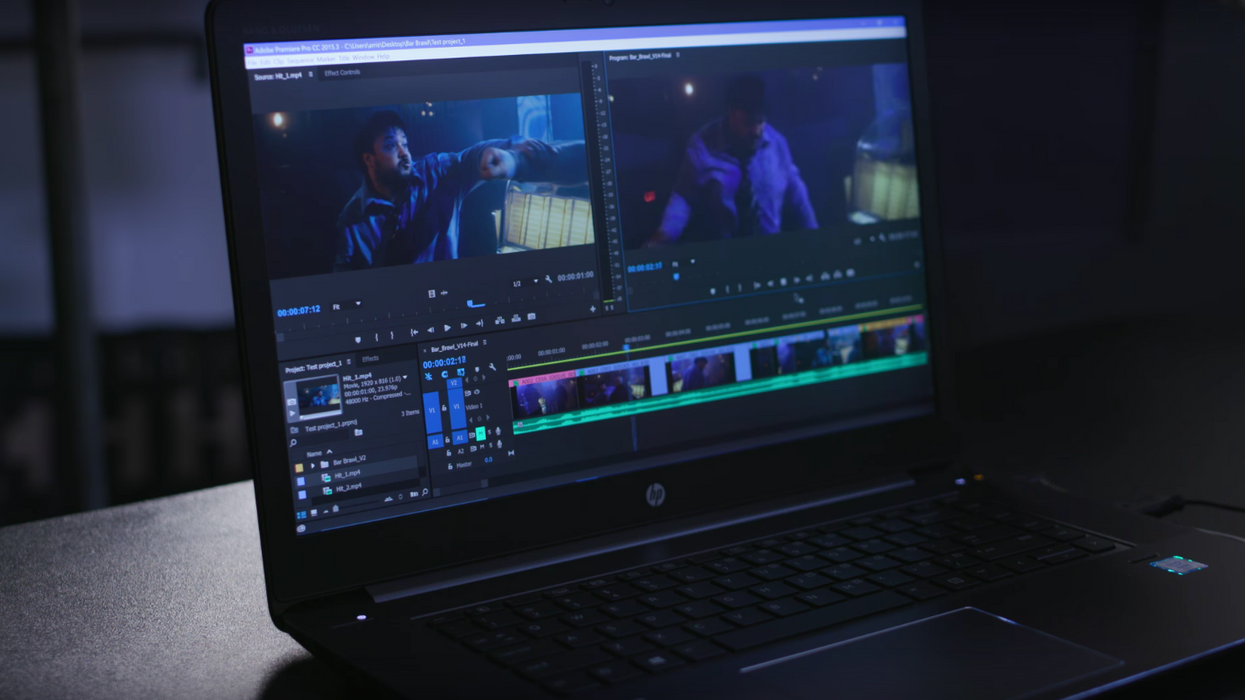
There are countless techniques you're going to need to know as an editor, but perhaps one of the most important one you're going to learn during your career is how to use cuts. These things are the fundamentals of continuity editing, and while a simple cut from one shot to another will more often than not be your go-to method, there are several others you should know about and master if you want to take your editing skills to the next level. Editor Justin Odisho explains and demonstrates some of them in the video below.
If you're an experienced editor, no doubt you've used or at the very least heard about these cuts before. However, if you're brand new to the game, these will definitely open new doors to your creativity.
The Standard Cut
The cut you're going to be using most of the time is also the most basic: the standard cut, which is literally just putting one clip next to another. To be honest, most projects don't "need" much more than standard cuts, so if you're just starting out and you want to perfect this technique, rest assured that you can edit your whole project with them exclusively.
Cut to B-Roll
If you edit a lot of documentaries, music videos, vlogs, or tutorials, cutting to b-roll, or supplemental footage, is a great way to not only give your audience a peek at what your subject is talking about but to also add some style to your project. Examples of this would be cutting to a shot of a sizzling in a pan if your subject is talking about how to make the perfect steak or cutting to some shots of a traffic jam if you're trying to communicate to your audience that your subject is late for an important meeting.
The Jump Cut
Jump cuts are great for adding a little style and flare to a piece, but it's important to know what they actually communicate to your audience. First, they are great for showing the passage of time, so if you're editing a tutorial or montage of something is being built or made over time, jump cuts will get you to the final product quickly. If you shoot short or feature films, jump cuts are also effective at communicating confusion, disorientation, or boredom.
Cut to the Beat
Music video editors use this technique all the time, but it's also effective in other types of videos as well. To put it simply, cutting to the beat means editing your footage so that the cuts match the rhythm of a particular piece of music. The obvious approach here is to edit your footage to the beat of the drums, but as Odisho points out, this isn't the only way to do it. Be creative and experiment!
Cut Perspectives
When you're bringing your audience into a new scene or establishing a new location, a good way to do that through editing is by cutting in and out of different angles and perspectives. It gives your viewer enough information to pinpoint the time and place of the scene, but it also offers them something interesting to look at as that's happening.
There are so many other essential cuts you should learn to become a more effective editor. J and L-cuts are certainly somewhere at the top of that list, but what are some others you think new editors should know about? Share your thoughts down in the comments.
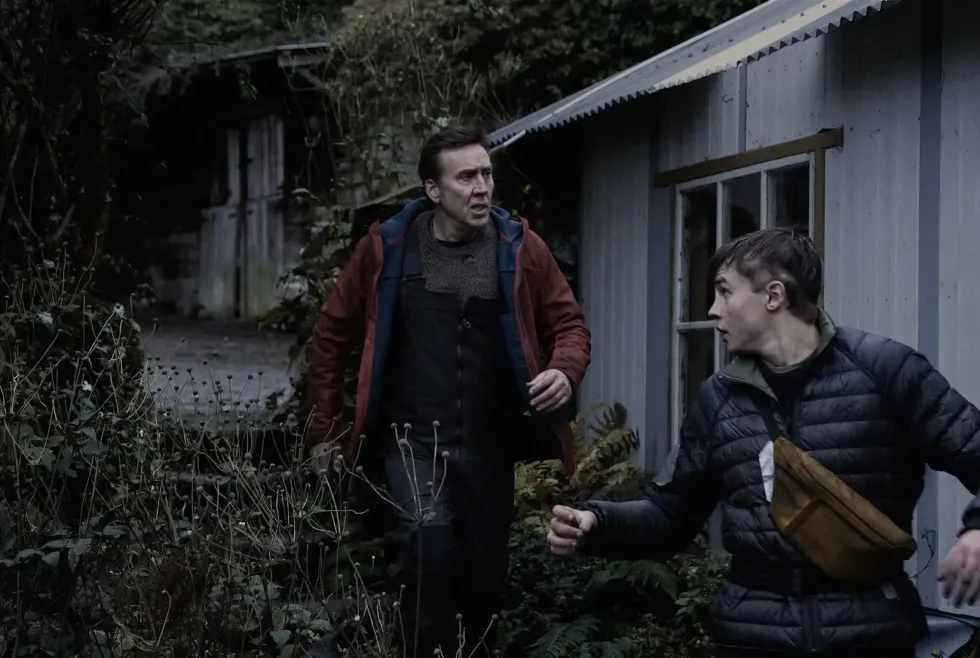
The family has spent their entire life on a farm, experiencing tranquility by day and horror at night, hiding from the monsters that come out in the dark. One day, Thomas doesn’t return after visiting his crush, Charlotte, at a nearby farm, so Paul leaves the safety of their home to find his son, while Joseph stays back to defend himself against the nightly monster attack.
Edited using Adobe Premiere Pro and Adobe After Effects, “Arcadian”, is a creepy dystopian feature you won’t want to miss, and we sat down with the film’s editor, Kristi Shimek, who shared a behind the scenes look into making this film. RLJE Films will release “Arcadian” exclusively in theaters on April 12.
How and where did you first learn to edit?
I feel like I was always drawn to editing. I enjoyed playing around with my parent’s video camera, and VCRs, and I learned tape to tape and live editing that way. I really didn’t get much experience cutting on NLEs until high school, when I took a media class and realized the power of being able to easily move things around. At university, I became serious about making editing my career and learned a lot more about the technical side as well as the theory of editing.
How do you begin a project/set up your workspace?
My workspace is pretty standard. I always have at least two computer monitors, a preview monitor, a mixer, speakers, and headphones. Sometimes I’m working on my own system, and other times I’m working with something the studio provides, so I try to keep it simple and effective so that I can work with whatever is on offer.
When I’m working on a project, I always talk in depth with my assistant about the easiest way for us to pass things back and forth and keep everything organized. I’m a neat freak when it comes to my project files and hard drives so that’s definitely important for me. I want to be able to move as quickly as possible when I’m in session, and knowing where everything is in the project is an essential part of that.
Tell us about a favorite scene or moment from this project and why it stands out to you.
I have many moments that I love in the film, but one of my favorites is when Thomas and Charlotte go to her tree at the edge of the boundary for the first time. The moment where they are approaching the tree was so fun for me to work with because we distilled what she was saying down and really considered what the most effective visuals would be for the emotion rather than just the information. Then we got into their lovely conversation — it was such a nice, quiet, and gentle moment where we could really take our time, get to know the two characters, and sit with the performances.
Similarly, I love the moment between Paul and Joseph in Joseph’s workshop, where they’re connecting on an emotional level as father and son. This was a scene that we reworked many times to get it exactly right, and what we landed on tells us so much about the characters through expression rather than words. These types of moments are so fun to cut because they really are the heart of the film, and they take a lot of thought and a delicate touch.
What were some specific post-production challenges you faced that were unique to your project? How did you go about solving them?
We needed a lot of technical flexibility on this project. First, we were working with full frame 3:2 footage with a 2.35 sequence as a wrapper. Since the files were so large, we needed to be able to manipulate them a lot in sequence to get exactly what we wanted out of each frame and moment. Premiere Pro is perfect for that because it allows you to easily manipulate the image in sequence — from resizes, to stabilizing, to camera shake, etc.
Ben, the director, and I also worked very closely together, both editorially and with visual effects. He is Premiere Pro and After Effects based, so it was essential for us to work on the platform that would work best for him.
What Adobe tools did you use on this project, and why did you originally choose them?
I cut in Premiere Pro, and then we used After Effects for temp and final visual effects. I would say it was mostly for the flexibility and also the option that the Adobe suite has to roundtrip from Premiere Pro to After Effects and back. Our workflow was really integrated between all of our teams, and when you’re working so specifically and heavily with the footage, it becomes a necessity.
We used Frame.io for notes and reviews on visual effects, as well as some editorial pass reviews. It’s so easy to have the time-coded notes referenced, respond to them within the program, and have the entire team be able to access them as soon as they’re available. I think it makes for much more open communication between the various teams as well.
If you could share one tip about Premiere Pro, what would it be?
Take advantage of the flexibility and the way Premiere Pro is able to playback layer-heavy sequences. Also, take advantage of the tools for temp visual effects like matting and masking, temp color and temp sound to give your project the look and feel that you and the director are going for, and bring it as close to the final product as possible.
The edit is the template of the movie for the rest of the team and is the best way to get the vision across for all of the teams that come after the edit — mixers, final color, VFX teams, etc. — so take advantage of what those tools have to offer to capture every aspect of that vision.
Image Source: RLJE Films
Who is your creative inspiration and why?
Walter Murch has been a huge creative inspiration and influence for me. His books opened my eyes on how to communicate my editorial ideas and how to take the fundamental ideas of editing and build upon them with theories of my own. As an editor, it’s very liberating once you have the language to explain your decisions. His editorial work is just as inspiring.
Murch focuses so much on the emotion of every frame and the connection between shots, and that is something I always try to consider with every cut. Every single shot and edit has meaning, and I want that to be felt in my edits as well.
What’s the toughest thing you’ve had to face in your career and how did you overcome it? What advice do you have for aspiring filmmakers or content creators?
I think one of the toughest things any editor has to face is that we are constantly getting to know new artists, teams, and creatives, and there is always a learning curve when you’re working through each new director’s unique vision. There are also different dynamics between various directors and producers, and a big part of the job is working with a lot of different personalities.
To that end, I would say to any up and coming artists to keep an open mind about notes or critiques received, even if you don’t think it will work. You never know what inspiration can come from trying something, and it builds trust and respect between you and your team. Everyone should feel safe expressing ideas in the edit room, and it is our job as editors to take those ideas and bring the story to fruition through whatever inspiration is found as a team.
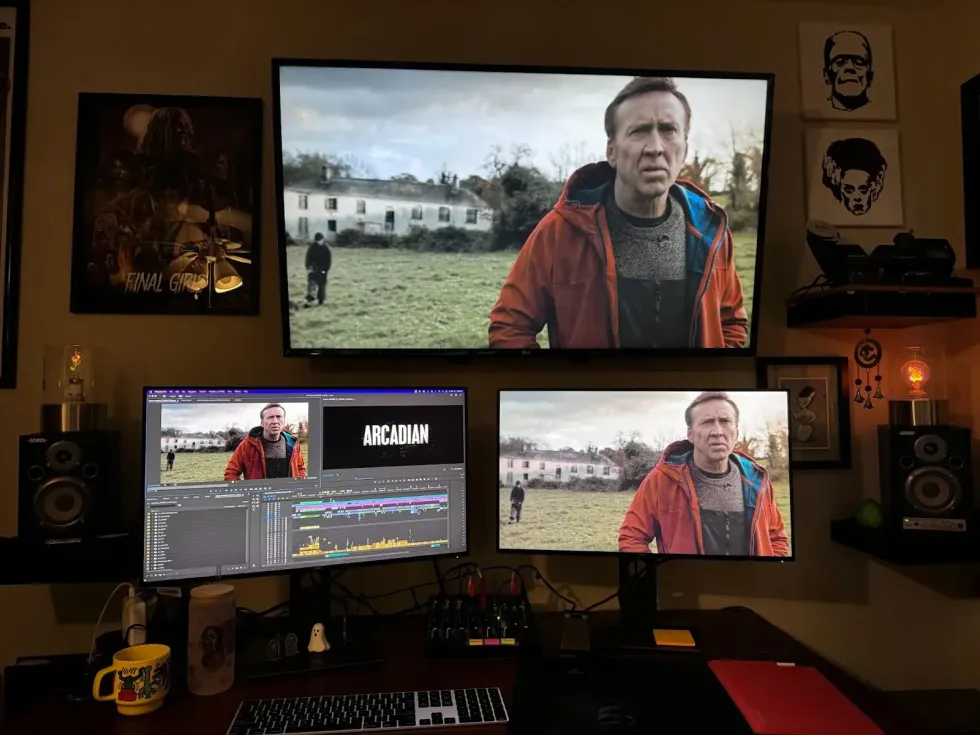
Share a photo of where you work. What’s your favorite thing about your workspace and why?
I like to keep a few little things on my desk to remind me to have fun in the edit room. It can be stressful at times, and when you can just take a little glance at something that brings you joy, it brings a moment of relief. I also usually have at least a mug (for coffee or tea) and a water glass, and sometimes a soda as well — I don’t want to get dehydrated in the edit room!