What is Hyperlapse?
I recently went out to experiment with hyperlapse photography. If you are unaware, a hyperlapse is essentially a timelapse shot that incorporates camera movement. I guess when you add camera movement to a timelapse, things get HYPER. While the process can seem a bit intimidating at first glance, breaking it down into a few simple steps will help demystify things for you. Here's a step-by-step look at my process.
Step 1: Think about your final shot
A hyperlapse has a lot of moving parts (pun intended), so you have to plan ahead accordingly. For my final shot, I want to have a simple 4-second clip of a chateau. I want a truck shot moving from the right to the left, straight in front of the chateau. Since my project is set in a 1920x1080 30fps workspace, I need to capture at least 120 photos to meet the proper length. To figure out the number of photos you need for your hyperlapse, use this simple formula:
Seconds x FPS of final sequence = # of Photos
For instance, I will need to shoot 120 photos to get 4 seconds of video.
4 seconds @ 30fps = 120 photographs
I also want to capture my images in a high enough resolution that will allow me to zoom on the photos. Shooting with a high resolution will give me the opportunity to animate scale and position properties in post. If I want to give myself color correction options, I'll shoot in RAW. However, my hard drive space is lacking, so I will NOT be shooting in RAW.

Step 2: Scout the Location
When scouting a location for a possible hyperlapse shot, you need to make note of a few different things. First, find a point of reference that you can use to keep all of your images aligned. For the chateau, I’ve selected the gargoyle in the center as my point of reference. When shooting the hyperlapse this point will always remain in the center of my frame.
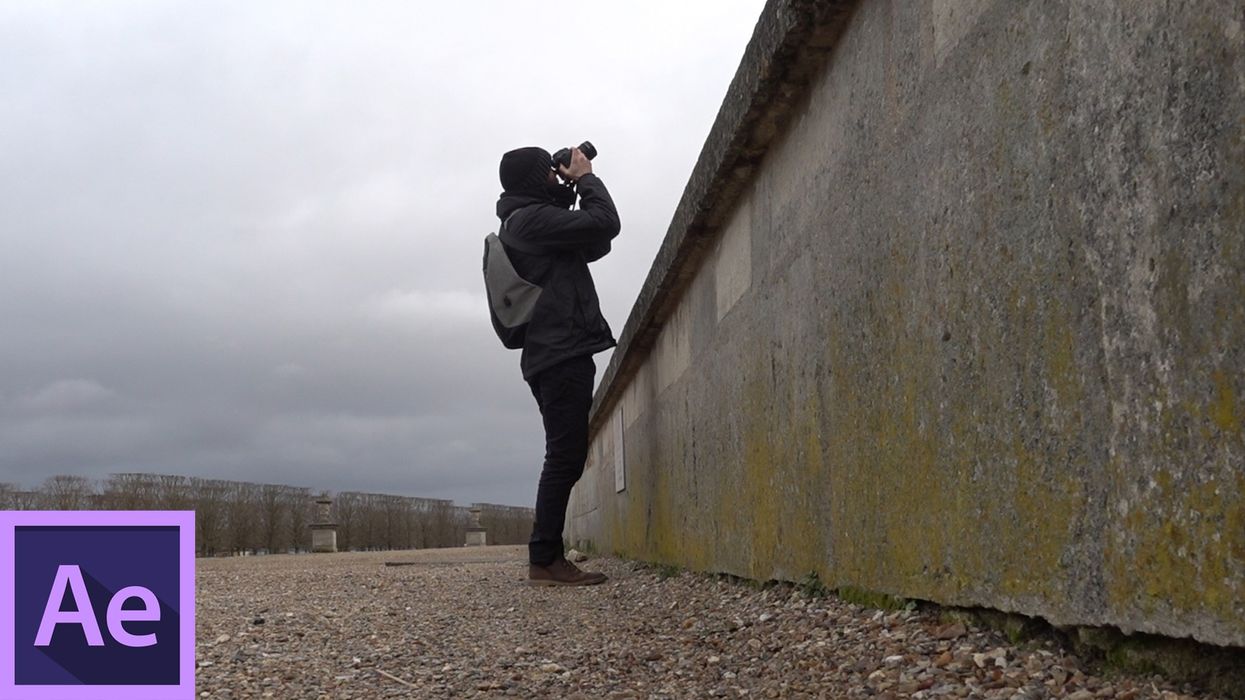
Next, you’ll need to check the point of reference from different positions. You want to be sure that the composition looks good throughout the entire hyperlapse. It’s easy to start a hyperlapse and then realize that at the end your framing is all out of whack. Finally, it’s important to find something that will guide you along as you’re shooting. For my shot, I will use a concrete moat wall directly in front of the chateau. This will keep me at an equal distance from the chateau at all times. Pro tip: symmetry is your friend.

Step 3: Shoot
Once you’ve properly scouted the location you can begin the shoot. There are a few tricks to keep in mind when shooting a hyperlapse. The first is once you start shooting, keep shooting, and at a regular pace. The pacing and timing of your shots are important. I’m spending roughly one second for each image, and I’m taking one full step left between each shot, using the wall to guide me.
The reason you want to pace yourself is so you can get smooth movement with anything that is changing in the frame. While I’m shooting a stationary chateau, I have clouds moving in the background. By properly pacing myself between each shot, the motion should look smooth in the final hyperlapse shot.
It’s also very important to keep your point of interest in the same spot for each frame. Use a guide or a grid in the viewfinder display to keep this point in the same location throughout the hyperlapse. I’m keeping my gargoyle point of interest in the center of my frame for each photograph.

Step 4: Import
Once you’ve finished your shoot, copy all of your photos over to your hard drive. To bring them into After Effects go to File > Import > File. Select the first image in your sequence and make sure Importer JPEG Sequence is checked. Now your photos will be imported as a single image sequence file. If you want to change the frame rate of the file simply select it in the project panel and go to File > Interpret Footage > Main.
Once my image file is imported, I’ll create a new 1920x1080 30fps comp and drag the image sequence file into the comp. Just as I planned, my file is large enough and just over 4 seconds in length. I’ll scale it down to 57% and then give it a preview. Uh oh. The preview looks pretty terrible. Even though I used a point of reference to align my shots, they are still off by quite a bit. How can I fix this?

Step 5: Stabilize
To stabilize my shaky image sequence I’ll open up the Effects & Presets panel and search for the Warp Stabilizer VFX effect. Once I drag and drop the effect on my clip, it will automatically begin to analyze and stabilize my clip. This may take a few minutes, so be patient. Check out the before and after clip of the stabilization. Still a little wobbly, but nevertheless a DRASTIC improvement from the raw. It’s almost night and day.
This effect is actually available in Premiere Pro, but it has limitations when compared to After Effects. For instance, you can only apply the effect on a clip if it is in a sequence with the same settings. Therefore I would have to nest sequences to get my hyperlapse in a 1920x1080 sequence. It’s quite clunky, and sometimes the stabilization looks different from After Effects.

Have you ever shot a hyperlapse? Share your tips and tricks with us below!