When editing video in Premiere Pro, you're always looking for ways to be more efficient and save time. One way to do this is to find the clips you need as quickly as possible. The search function in Premiere Pro makes this easy. In this video, I show how to best use Premiere's Find in Timeline feature, including how to search based on the clip name, the framerate, effects applied, markers, labels, description and so on.
As a short overview, to find the clip on the timeline you need to:
1. Activate the Timeline Panel.
2. Press Ctrl + F (Command + F on Mac) to open ‘Find in Timeline’ dialog box.
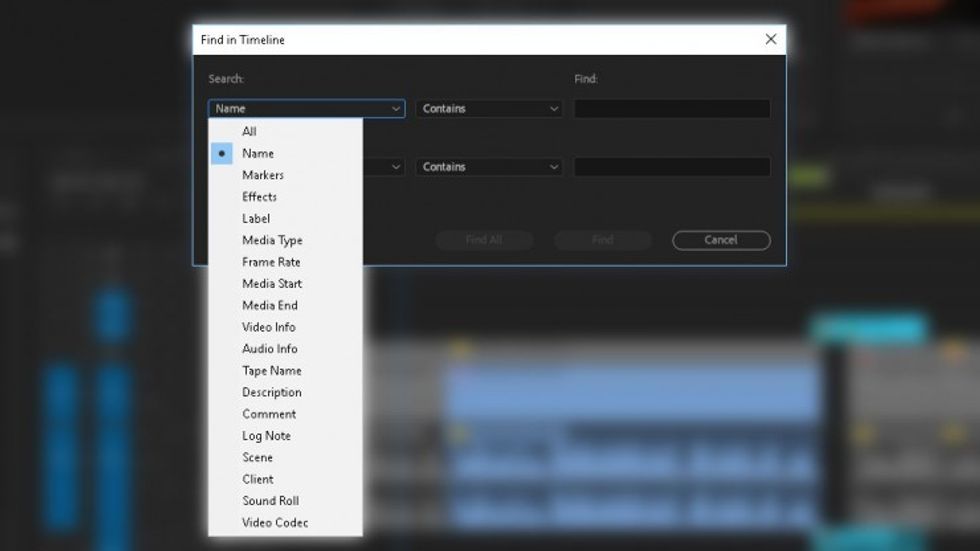
5. Enter the value you want to find.
When you click ‘Find’ Premiere Pro will move the playhead to the first matching clip. You can go to the next one by clicking ‘Edit - Find Next’, and if you want to select all instances that match a given criteria click ‘Find All’.
One of the examples I mention in the video is looking for all clips that have ‘Warp Stabilizer’ applied. To do it, you need to follow these steps:
- Press CTRL + F
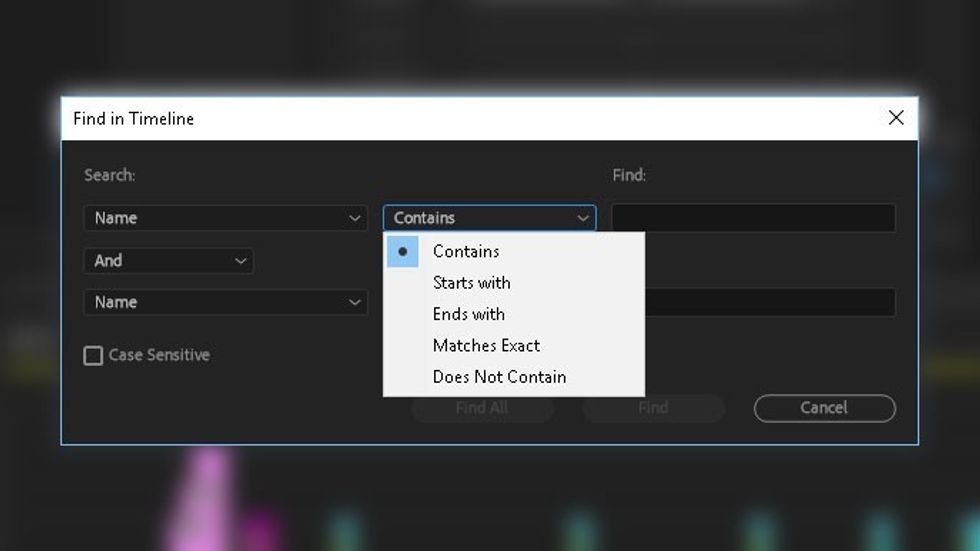
- Choose ‘Effects’ from the first list
- Choose ‘Contains” from the second list
- Type ‘warp’ in the ‘Find’ field
- Press ‘Enter’ (‘Return’ on Mac) or, to find all at once, press ‘Find All’
Did you find the video useful? Maybe you have different ideas on using this feature. Let us know down in the comments.