3 Tips That Will Help You Avoid Washing Out the Color from Your Gels
Want to make sure the color from your gels is as dynamic as possible? Here are a few tips that might help you out.

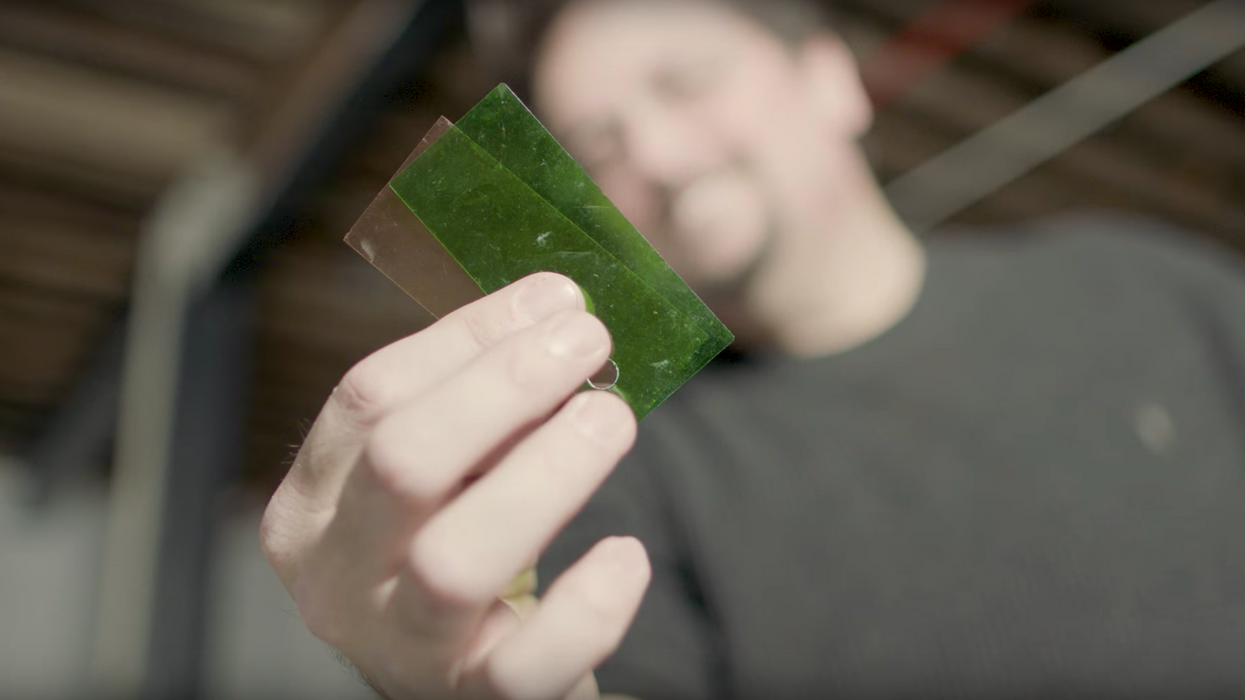
Color gels are an integral tool in filmmaking; you can use them to add a little bit of warmth or coolness to a shot or you can go wild and add a bold splash of color across your background. Whichever way you decide to utilize them, though, you'll want to make sure that you're creating an environment in which they can do what they're made to do. In other words, don't wash out your color gels! If you're not sure how to avoid doing that, check out this helpful video from Adorama's David Bergman.
Even though Bergman talks about using gels with speed lights for photography, his advice transfers easily over to filmmaking. The key point of the video is to show you how to use gels and light your scene in such a way that the color of your gel stays vibrant instead of washed out.
Here are the three tips Bergman mentions in the video:
- Cover your source completely: The first thing you should ensure is that your gel is covering your light source completely. If you're using a studio light, that shouldn't be much a problem since most gels are cut to fit, but if you're not, you might have to cut them down to size. You might even have to mount them onto your source with some gaffers tape if they're especially small or oddly-shaped.
- Exposure: Your exposure will not only change the darkness of not only your image but the saturation of the color of your gel, as well. The darker your image, the darker the color. So, if you overexpose, expect the color to be more washed out.
- Light pollution: The other lights on your set can affect the saturation of your color gel, so reducing any spill light that interferes with your color is key. A good way to do this is by either using modifiers on your main source that help direct and control light and reduce spill or by moving the source closer to your subject (if you can).
What are some other helpful tips for working with color gels? Let us know down below.
Source: Adorama


