5 Tips That Will Help You Nail Your Next Timelapse Video
In most cases, surprises are nice—just not when you're shooting timelapses.
Timelapses are a lot of fun to shoot and are relatively simple to pull off if you've got all the gear you need, like an intervalometer, some ND filters, and a tripod or other stabilizer. However, there are a few things that can really throw a wrench in your shoot and make your images more difficult to work with in post, so here's Teppo Haapoja and professional "time warper" Matthew Vandeputte to offer a few tips that you can use on your next timelapse. Check it their video below:
As I said before, timelapses are relatively simple—"relatively" being the key word here. They're not "insanely" or "completely" simple because they do require a bit of planning before you go out and shoot.
Make sure you have all of the gear you need: camera (duh), stabilizer (use a slider if you're feeling like a rockstar), intervalometer, and ND filters (if you want). Be sure that whichever stabilizer you use is indeed sturdy and keeps your camera absolutely still. Any change in position will destroy your timelapse. Also, check the weather to make sure you're prepared for any clouds that may roll in.
ND filters are not required for shooting a timelapse but before you say yes or no to using one, consider how that decision will affect your image. For example, if you're going to shoot on a bright, sunny day, in order to avoid overexposing your images you'll need to either 1.) not use an ND filter and shoot at a high shutter speed OR 2.) use an ND filter and shoot at a lower shutter speed. The first option will result in more depth of field and crisper images, while the second will result in less depth of field and lots of motion blur. It's up to you to decide which style best fits your subject.
Once you have your gear, your location, and rig set up, here are a few things to keep in mind before you start shooting, according to Vandeputte:
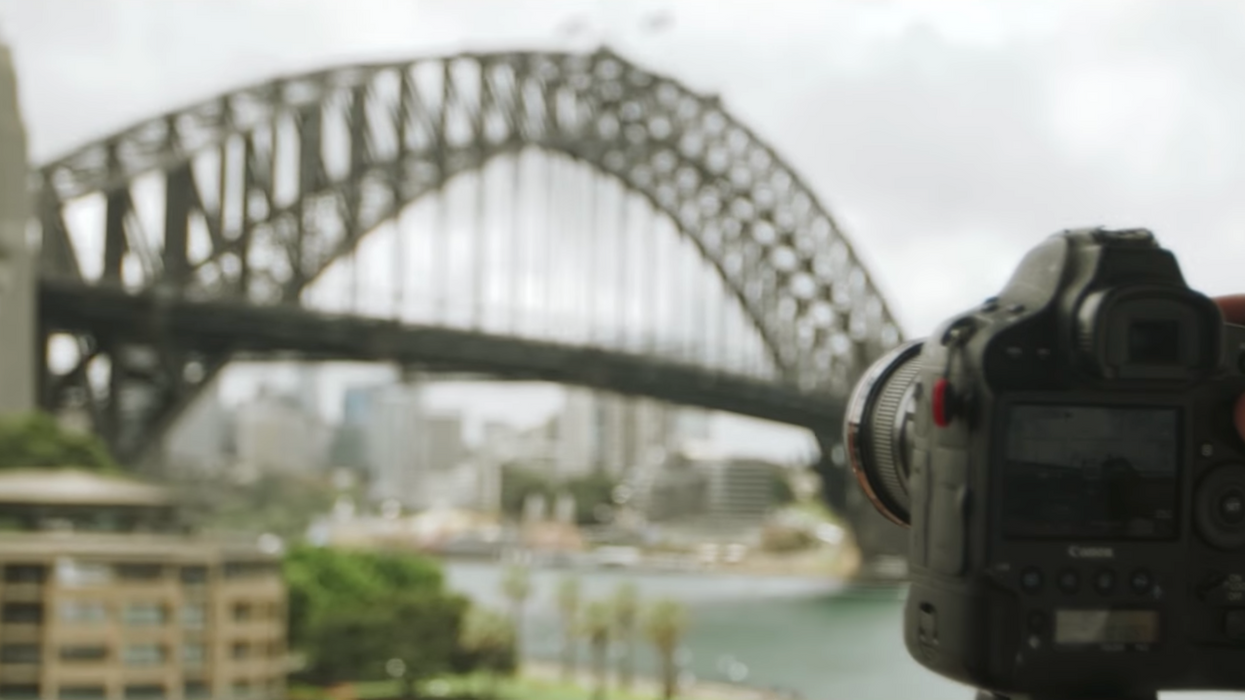
- Make sure all of your settings are on manual mode so your camera doesn't try to correct for any changes. Set your own ISO, focus, white balance, shutter speed, and aperture.
- Turn off internal image stabilization to avoid jitters and blurry images.
- Shooting in RAW can give you more latitude for color grading when you head into post.
- Again, use ND filters to add motion blur.
- Vandeputte suggests the following intervals: standard shoots: 1-2 seconds, cloudy day: 3 seconds, sunset/sunrise: 5-10 seconds.
We've featured several of Teppo Haapoja's great videos here before, but if you liked the advice Vandeputte shared, you should check out his personal YouTube channel. He shares a ton of beautiful timelapses and hyperlapses, as well as a lot of other great tutorials on how to produce pro-quality "time warp" videos.
Source: Teppo Haapoja