Sure, VR looks interesting, but who has time to learn a brand new medium when you’re still perfecting the craft of filmmaking? While attending SXSW 2018, No Film School viewed a hands-on VR Storytelling for Filmmakers session led by Mark Sternberg of REVRIE Immersive Works and Kiira Benzing of Double Eye Productions that provided filmmakers with a crash course.
In addition to a basic explanation on the key differences between working in film and VR, there were hands-on demonstrations for each part of the process—with additional presenters Dario Laverde from HTC Vive, Kent Rahman from Thoughtworks, and Samantha Wolfe from PitchFWD—and demos from VR camera makers Kandao Obsidian as well as Mindshow.
If you're interested in trying your hand at VR but aren't sure where to start, this discussion covered crucial points that might pop up in your journey from pre-production through post. The following breakdown should give you a taste of the concepts needed to get started.
Here's a breakdown of the process that Sternberg and Kiira covered in the session.
1. VR Pre-Production

Storyboarding
Welcome to the equirectangular frame. Or, as Benzing leaders describe it, "a fancy word for taking a projection of a sphere flattened out into a map."
Above is the proposed equirectangular storyboard.
Vocabulary:
- Zenith = top point of sphere
- Nadir = bottom point of sphere
- Stereoscopic VR = provides a different image for each eye
- Monoscopic VR = provides the same image for both eyes
Here's a tip: because headsets aren’t all that comfortable yet, don’t set nine minutes of your story in the zenith or nadir, unless you want viewers to experience some serious neck aches.
When crafting the POI, anticipate rebellion (as session leaders described it) where some people will, for whatever reason, want to “look at the potted plant in the corner.”
Point of Interest
In terms of most-used vocabulary, VR tends to refer to the point of interest (POI). A POI is what VR creators come up with to attract the eye of the viewer, and therefore, lay out a path (or multiple paths) for the viewer to follow. Something direct that viewers might follow would be a glowing ball of light, while a less direct POI might be a single human figure that the viewer will naturally gravitate towards.
Tip: When crafting the POI, anticipate rebellion (as session leaders described it) where some people will, for whatever reason, want to “look at the potted plant in the corner.”
Problematic use of POI:
- Points of interest that never leave the 90-degree area in front of the viewer. When you do that, the complaint you get from the viewer is, "why was this VR?"
- Ping-ponging: When two points of interest are 180 degrees away from each other, the viewer gets tired of looking back-and-forth and gives up.
Blocking for VR
Because actors are always in the frame, they are always "on." Since they don’t exit and enter the frame, they must always stay in character.
- Block actors in regard to stitches, and don't have them enter the place between cameras where they will be stitched.
- Equipment needs to be hidden or maskable.
- Because the equirectangular frame will capture everything, you must choose to hide cameras, mics, and lights, or else embrace them being present, a la Terrence Malick’s Together VR.
Further reading:
- Jessica Brillhart’s explanation of the VR hero journey/point of interest “onion.”
Useful tools:
- VRDoodler, a browser-based 3D drawing platform that can render in VR.
- Mindshow, a platform that allows you to use Steam in PC and HTC Vive to create VR.
2. VR Production
 Two professional 3D 360 Obsidian cameras from Kandao, who gave hands-on demonstrations during the SXSW session.Credit: Kandao
There's a ton of different options for shooting VR, from cheap consumer products to high-end rigs. See what you can get your hands on and experiment with!
Frame Rates
While 24fps is the standard film look, in VR that frame rate looks weird, and so it's all about 60fps and up. Sternberg suggests that 24fps in VR is something you would do to give a dream-like effect, whereas for a situation based "in reality," 60fps is the slowest you can go. Additionally, 60fps and above is requested by nearly all VR distribution platforms.
Camera Position
It's important to keep the VR rig cameras level, as it's extremely disorienting if the horizon is not level in VR. People freak out! Exception: Canted or Dutch angles can be used effectively (that is, if not overused).
- Unstabilized, moving shots are the leading cause of nausea. Humans get sick when faced with the illusion of self-motion, i.e. when what your eyes are seeing conflicts with what your body is feeling.
Considerations in Cinematography: Shots in VR
- The default shot is the wide shot
- There is the floating brain/observer shot
- A 360-degree camera with mini perspective can achieve a macro effect, like Cardboard City.
- A stereoscopic 180 head-mounted Being John Malkovich shot where the viewer finds themselves in another person's body.
Useful link:
- Unity XR Resources for Getting Started with VR
3. Post-Production
https://www.youtube.com/watch?v=PURDK55jUvk
Stitching
The first part of any VR post-production is stitching together all the different camera angles into your equirectangular frame, which is as easy as importing your footage into a stitching program like Kolor’s Autopano Video.
Once you’ve got your footage stitched, you can feel free to edit in your program of choice.
Editing that works in VR
- J-cuts and L-cuts work, as do montage and voice-over narration, like in Spheres.
- While hard cuts are a problem (see below), there are exceptions to when they can work with the help of sound design timing that won't disorient the viewer.
- Match cuts work if POI is the same.
Editing that doesn’t work in VR
- Hard cuts: they rip the viewer out of the experience and are generally too disorienting for viewers.
- Short cuts: viewers need time to acclimate before they return to the story, so quick and short cuts don’t work.
Color grading works in VR
- Color grading can add to the "reality vs dream" aspect of your narrative.
- Vignettes can be a less forceful way to direct the viewer's eye, as in Butts.
Hopefully this is enough to get your hands wet in the world of VR filmmaking!
See all of our coverage of SXSW 2018.
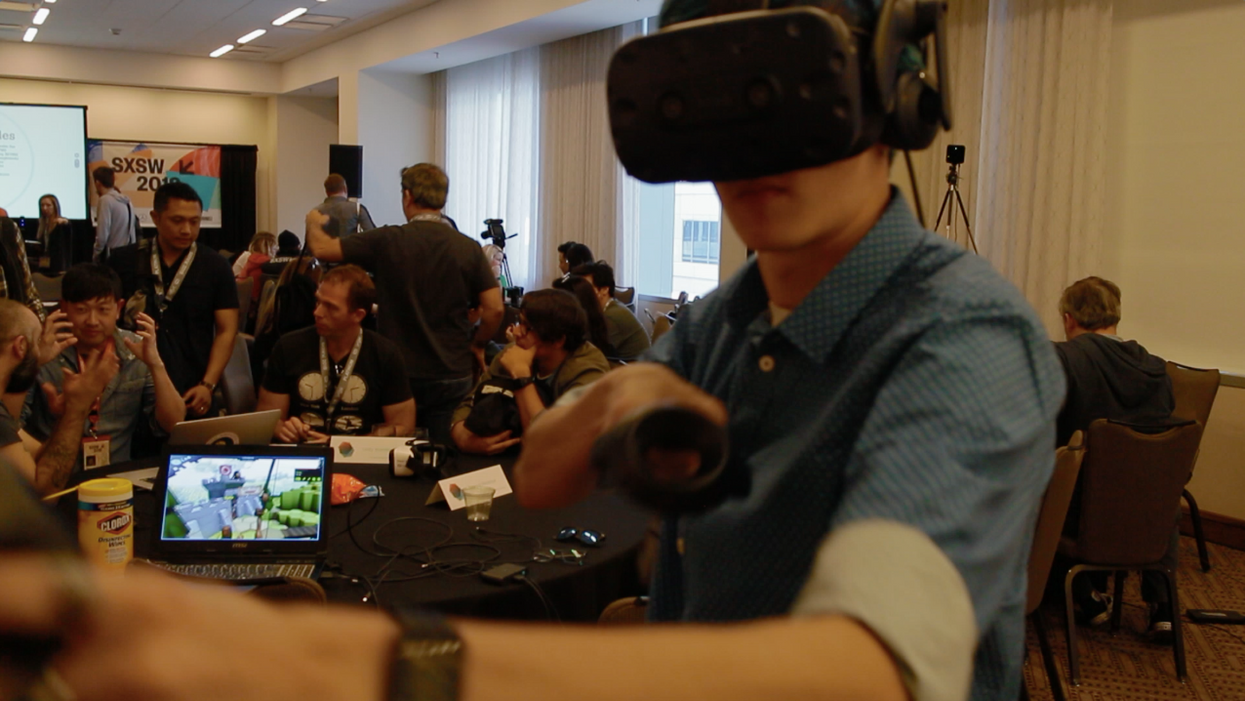
Header image of a participant pictured in HTC Vive doing the demo from Mindshow during the SXSW session VR Storytelling for Filmmakers.