Learn the 3 Stages of Using the Pancake Timeline in Adobe Premiere Pro
Learn how to master the Pancake Timeline technique in Premiere Pro.

As a kid, I wanted to become a pilot. Although that never panned out, I found some similarities shared between being a pilot and being a film editor. Mainly, we both need a quick access to some assets when the situation requires. As an editor, I have found that Pancake Timelines meet the requirements.
In the video below, I'll walk you through the three stages of working with the Pancake Timeline. We'll cover what the term stands for, what are its possibilities, and what are rather unknown features on Premiere Pro that may be useful in this exceptional and effective editing workflow.
1. Stacking the timelines
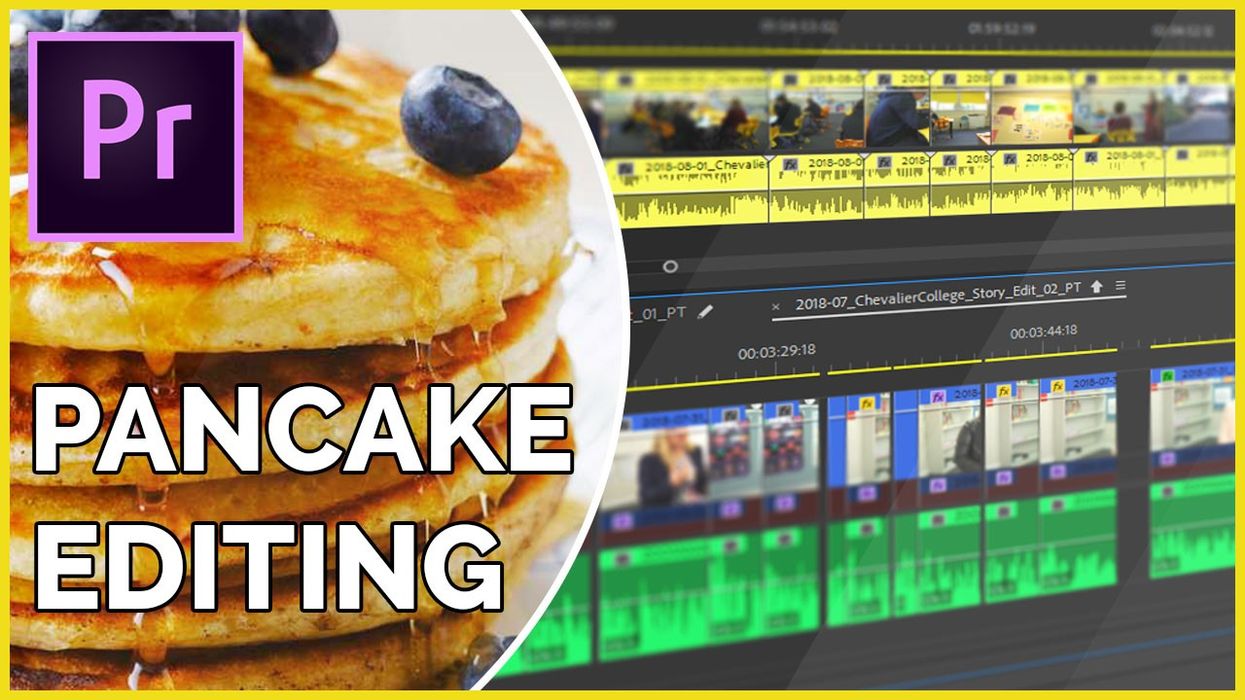
To use this workflow, you need to have at least two timelines (and a reason to use them together). For example, you can have an A-roll cut and a B-roll selects sequences. Another idea is to work with Selects and Rough Cut sequences. It obviously depends on your preferences and the type of the cut you're working on.
When the sequences are open, you can move the tabs to stack one on top of the other to create the Pancake Timelines. You can add more layers to it with more timelines if that's what you desire.
You can easily drag the clips between sequences. If you want to drag video and audio clips independently, the best way is to deactivate is via Linked Selection button. Please check this article to get more details about it.
You can also further optimize your workflow by using labels. The best way is to assign shortcuts for labels is laid out in an article I wrote about using labels in Premiere Pro as well.
Once you have set up the timelines and other panels in a configuration, you can save it as a custom workspace. All you have to do is go to Window - Workspaces - Save as New Workspace. By the way, it will be saved together with the project, so if you open it on another computer, your saved workspace will be there as well.
2. Open sequence in the source monitor
Now it’s time to investigate more ways to use this technique. While most of the people stop at the first stage, you can do much more with Pancake Timelines.
The trick is that you can actually open any sequence in a Source Monitor panel that lets you perform inserts and overwrite edits. To do it, right-click the sequence and choose "Open in Source Monitor." Now open Source Monitor settings (wrench icon) and select “Open Sequence in Timeline”.
The sequence will open in the Source Monitor (indicated by the red playhead). If the Timeline is opened in the Program panel, the playhead is blue (the default situation). Now you can use In and Out Points and insert or overwrite clips from one sequence to the other. Remember to check which tracks have the source patching activated first.
One more thing to consider. Because we insert or overwrite part of the sequence, this will show up as a nested sequence in the target timeline. To prevent it, we need to deactivate the first button in the timeline settings that basically controls whether we insert/overwrite nested sequences or we do not. Check out the article about the three buttons you need to use in Premiere Pro.
3. Working with a dynamic sequence
Let’s say we need to use a sequence from a different project. Instead of opening the project separately and copy/paste the assets, we can do it using dynamic linking.
Just go to the Media Browser panel and find the project containing the sequence you’re interested in. If you double-click the sequence, it will open in the Source Monitor panel and here again, we can open it as a timeline. The red playhead once again indicates to us that this sequence is opened in the Source Monitor.
Although you cannot move or modify clips in the dynamic sequence, you can stack them in Pancake configuration and perform insert and overwrite edits from one sequence to the other. The clips you’ve added will be automatically imported to the active projects.
Will you use Pancakes Timelines from now on? If you do already, have you found something new in the article? Let us know down in the comments.


