Premiere Pro gives you a number of different ways to work with timecode. For example, you can throw the Timecode effect on individual clips to show source timecode, or even generate your own. Use timecode to quickly jump to a specific part of your sequence by simply typing a specific time in the timeline panel. You can also create a custom timecode overlay for the Program Monitor, displaying timecode information from any or all tracks. Premiere even has a customizable Timecode panel.
One of the best ways to utilize timecode is via an overlay stamped onto your exports. This is perfect for when your sending deliverables to a client for review. With a timecode stamp, clients can quickly and easily reference any section of your project. The overlay can also serve as a watermark, preventing clients from walking away without paying. Let’s take a quick look at how to add a timecode stamp to your Adobe Premiere Pro exports.
Adding a timecode overlay to a video is actually quite simple; you just need to know where to look. Again, since we only want the overlay to be placed on the final export, we don’t need to worry about adding it until we’re completely finished with the project. The settings are (surprisingly) located in the Export Settings dialogue box. To open this, simply go to File > Export > Media.

Once open, you will notice a few tabs just under the Export Settings subsection. Select the Effects tab, which is the furthest one on the left. Here you’ll find a plethora of options to add to your video export. These include the ability to add LUTs and various overlays, such as the file names, custom images, and timecode. You can even input specific settings to normalize the loudness of the audio and limit the signal of the video.
After selecting the Timecode Overlay option, you have complete control over how you want the timecode to be displayed. Customize the position, scale, and opacity of the background element. These settings are especially helpful for when you want to use the overlay as a watermark. You can even switch from the media source to generate a custom timecode, even displaying frames instead of time.
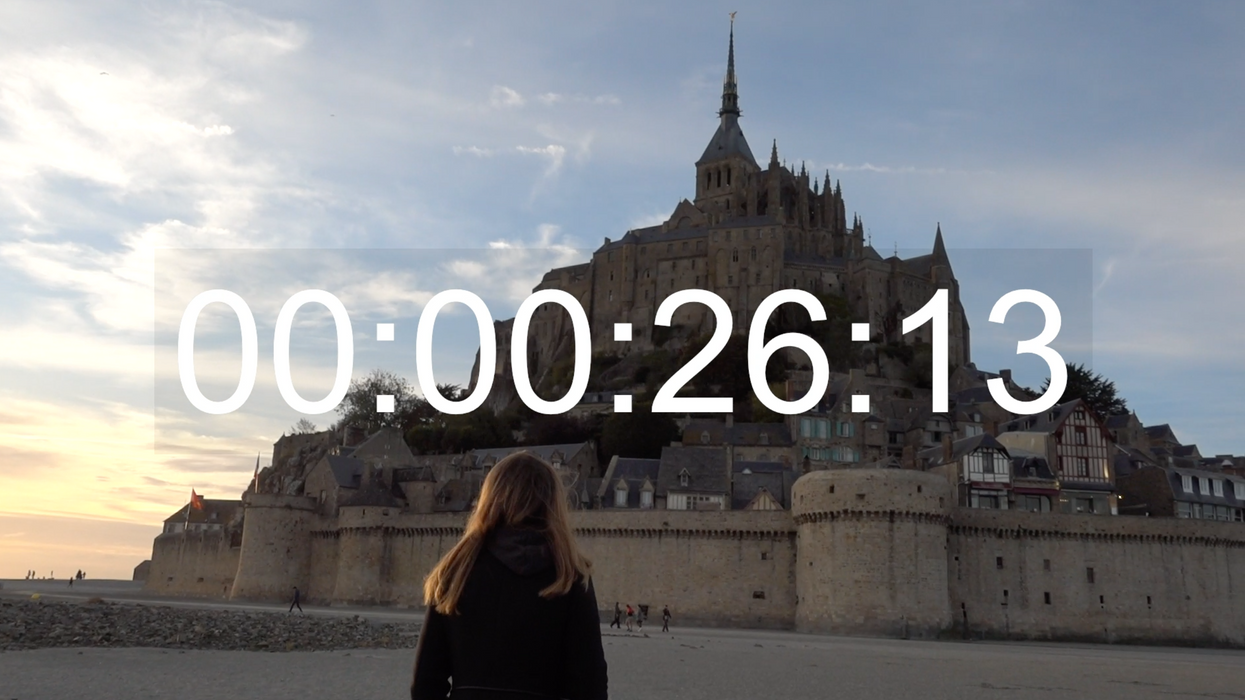
And there you have it—a timecode stamped video, ready for review.
How do you use timecode in your projects? Let us know in the comments below.


![Ethos, Pathos, Logos: 20 Effective Ways to Advertise [Infographic]](https://nofilmschool.com/media-library/ethos-pathos-logos-20-effective-ways-to-advertise-infographic.jpg?id=34064614&width=600&height=600&quality=90&coordinates=560%2C0%2C0%2C0)

