The Puppet tool inside of After Effects is extremely powerful. The problem is that it can be a bit complicated to figure out how and when to use it. It takes some practice to really get a handle on how to properly manipulate and animate pins for a desirable result. The upcoming 2019 release of Adobe After Effects will introduce several new features to the Puppet tool, including two entirely new pin options. Let’s take a closer look at these new features inside of After Effects 2019 and figure out what they can do.
But first, here's a quick comparison of what the Puppet tools look like between the upcoming release and the latest version.
Adobe After Effects 2018
- Puppet Pin Tool
- Puppet Starch Tool
- Puppet Overlap Tool
Adobe After Effects 2019
- Puppet Position Pin Tool
- Puppet Starch Pin Tool
- Puppet Bend Pin Tool
- Puppet Advanced Pin Tool
- Puppet Overlap Pin Tool
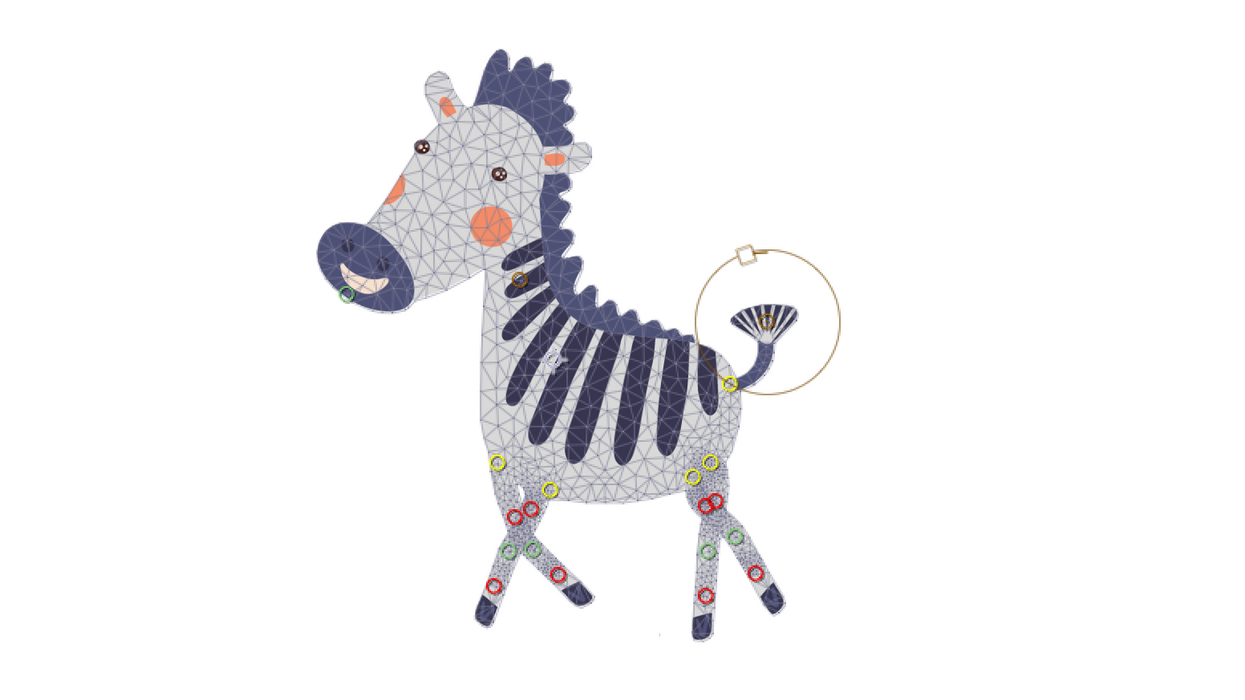
To show you how things work, I’m going to bring this Zebra graphic to life by creating an animated walk cycle, incorporating the new Puppet tools along the way. This Zebra is an Illustrator file that has an alpha channel, which is important if I want to animate it properly. Let’s get started.

For the first step, I'm going to place position pins just above each leg. You will notice that the Puppet Pin tool is now called the Puppet Position Pin tool. This tool does exactly what the name implies—it pins the position. You can move these pins to deform your graphic, but these four will serve as anchors. Since I'll be mostly manipulating the legs of my zebra, I want the rest of the body to stay static. Placing position pins where the legs meet the body will keep the body in place.

Stiffen the Legs with the Starch Pin Tool

Add Advanced Pins to the Legs

Animate the Legs with the Advanced Pins
To animate the legs, I'll only be adding keyframes to the rotation and position attributes of the advanced pins located on each leg. Be aware that when you add puppet pins, keyframes are automatically added wherever your playhead is located. To help with the animation, I've found a reference image of stages of a horse trot. Each stage of the trot includes an illustration which I'll use to reference how to position and rotate the legs. Since there are six stages, I'll make a cycle of my animation using six keyframes, spaced five frames apart. This will give mone-secondcond animation. To make it loop, I'll simply copy the keyframes from the beginning and paste them at the end.

Animate the Head and Tail with Bend Pins
The walk cycle looks good, but I want to have the head and tail move slightly as the zebra walks. For this, I'll use the new Bend Pin tool. This tool is very similar to the Advanced Pin tool, except that you can't change the position. When you rotate via a bend pin, it will rotate in relation to other position pins. With an advanced pin, it will rotate more around the center of itself. Don't forget, you can change a pin at any time by going to the Puppet effect on your layer in the Timeline panel. Voila! Now I have a walking zebra.


To fine tune this animation, I can pre-compose and change the speed, as well as animate the position of the layer to make it walk across the screen.


![Ethos, Pathos, Logos: 20 Effective Ways to Advertise [Infographic]](https://nofilmschool.com/media-library/ethos-pathos-logos-20-effective-ways-to-advertise-infographic.jpg?id=34064614&width=600&height=600&quality=90&coordinates=560%2C0%2C0%2C0)

