How to Add Handheld Camera Shake Without Leaving Premiere Pro
This Warp Stabilizer hack from AdobeMasters makes it easy to fake a handheld look.
We’ve all been there: after days of work in the editing bay, your project is nearly perfect. You’ve locked your picture and mixed your audio. From hundreds of archival clips, you’ve gathered the essential ore and forged it together.
After careful honing and polishing, your sequence is now practically a katana of visual storytelling. But right before you export, a pang of doubt makes you pause. Does that locked-off clip clash with the handheld footage next to it?
Ok, this might not be a universal experience, but if you’ve ever had to work with stock footage or archival clips, you know it can be tough to make everything look consistent. Savvy color grading helps, but a static tripod shot in the middle of a shaky handheld sequence often sticks out like a sore thumb.
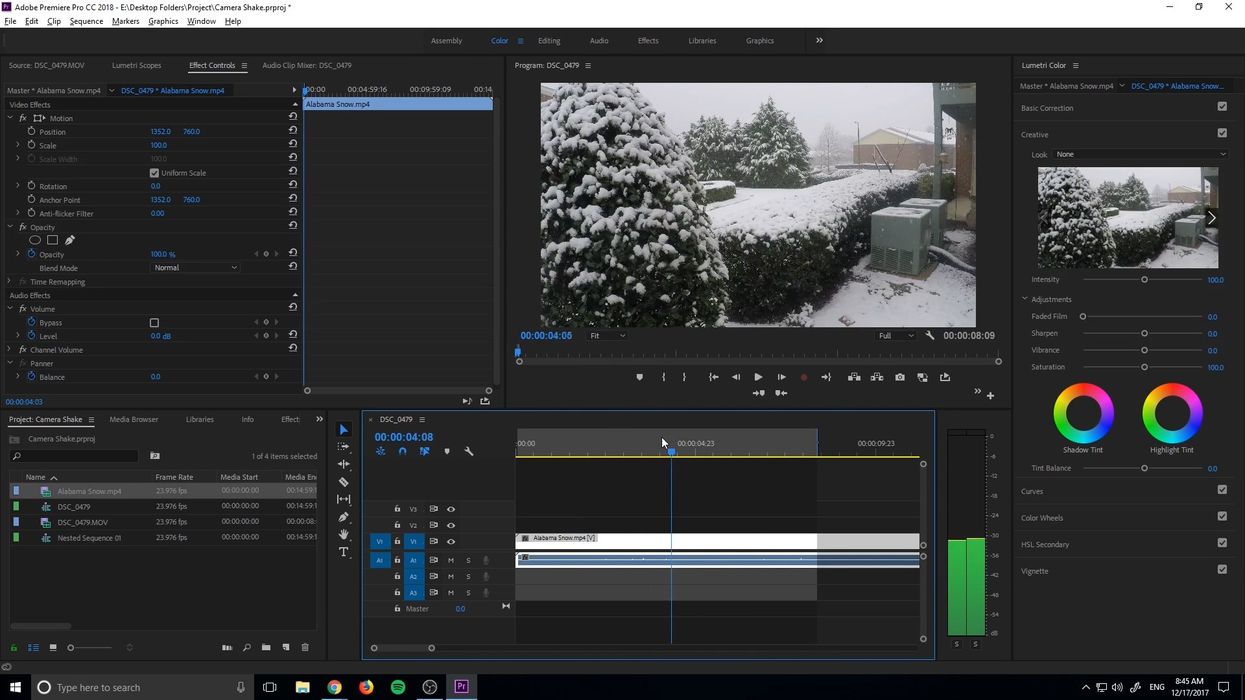
Another way to make them look more consistent is to add camera shake in post. We've shown you how to add camera shake to clips with the After Effects wiggle expression, a while back, but AdobeMasters shows how to get the same look directly in Premiere with Warp Stabilizer.
The Process
- Find a clip (any clip!) with a nice amount of camera shake, and place it on the layer directly above the shot you want to change.
- Nest both clips together in a sequence, and apply Warp Stabilizer to the nest.
- Within the Warp Stabilizer settings, select “No Motion” and “Position, Scale, and Rotation.”
- Once Warp Stabilizer has finished its analysis, click into the nest and disable the reference clip.
- Return to your root sequence—and voila! The Warp Stabilizer corrections, when applied to the static clip, will now overcorrect, creating a perfect replica of the camera shake from your reference clip.
Since this technique works by referencing other preexisting video clips, it allows you to create realistic camera shake without any tedious keyframing or After Effects expressions. Just pick a clip with movement that you like, and BAM! Movement managed.
Well done, AdobeMasters. Well done.
Source: AdobeMasters


![Ethos, Pathos, Logos: 20 Effective Ways to Advertise [Infographic]](https://nofilmschool.com/media-library/ethos-pathos-logos-20-effective-ways-to-advertise-infographic.jpg?id=34064614&width=600&height=600&quality=90&coordinates=560%2C0%2C0%2C0)

