Blackmagic DaVinci Resolve is head and shoulders the default color grading application for the vast majority of productions. Between high-end studios like Company3 all the way down to indie and one-mule-team productions, the combination of the affordable price point and powerhouse feature set has made it practically ubiquitous for color and finish. The program is free, or a one-time payment of $299 for a few extra features in Studio.
In recent years, extensive work has gone into expanding the editing toolset to where you are seeing more and more productions editing natively in Resolve from the start and then staying in Resolve through the finish.
However, on top of the color and editing toolsets, Resolve has two other toolsets that get less attention but deserve just as much respect: Fairlight and Fusion.
Both of these tools started as robust standalone tools that were purchased by Blackmagic (much like DaVinci Resolve itself was) and then integrated into Resolve. The overall holistic design of the product suite is set up to make it easy to do incredibly sophisticated work on your project all from working off a single timeline with no roundtrip or handover process necessary.
If you are already coloring or even doing edits in Resolve, it's time to spend a little time with Fairlight and Fusion.
Fairlight
Fairlight is the name of the digital audio workstation (DAW) toolset that Resolve has built into its interface.
Unlike other DAW's, there is no handover from edit to sound before you need to start working on sound. Let's say you "picture lock" and are ready for sound design. You just click over to another tab and start working on your sound design.
Best of all, if after sound design the client wants to make a quick change to something, it's super easy to go back to the edit room, make your change, and have it continue to keep all the work you did in lock.
If you've ever tried to do picture changes in the past after your first handover to sound, you know how painful the old workflow is and how wonderful this new workflow can be.
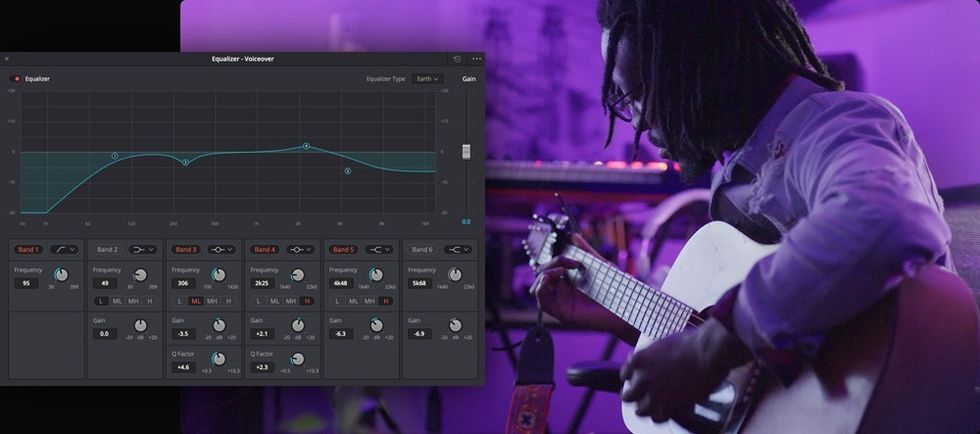
Fairlight has a robust toolset for not only applying effects (noise correction for noisy clips, EQ, reverb, pitch-shifting, and more), and organizing your audio for mix, it can be set up for a variety of outputs including the classics of stereo and 5.1 but also Dolby Atmos (when working in Studio).
On top of that is one of our favorite features, the integrated sound library.
You can import all of your external sound libraries and keep them fully indexed from within the Fairlight interface. Then when you need a door opening creak or a wind noise, you can use a keyword search to look through all your library sounds and grab something for your timeline.

Realtime playback is one of the vital aspects of working with audio. If it's not perfectly in sync with your picture, it's almost impossible to evaluate your decisions. When just editing picture, this isn't too tricky for a system to handle, but once you get into serious sound design, the number of audio tracks starts to stack up, and that can seriously slow down a system.
Remember, if you've got five or 20 video tracks, most of the time the system doesn't need to mix that video together, just show the topmost track. With audio tracks, the system needs to realtime mix your audio into something listenable. The more separate pieces of audio you add in, the harder the system has to work.
If you only get up to 20-30 tracks (as you might on a quick pass of sound design on a short clip), you'll be fine on most machines. But if you get up to 350 tracks of music, sound design, and dialogue, and start stacking up your effects on those tracks, you can see slowdowns that can make it very hard, or impossible, to work.
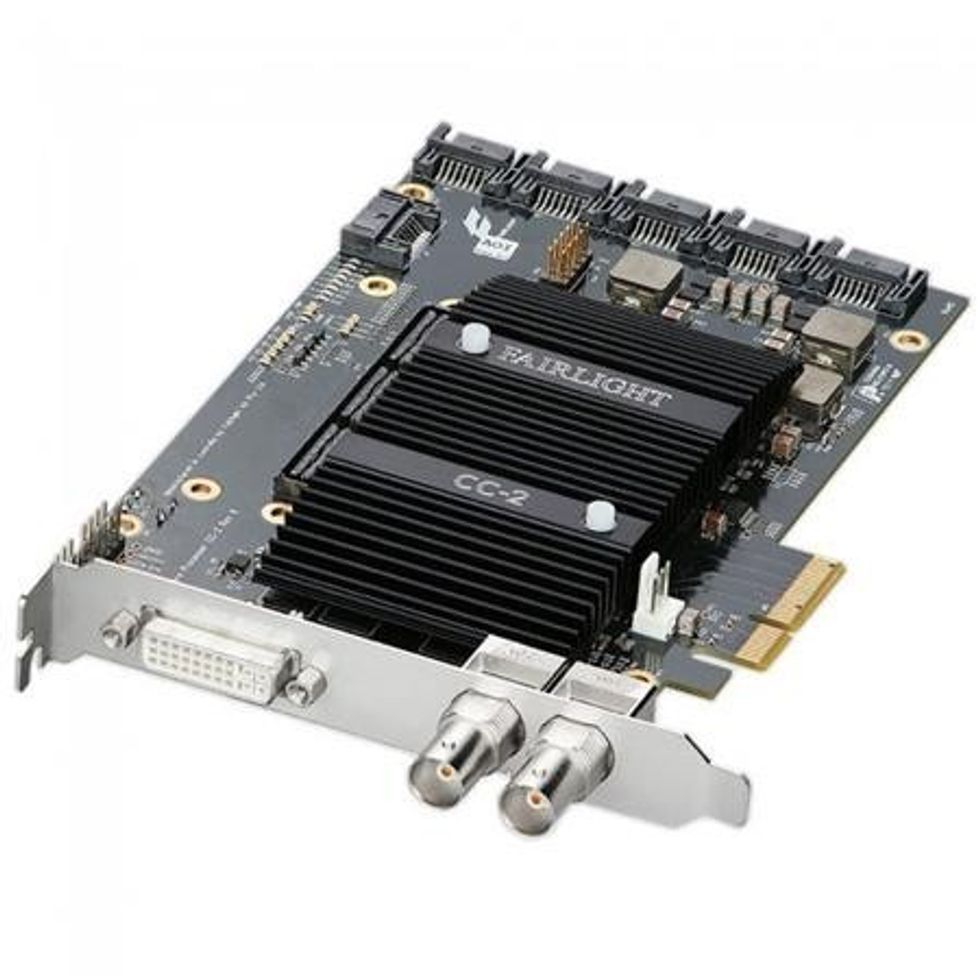
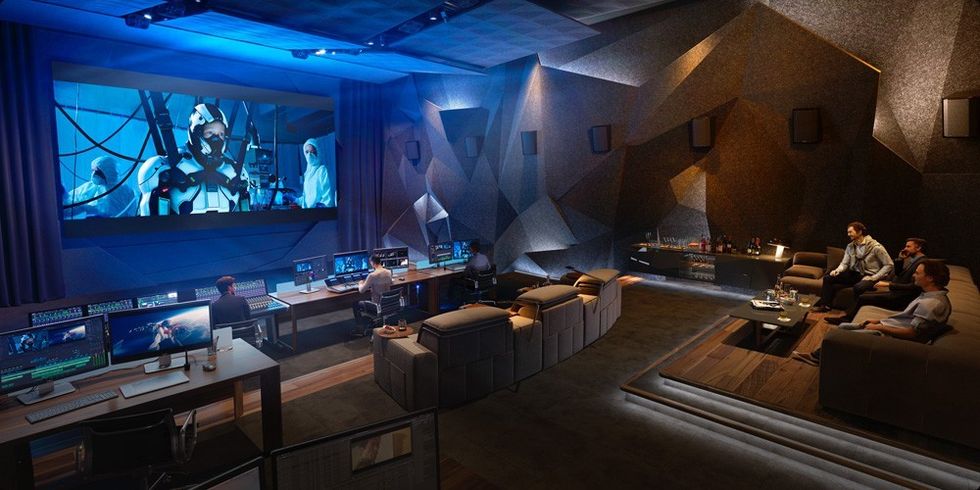
To help with that, Blackmagic created the Blackmagic Design Fairlight PCIe Audio Accelerator, a handy piece of hardware that allows for dedicated acceleration of playback when working with audio in Fairlight. With support for up to 1,000 tracks and the ability to add multiple cards, there really is no limit to the amount of sound you can bring together for your project.
They've also rolled out a whole host of dedicated panels including mixing, editing, and EQ panels for building a dedicated audio finishing station.
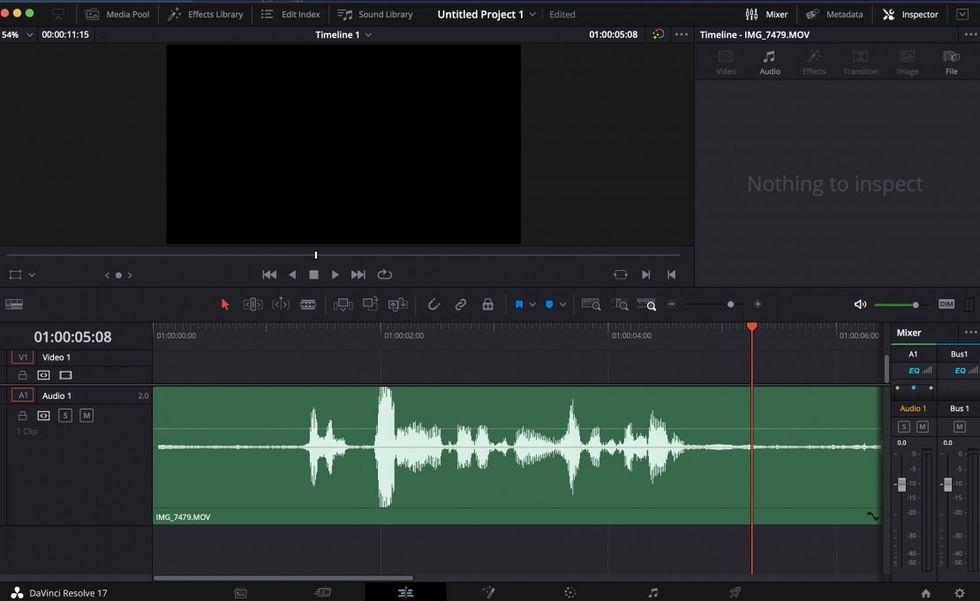
If you are looking to get your feet wet with Fairlight, a great first place to start is with a little bit of simple noise correction. Find a noisy bit of audio (or record some of yourself talking into your phone in a windy situation, or near a refrigerator), and bring it into your editing timeline.
Now click over to Fairlight, and you'll see it there. You can find your noise correction plugin in your plugins folder, and now you can choose—do you apply it to the clip or the whole track?
Applying it to the whole track can be useful if, for instance, you are working on dialogue, you've cut all of a given character's dialogue to track 1, and you want to be sure you apply the same effect to all of the dialogue. In this case, though, we can just do the one clip.
You should also notice that while the stereo audio only occupies a single track in the edit room, you get access to both the left and right channels of that stereo clip when you go to Fairlight. This keeps your edit room cleaner while you are focused on editing, then allows for more power when you move into sound.

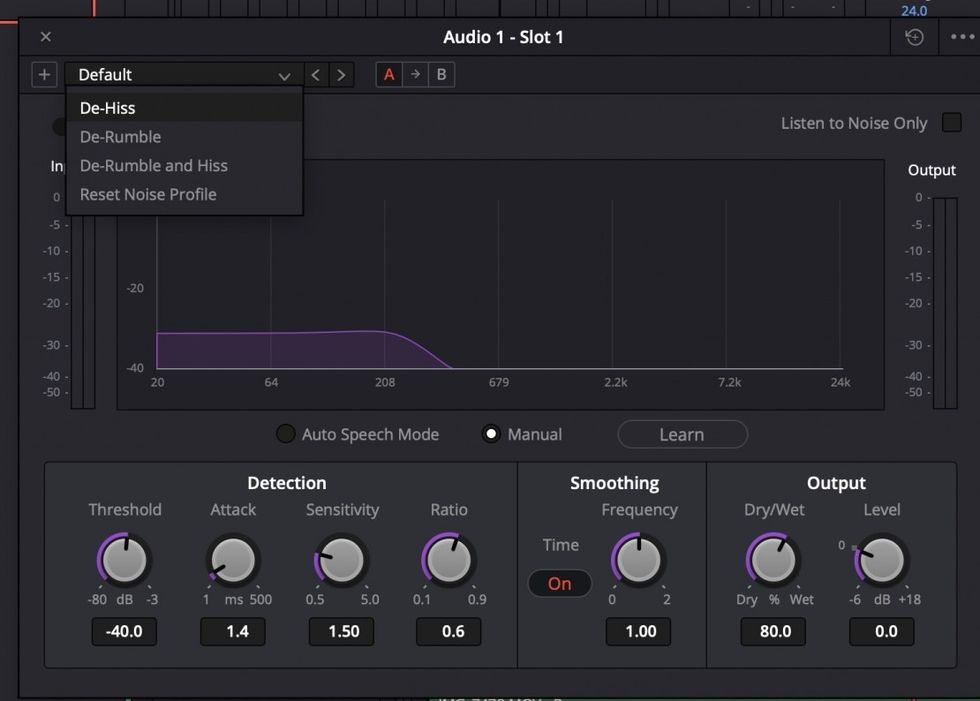
The plugin settings should appear, which come with a variety of preset options or the ability to manipulate various settings to get the sound you like for removing the noise.
You'll notice that if you get heavy with noise correction things get a bit smeary; the same thing happens with picture, where overly heavy processing can go too far. But if you manipulate it for a bit (attack refers to how fast/slow the NR comes in, for instance, while dry/wet refers to how much of the original signal is mixed back into the output), you should see the power you have at your fingertips in Fairlight.
Now go back to the edit room, and your work is still there. Make changes in one room and they show up in all the rooms. If you are having trouble with playback, you can turn on render caching to speed things up.
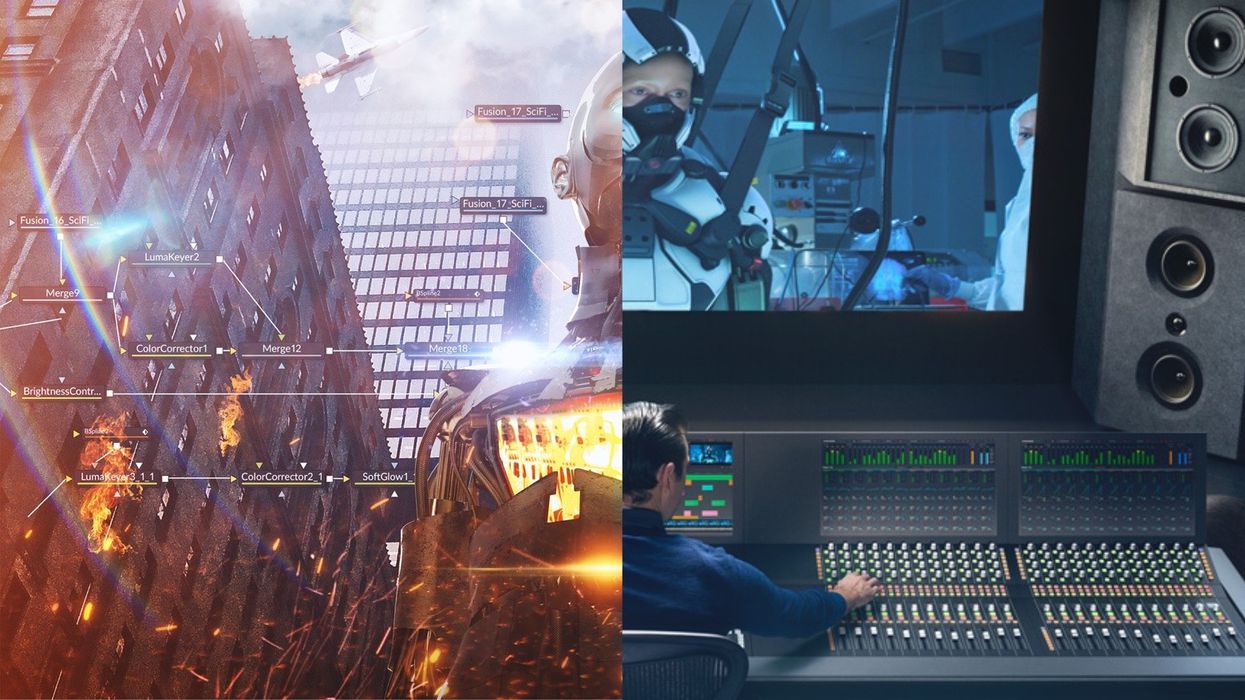
Fusion
The other major tool you should be paying attention to in Resolve is Fusion.
It's a bit more intimidating at first when compared with Fairlight, and especially when compared with the Editing and Cut rooms, both of which are easy to figure out with a few clicks. But spend a little time getting up to speed on the basics, and you should be off to the races.

Why is it worth getting to know?
Well, Fusion is a full 3D compositor, built into your editing software, for free, no roundtrip required. This means you should be able to do basically anything you would do in After Effects or Nuke straight up in Fusion, and do it on clips in your timeline without having to render them out to hand to VFX and then render them back to cut into the timeline.
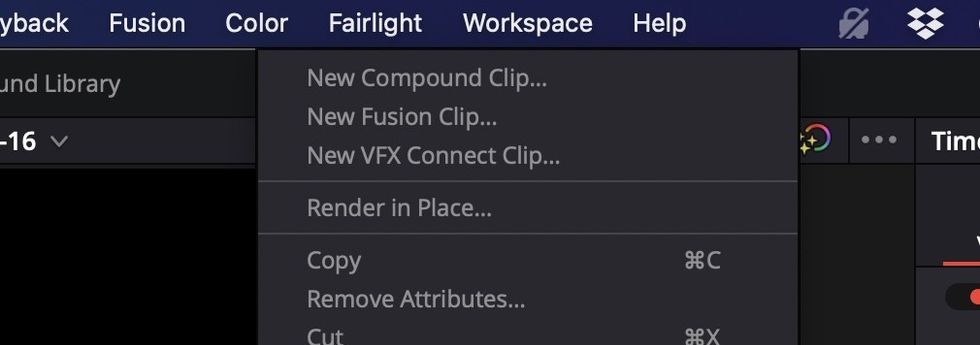
It's as simple as clicking the "Fusion" button to immediately open a Fusion composition with whatever shot you are working on. If you want to composite a few shots together, you can highlight them, right-click, and "create a Fusion clip."
Bam, you are all set up for Fusion.
The drawback to all that power is that it takes a little while to get up to speed with it. It's especially tricky since Fusion was a reasonably popular standalone app for a long time with a bevy of users, so unlike Fairlight, which was put in the Resolve design language quite quickly (it "looks like" the rest of the application), Fusion sticks with the standalone applications UI, which means it feels a bit different when you first open it.
For many users this can lead to them opening it, feeling a bit overwhelmed, and immediately closing it to go back to the familiar world of the Edit tab.
It's worth pushing through that, and there is an easy way to do that. When learning something new, it's great to start by just having something, anything, to work on right off. Spending too long with all the "prep" for hours before you get any results can be frustrating.
Blackmagic has built a whole host of pre-built Fusion effects into the Effects Library you can access in the Edit room. By working with these, you can get a sense of the power of Fusion, and with the Titles, you can even start to see how Fusion works under the hood.
Scroll down in your effects folder and you should see your Fusion Effects. Drag any of the title effects onto the timeline, and you have a whole prebuilt Fusion node tree all wrapped into an easy-to-navigate clip. You can edit the text from up in the Inspector, and without ever opening the Fusion tab you have the full power of Fusion at your disposal.
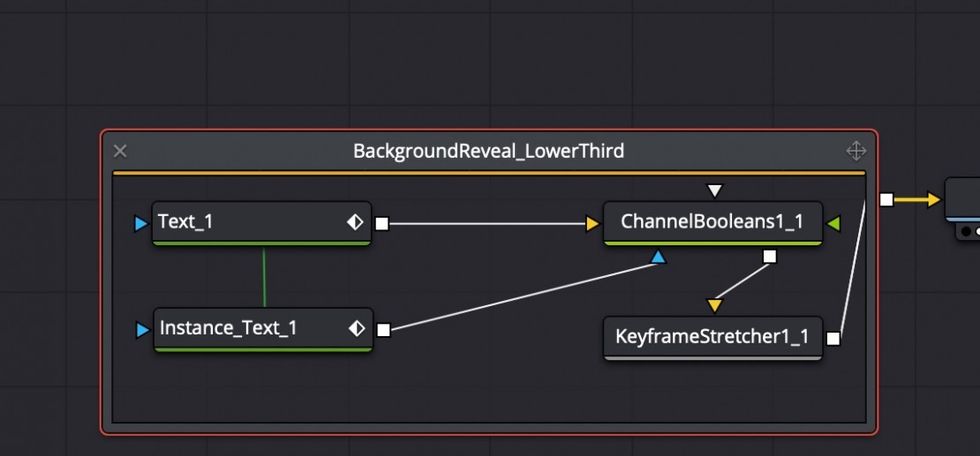
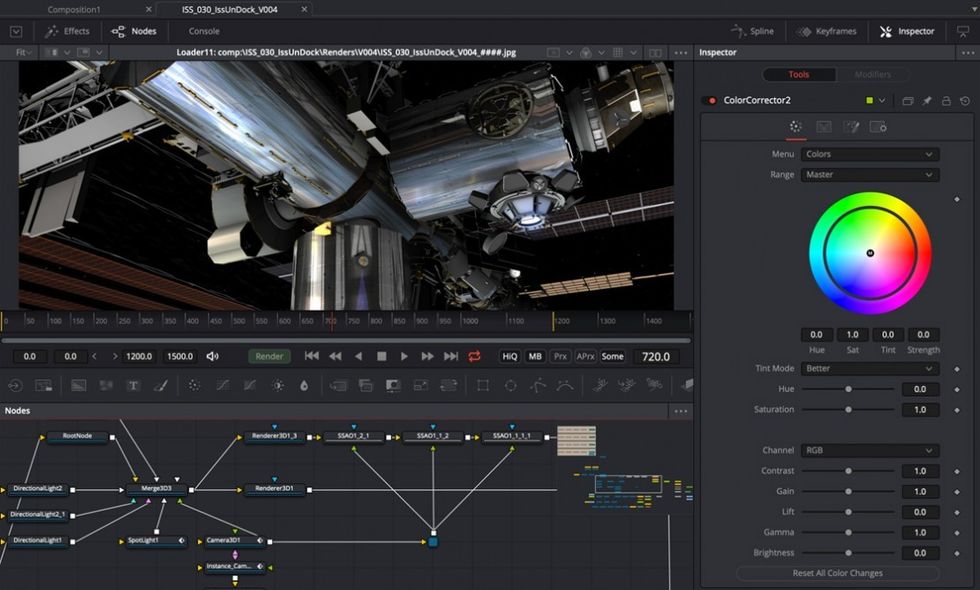
To get a sense of how things work in Fusion, though, highlight a Fusion Title in your timeline they click over the Fusion tab. You'll now see a node tree laying out how the title is put together. One thing you'll immediately notice is that the nodes don't look like the nodes in the Color room, and they behave slightly differently.
First off, you have to have a "MediaOut" node, or you won't see anything at all in the node tree.
Color has this as well, but it's just that little green dot on the right. In Fusion, it is its own whole node.
 How the node looks in the Color room, just a green dot, for output.
Nodes in Fusion have a similar function to a layer in After Effects. They allow you to have a set of image processing actions applied to the image. But the fun with nodes is that they allow you to arrange those processes in more interesting and flexible ways.
You can have the output of one node go to multiple other nodes, which is doable in layer-based systems but more complicated. With a node system, it's as simple as clicking and dragging.
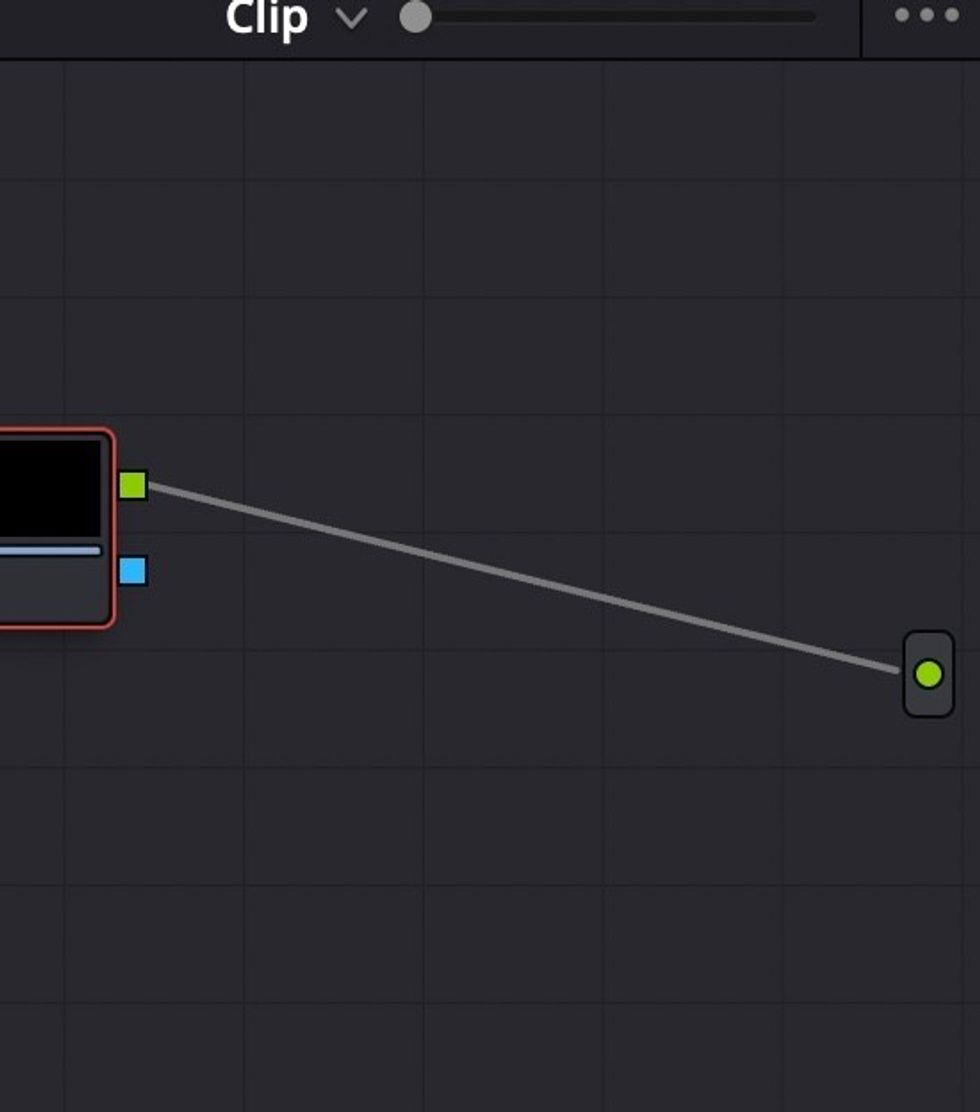
 In Fusion the most basic node tree requires both a media in and a media out node.
Nodes in Fusion are also different from Resolve in that by default they have "foreground" and "background" inputs while the Color room only has a single input (other than the alpha input, which Fusion has as well).
The simple trick to remembering which is which is that green is foreground, the way grass is close to you when you are outside, and yellow is background, the way the sun is far away from you. Not the easiest system for memory, but it works.
Fusion is an incredibly powerful set of tools, with 3D cameras, shapes, generators, and an entire coding language to produce a whole host of both motion graphics and VFX.
If your workflow currently involves any of those activities, or will in the future, it's worth it to dig in and get a sense of what Fairlight and Fusion have to offer.