Some of the most beautiful shots in cinematography history are shot right at dusk when the light is lush and perfect. These shots are not easy to pull off due largely to the small window of time you have to capture them. Get them right, and you go down in history, get them wrong and no one can see your characters' faces.
The stakes are real!
Today we're going to go over some tips for shooting at golden hour from Lewis McGregor, a.k.a. UglyMcGregor, (the video's an oldie but a goodie) and cover techniques that will help make you a better filmmaker during the most beautiful time of day.
5 Golden Hour Tips and Techniques
First things first, let's take care of a few definitions.
Golden Hour Meaning
Golden hour, or magic hour, refers to the time the period of daytime shortly after sunrise or right before the sun sets, when we get a soft red or orange glow.
When is golden hour?
Golden hour usually occurs for about twenty-five minutes before the official sunset. You can use an app to figure out when that happens in your region or check out this golden hour calculator to figure out what time you need to shoot!
What's the opposite of golden hour?
The opposite of golden hour is "blue hour."
What is blue hour?
Blue hour is the period just before sunrise or directly after sunset when indirect sunlight is evenly diffused and gives the world a blue or purple tinge.
What are some tips for shooting during golden hour?
1. Manage Your Time
As we mentioned above, you only have about twenty-five minutes of perfect light during golden hour. That means you should have everything prepped and ready to go. You want to fit in as many takes as possible, so get everyone to set early and keep an eye on the clock. If you miss your shot, you have about 12 hours to wait for the next one. Not ideal!
2. Get your Color Temp right
Your white balance and color temperature will change as the sun sets or rises, so you want to keep tabs on it to make sure every shot you get is consistent. If you don't, you'll be fighting with it in post. And while "fix it in post" is all the rage, it can totally screw you with different colored angles when you try to put them all together in the edit.
So keep your eye on changing color temps and work with them.
 Credit: Upshine
3. Perfect your ISO / Pre-light
Shooting auto can screw with your ISO because the light is always changing. Most cameras will give you great results with an ISO of 100 or 200, but this will change the closer to sunset or sunrise as differing amounts of light enter the sky. It also changes depending on the clouds.
If possible, get a bunch of bounce cards ready. That way you can take advantage of whatever happens in the sky, or be able to diffuse or shadow based on what's necessary.

4. Shoot with multiple cameras if possible
Since your time is limited, it's smart to try and shoot with multiple cameras at once. This will give you lots of choices in the edit and make sure the shots cut together seamlessly later. If you don't have an arsenal of extra cameras on-hand, consider renting multiple cameras for your golden hour takes to make sure you get the most for the minutes of action.
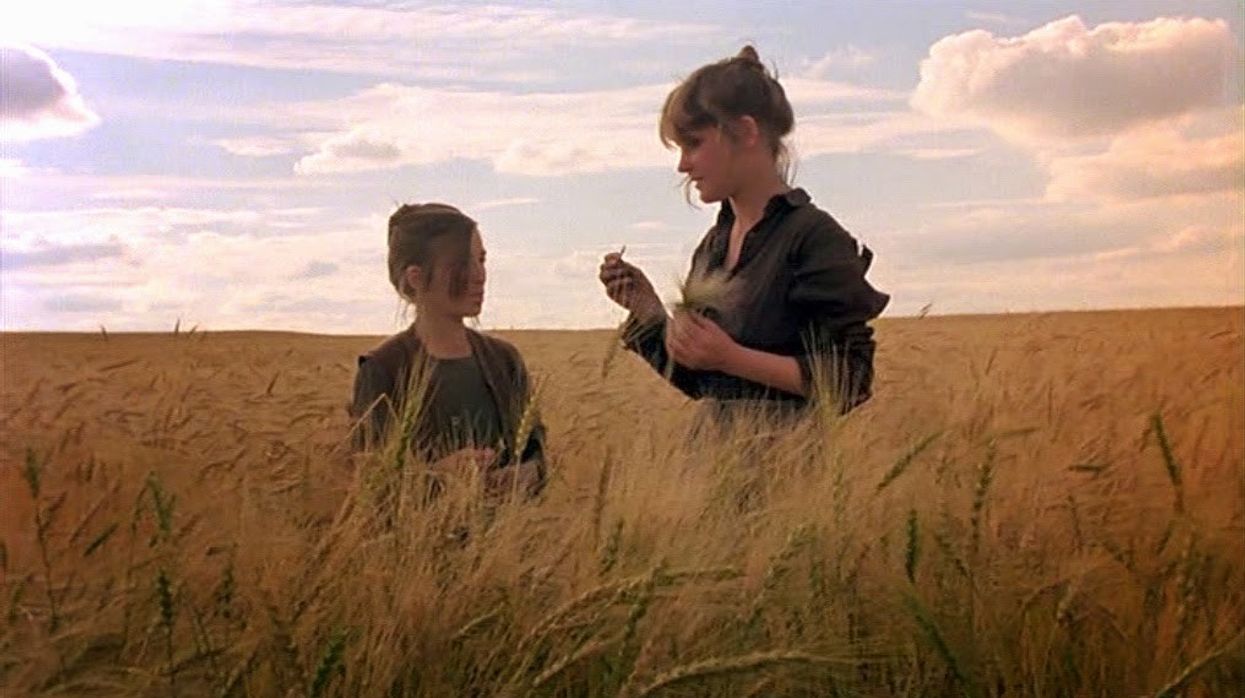
 Days of Heaven was shot almost entirely at magic hour.
5. Do multiple walkthroughs
Prep is essential. Get multiple cameras, match your ISOs, check the color temp, and do as many walkthroughs as possible. Take the entire hour, even if only twenty-five minutes are possible. This matters most with complicated camera moves. Channel your inner Emmanuel Lubeski.
Think about movies like The Revenant, they shot that movie exclusively at golden hour. To do that, they spent all day planning to make those twenty-five minutes count.
While that seems so stressful, you can perfect with prep and make your dreams come true...
...but it all comes down to planning.

What's next? What's the 30-degree rule?
We all know the 180-degree rule. It's a technique filmmakers use to make sure that the talent is always looking in the right direction on-screen by never letting your camera cross the centerline of the action.
Click the link to learn more!