Every improvement in video editing workflow is always appreciated. No one will argue with that, right?
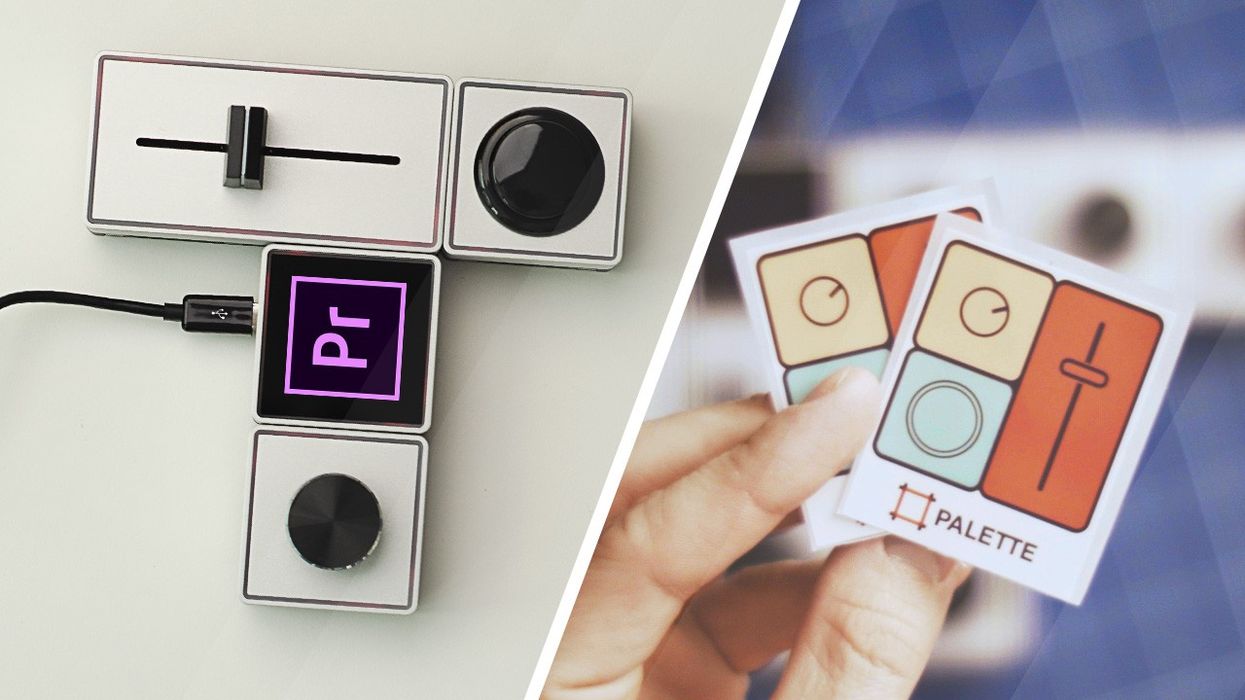
Palette Gear is a customizable panel that lets you control applications like Premiere Pro, After Effects, Lightroom, Photoshop, Audition, Google Chrome, Spotify, and more. In this video, I take a look at how useful it can be for editing inside of Premiere Pro and I try to answer the "who is it for" question.
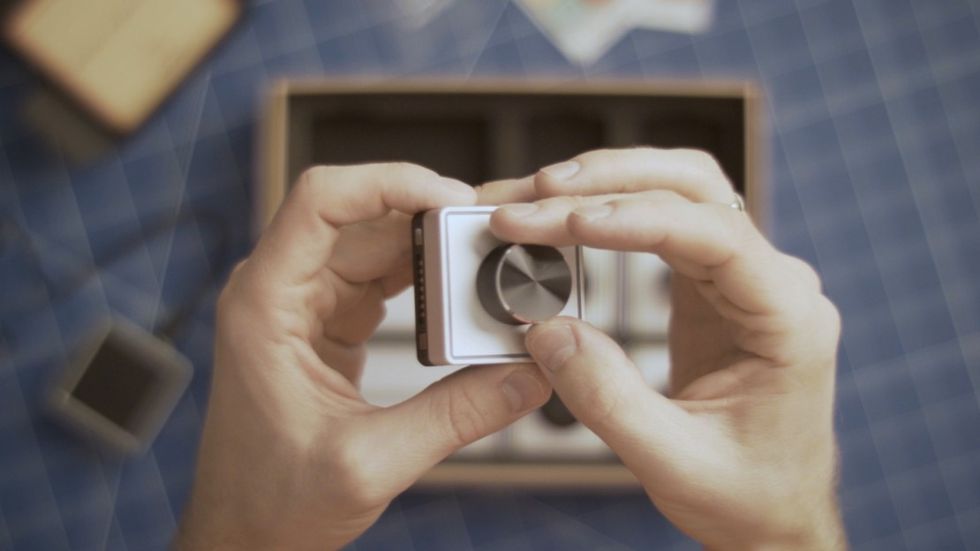
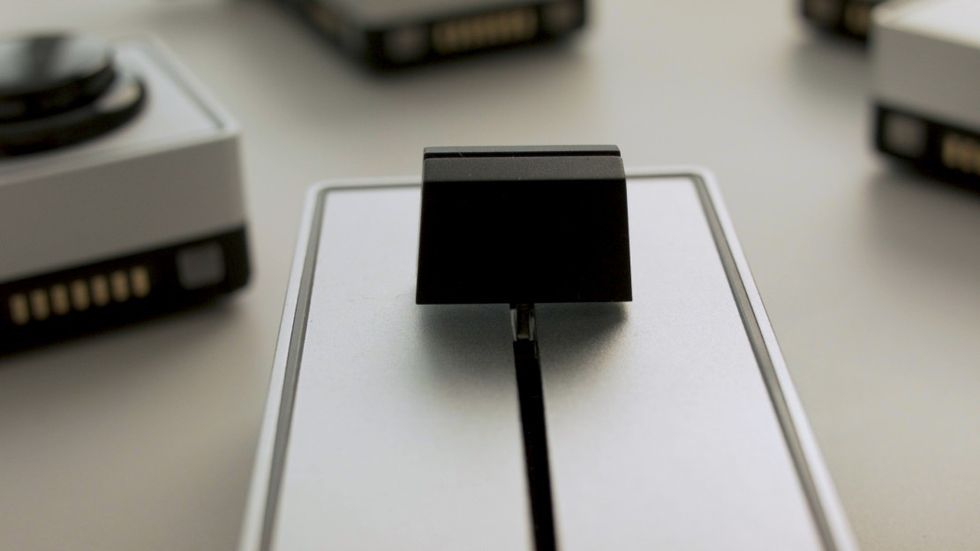
There are 3 ready to buy kits and I reviewed the Expert Kit. In the box, you'll find a core (basically, a brain of the tool), 2 slider controllers, 2 buttons, 3 dials, and a USB cable. Oh and just in case, 2 stickers for your collection. The build quality is really good and controllers snap together very firmly thanks to the magnets on each side. This means you can configure the Palette for your taste. Also, it doesn't move around on the desk which is also helpful.
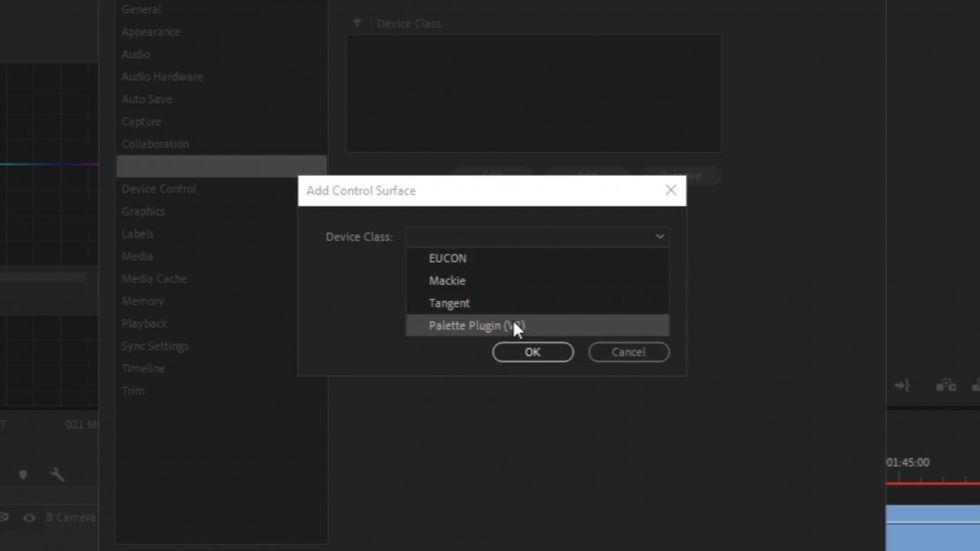
To prepare it to work in Premiere Pro you need to download a software from palettegear.com. Then you just go to Preferences and under Control Surface you need to add Palette Plugin. Fairly simple. There's also a beta version of the app which, in my experience, is almost as stable as the official release.
Working with a button
Buttons are best for the things you can toggle on and off. I used it for linking clips, for ripple deleting and adding edit points to all tracks. To configure the button you need to open the app and under Premiere Pro Mode there are many options available.
For example, instead of right-clicking and choosing the Link Clips option you just press the single button. Of course, you could customize the shortcut for one keystroke as well but I’ve found that having a big button that you can hit very easily is a nice advantage. And hitting that button feels really good. There’s something nice and physical about it that can’t be replaced with a shortcut.
Beside Premiere Pro mode, there’s a Keyboard mode, which allows you to assign any shortcut to a single button. I think it makes perfect sense in case of shortcuts that require two hands to use. In the selection process, I like to move the best takes to the separate track. The default shortcut for this in Premiere Pro is Alt + Up (Option + Up on Mac) which is hard to do with one hand on the keyboard.
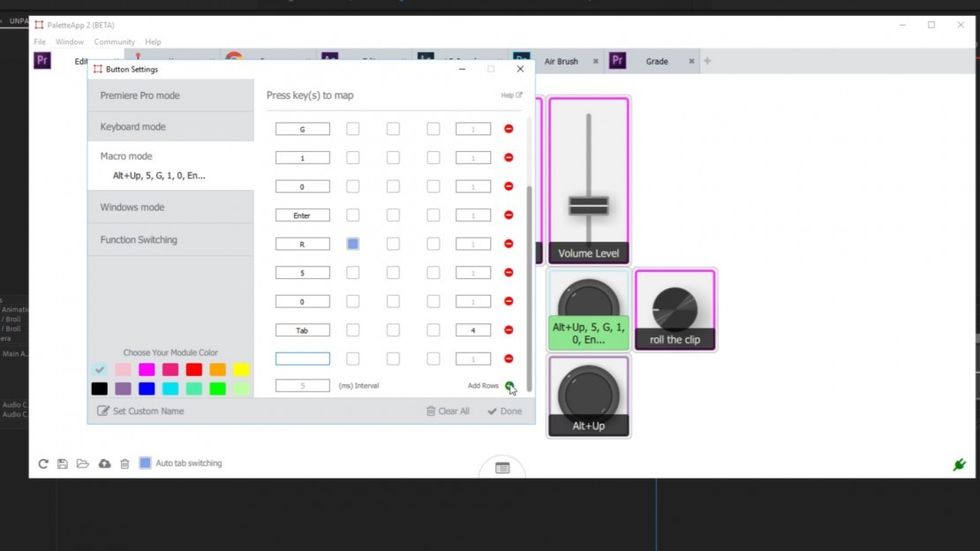
The most powerful button feature, however, is now available in the beta version of the app and it's a Macro mode.
Let’s say I would like to move the selected clip up by 2 tracks, change its color label, adjust gain by 10 dB and slow it down to 50% with ripple editing on the timeline. To do it you'd need the following keystroke sequence: 2 x Alt (Option) + Up, label shortcut (you need to customize it first), G, 1, 0, Enter (Return), Ctrl (Command) + R, 5, 0, 4 x Ctrl (Command) + Enter, Enter. Not anymore.
Now you can do it literally in a blink of an eye when you create such a macro. Really cool.
Using Profiles
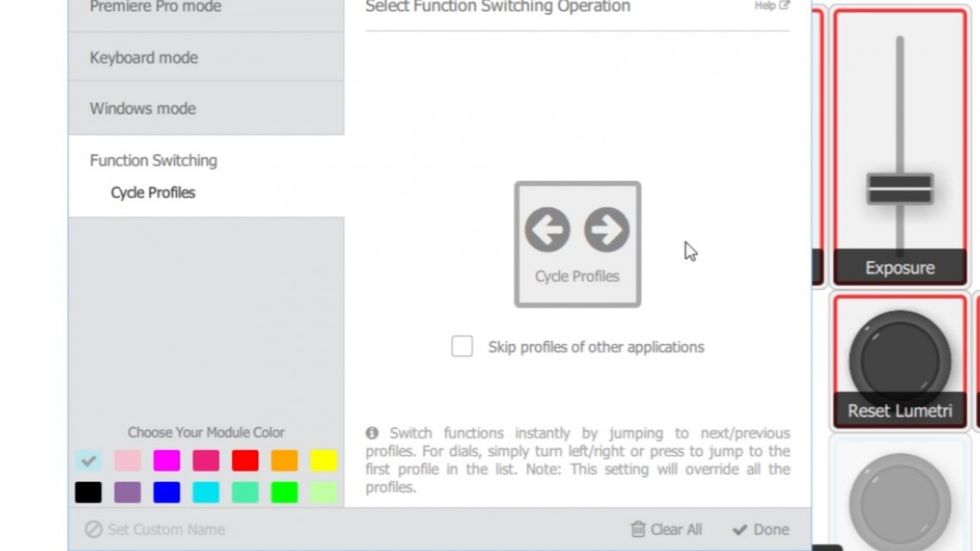
How many things can we actually control with Palette Gear? After all, there are only 7 controllers in the Expert kit which is not that many. They address this issue by using profiles.
Each profile is like an entirely new set of controllers plus you can switch profiles in the app, or assign profile switching to a button or dial. There’s also a community page where you can download profiles created by other users or contribute your own profiles. It’s a great feature that makes the Pallete more versatile.
Additionally, in the beta version, there’s a preview layout feature that will help a little bit with remembering the layout, especially after you switch the profile.
Working with a dial
There are even more uses for the dial control in Premiere Pro. I used it for Jog and Nudge and I overall liked how smoothly it worked.
Jog moves the playhead on the timeline when you use a dial. It’s very responsive and it moves at different speed depending on how quickly you rotate. If you press and rotate it sprints through even faster. I was impressed with how precise you can be with the feature while also moving quickly you at the same time.
Nudge moves a selected clips on the timeline instead of the playhead. You can also adjust a sensitivity of a dial when you open advanced options which makes it even more responsive.
For another Premiere Pro Profile, I really liked the X and Y position. Quite honestly, moving graphics elements has never been easier. No more moving between the timeline and Effects Control panel. By using a dial for that purpose you can stay in the timeline and very precisely move the graphics elements in the frame. Pretty cool.
An obvious use of a dial is Lumetri Color effect. When you combine different adjustments with profile switching you could control whole Lumetri Color effect without touching a mouse and keyboard.
I've tried to use a dial in the Keyboard mode. I assigned Ctrl + Alt + Right (Command + Option + Right) to the right turn and Ctrl + Alt + Left (Command + Option + Left) to the left turn and this basically change this dial to the Slip Tool. It moves the In and Out point for a selected clip within a timeline without changing edit points or a position of a clip. The thing to remember here is that it’s not as responsive as Log or Nudge features because it’s in a keyboard mode which is not going through the Palette Plugin acceleration in Premiere Pro. But in my opinion, it still does a decent job.
Working with a slider
Sliders are most powerful when you assign a range for them in the advanced settings.
For example, I used the slider to control the scale of a clip. Let’s say you have a 4K footage and you work on the 1080p timeline. The useful range for the scale in this situation is between 50% and 100%. We can set it this way in the advanced settings and now it’ll be very predictable where you need to move the slider to accomplish let’s say 70% of the scale. Moving between the low and high end is extremely easy as well. And the best part?
I don't have to move between the timeline and Effects Control panel to change the scale. I can keep looking at the footage while adjusting its value.
Controlling the volume of an audio track is impressive as well. Especially if we do it in the Write mode in Audio Mixer. It will add keyframes automatically. Now you'll have an audio level controller on your desk.
And of course, Lumetri Color adjustments are a great example on how to use sliders in Premiere Pro. Again, it will be most powerful when you set the range for a given Lumetri adjustment in advanced settings. It makes sliders especially helpful in photo editing programs like Lightroom.
Conclusion
In my opinion, these are the biggest advantages of having this tool on your desk:
- you can perform two operations at the same time (for example change exposure and saturation simultaneously)
- you can keep an eye on the footage instead of the values in the panel when adjusting things
- you don't have to switch between panels to perform adjustments to the clip
I must say, however, that there is a learning curve. In the beginning, for example, you may feel like it takes longer to change the scale of a clip than it would have the traditional way. But once you play with Palette Gear for a few days it becomes much more intuitive and it will no doubt boost your productivity.
After 3 weeks I feel like it’s an excellent help for editing in Premiere Pro. While it's maybe not a "must have", it makes the work more far more efficient and a lot more enjoyable.

I also personally love the fact that you can control other apps with it. For example, right now I'm testing a great app called Kyno and I created the profile with keyboard shortcuts of this program assigned to the Palette. You can even use Macro mode for buttons in Kyno.
So who is it for?
I’d recommend it for Premiere Pro, After Effects, Lightroom, Photoshop, Audition users who use these programs on daily basis. Once you go through the learning process and you get used to it, it has tons of advantages.
But it's not for someone who is more colorist than the editor. If working with color is 70% of your job, you should invest in something like DaVinci Resolve Micro Panel or Tangent Element right away. Even though these are much more expensive tools than Palette Gear, for color grading you need dedicated control surface. Also, for someone who uses these programs only occasionally, it's probably better to spend that money somewhere else.
Overall I really like this tool and it's a great addition in video editor's arsenal. What do you think about it? Will you consider adding it to your desk setup? Let us know down in the comments.