Unsure Sure How to Stabilize Footage in FCP X? Start Here
Final Cut Pro has some essential features to help stabilize your footage.

Unwanted shaky video can be a real jerk. There are several methods you can stand by to stabilize footage in post, but as many of you already know, it's best to start with a shot that has the least shake as possible. But even with a plethora of takes, you still might find yourself looking at a clip that needs some smoothing.
No Film School has hammered home the benefits of Warp Stabilizer, discovered how awesome Sony's Catalyst Browse is when using gyro data from Alpha cameras, and even showed you how to add camera shake back into a shot.
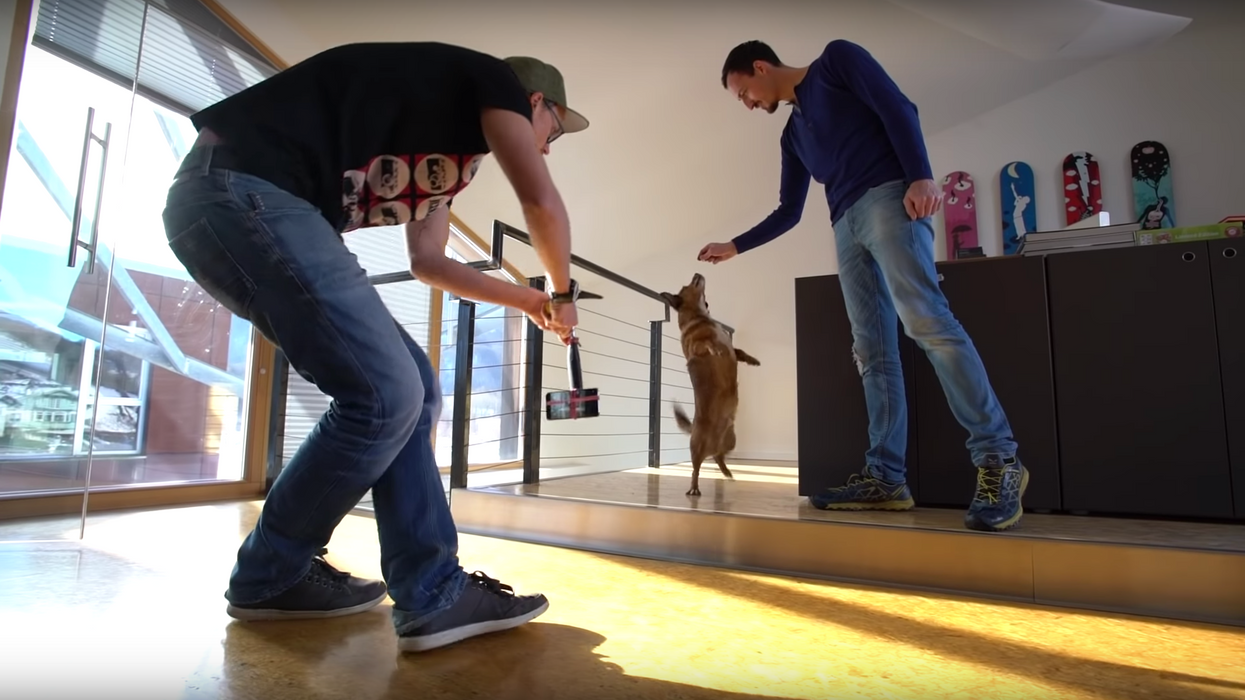
Now let's tackle how you can easily stabilize footage using Final Cut Pro X. PremiumBeat's Tanner Shinnick explains how.
As you just watched Shinnick demonstrate, stabilizing footage in Final Cut can be pretty simple.
After selecting your clip, hop on over to the Inspector panel and look for the Stabilization section, which FCP X revamped in version 10.1.
In it, you'll notice under Method there three options to choose from: Automatic, InertiaCam, and SmoothCam. InertiaCam is a new feature and is a welcome addition.
While the default option is set to Automatic, you can choose any of the stabilization methods. When switching to SmoothCam, FCP X resorts back to the old controls where you can adjust rotation, transition, and scale smooth sliders. SmoothCam is intended for more general handheld tracking shots, while InertiaCam is more for zooms, pans, and static shots on a tripod. Automatic, as the name implies, analyzes the shot and selects the most appropriate method. So if you're not getting the results you want, try another method.
When you do stabilize your footage with FCP X, it will zoom into the shot but keep it in the same position. Doing so, the image can appear a little softer, so be sure to keep an eye on how the stabilization feature is affecting your image.
Have any tips on how to stabilize your footage in post? Rattle them off in the comments below.
Source: PremiumBeat by Shutterstock


