How you approach the video editing process can make or break your creative workflow. The time you can dedicate to molding together the best story vs. sifting through your footage to find the best quotes or sound bites is critical.
That’s why it’s important to improve your video editing process, especially when dealing with a project full of interviews.
Here are a few ways you can improve efficiency when editing video interviews, including best practices when it comes to organization, workflow, and video editing with interview transcripts.

Organize Footage and Name Files First
It’s extremely important to have an organized project folder. Logging your media files and placing them in subfolders will help you quickly find and identify key elements of your video project.
Create a Project Folder
Create a separate folder for every project you work on. And, always place media files in that project folder.
Any files used in a project should be copied and referenced from the project folder. This ensures media won’t go missing and you can easily transfer project media to another device.
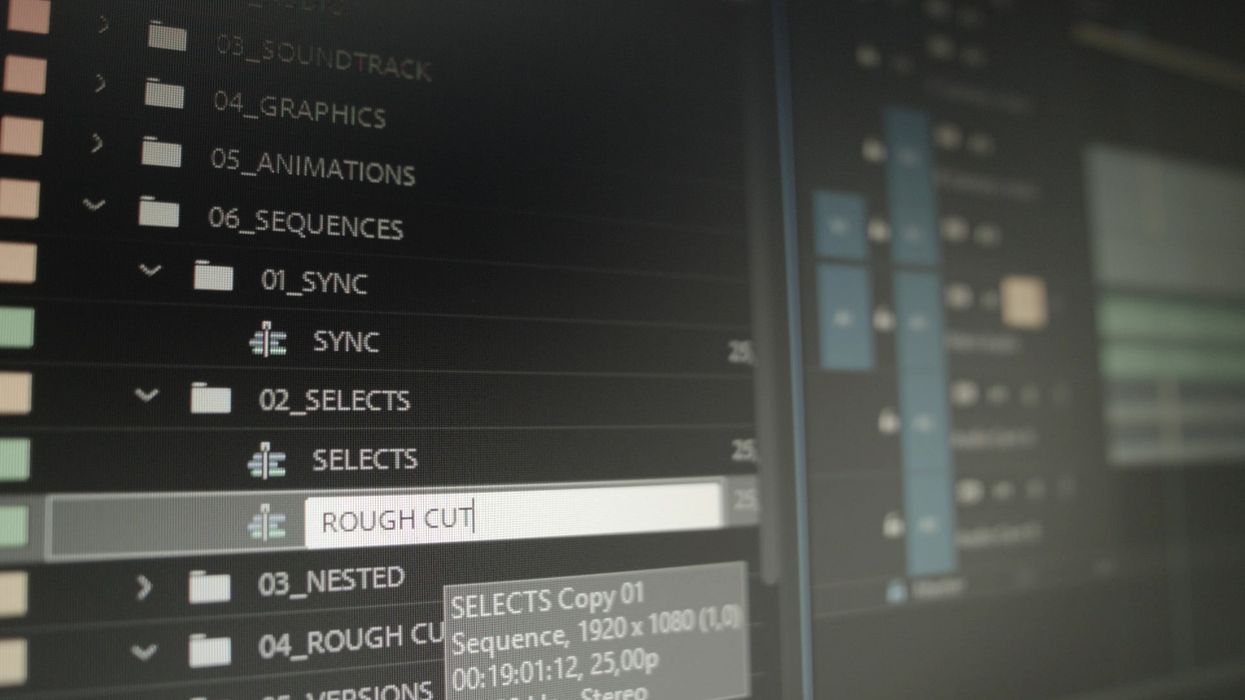
Sort Project Files Into Subfolders
Arrange footage and different media types into their own subfolders. For example, creating subfolders for Footage, Audio, Images, Graphics, and Project Files is a great way to organize your footage.

Name the Media Files
Name your media files with unique identifiers, rather than rely on the camera’s default naming conventions. You can also rename your files by date, location name, or whatever makes sense for you to find footage faster.
If you have multiple interviews, use first and last names or initials to differentiate the file names. Use name extensions like “-A” and “-B” for different camera shots for the same scene. Add name extensions like -Broll to specify what shots are not part of the interview sequence and should be considered your b-roll footage.
Import into Video Editing Software
With all your media organized in your folders, be sure to create the project in the same parent folder with your video editing software.
Then, just drag and drop your subfolders into the editor bin and the program will maintain the file hierarchy within the editor. Nice and organized!
Sync and Assemble Video Clips Right Away
With all the footage in your video editing software, it’s time to start piecing together the clips. Before you start actually editing, though, you’ll want to be sure all of your interview footage is synced up with the externally recorded audio files from your audio recorder.
Sync the Interview Footage
There’s not much you can do without having all your interviews synced and ready for the chopping block. In video software like Premiere, you can easily merge a video clip with multiple audio files. Or, you can sync a multi-camera sequence that has multiple camera angles and audio tracks.
Assemble the Synced Clips
Start putting together your interview clips in the timeline. Use your audio track as your reference to ensure all the clips from an interview are true to the timecode. Don’t start trimming clips yet and don’t cut in between your master audio track.
This will enable you to order transcripts or time-coded captions files right away, if that’s part of your video editing workflow.

Keep the Interviews Separated
If you have multiple interviews, create a new sequence for each one. That way if you ever need to reference specific timecodes and/or notes from the production crew, having every interview in separate timelines will help you find specific shots much faster in post.
Edit with an Interview Transcript
You may have never edited interviews with a transcript, but once you do, it’s nearly impossible to go back. Having interview transcripts to reference when editing makes finding the right sound bites and quotes a breeze.
Benefits of Editing With Interview Transcripts
Once your interviews are assembled, you should consider ordering an interview transcript. Editing with a transcript can be a very helpful tool when editing long interviews in a short amount of time. Here are some benefits of having a transcript when editing video interviews:
- Edit on paper: Use the transcribed text to rough-edit your interview before you touch the footage. Some of the best edits could come from your notes.
- Identify qualitative and quantitative data: Highlight key points, metrics, themes, and important responses with a quick read-through.
- Find specific keywords and quotes: Search a digital transcript file to find words fast.
- Choose the best phrasing: Avoid wasting time editing the wrong take or not realizing there was better phrasing later in the footage.
- Use time-codes: Pinpoint specific frames in the footage that you would like to reference.

Order an Interview Transcript
While spending several extra hours to transcribe your interviews sounds overwhelming, a transcription service can provide an accurate transcript of your interviews in a short turnaround time and allow you to work on other tasks in the meantime. (Like logging and assembling your b-roll footage to find those money-shots.)
You can try Rev for free and get $10 off your first order. You can order a transcription or captions file from Rev with your video or audio file(s).
In fact, you might consider sending your audio files as soon as your footage is synced and assembled. That way, you can get your transcript as soon as possible.
Keyboard Shortcuts
Keyboard shortcuts can be a real time saver. Instead of spending several seconds clicking around and navigating through option menus, get the job done in one keystroke.
If you don’t know the keyboard shortcuts to your editor, here are a couple of examples:

Plus, if you really want to get fancy, you can order a keyboard sleeve with all the shortcuts labeled for you!
Save Audio Mixing and Color Correction For Last
It’s easy for solo filmmakers and amateur editors to get excited watching the footage and want to color correct and mix the audio levels right away. If you’re excited to get a glimpse of the final product, this can be a struggle to combat.
However, spending time color correcting and editing audio before you have your picture lock can waste a lot of time. You might end up adjusting clips that you’ll never use or even look at again. Since your goal is to edit efficiently, saving audio mixing and color correction for last is the best use of your time.
Optimize Your Editing Workflow
Whether you think there’s room to improve your organization of media files, the order of your editing process, using keyboard shortcuts, or editing with a transcription file, find an editing workflow that works best for you and your projects!