Learn How to Use Adobe Premiere Pro in 15 Minutes
New to Adobe Premiere Pro? Then you're in the right place...
This tutorial will give you a basic overview of how to edit video with Adobe’s Premiere Pro editing software. In just 15 minutes you’ll learn how to navigate the interface, import files, create a sequence, perform basic editing tasks, and then export and even upload your content to popular platforms. If you’d like to follow along with the tutorial, you can download the exercise files here.
Customize the Interface
Premiere Pro is made up of panels. You can customize your workspace by moving these panels around, organizing your interface as you see fit. Use the Window menu to open and close specific panels, and even save out a custom workspace by going to Window > Workspaces > Save as New Workspace. As you’ll see, there are plenty of default workspaces to choose from as well.
Import Your Files
Once you have the interface setup, it’s time to import your content. For this project, I’m preparing a short video for a few short social media clips. Again, if you’d like to follow along with the tutorial you can download these same exercise files here. To import the clip I’ll go to File > Import, and then select my file. Once imported, the clip will show up in my Project panel. This is just a reference file, and if I move the original file around at any time Premiere will lose the connection to the file and I’ll need to manually relink it the next time I open the project.
To keep things organized, I can create bins inside the Project panel. I can also change how I view the assets, from lists to icons. There’s even a new item button which will allow me to create a number of assets, including new sequences, captions, color mattes, and a handful of other useful assets.
View Your Assets
The Source monitor does just what it sounds like—it allows you to monitor your source material. To open up a clip in this panel, simply double-click the clip within the Project panel. The source monitor has a number of playback controls, all of which are customizable via the Button Editor button at the far right.
The real purpose of the source monitor is to add In and Out points to your footage in preparation to add to your final edit. Use the I key to add an In point, and the O key for an Out point. Once added, you can see the selected region on the small timeline at the bottom of the panel. Make further adjustments to your clip via dragging this region. To view audio, simply select the audio icon.
Create a Sequence
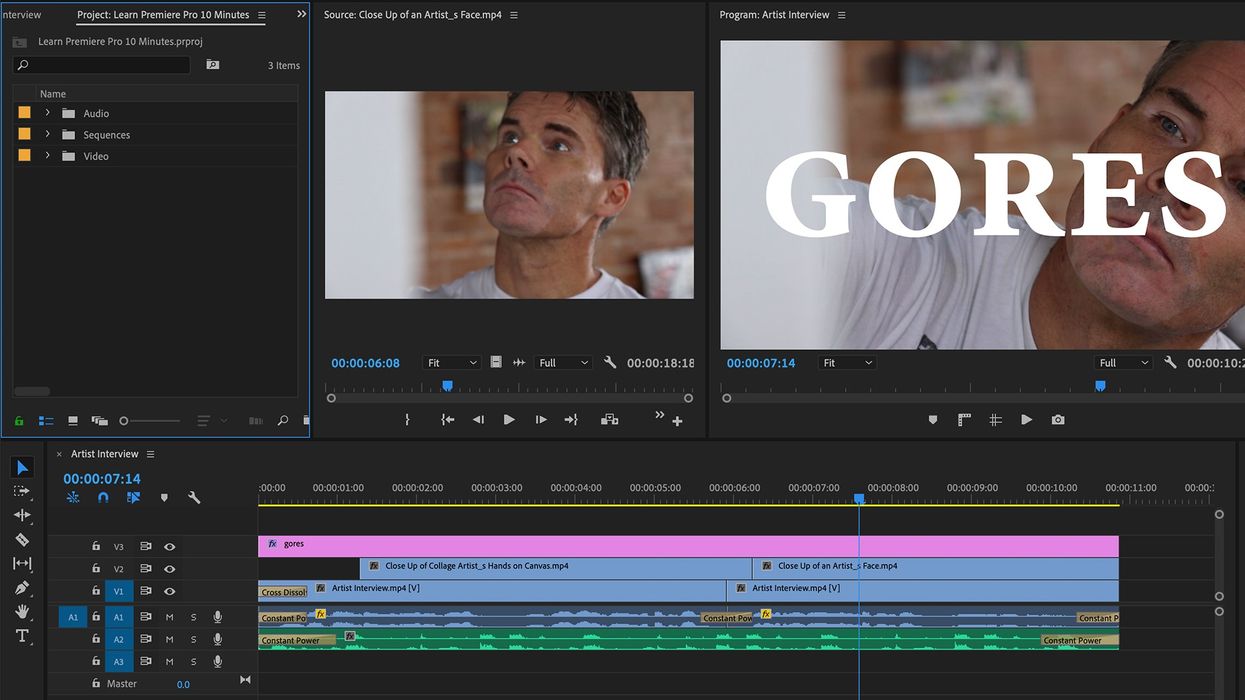
Now that I’ve got my in and out points set I’m ready to add this clip to my final edit. For this, I’ll need to create a sequence. The fastest way to do this is to simply drag and drop your clip over the timeline area at the bottom. You’ll even see that it says “Drop media here to create a sequence.” Creating a sequence this way will automatically match the sequence settings to your clip. If you’d rather create a sequence from scratch, go to File > New > Sequence. Now you can see the new timeline pop up with the clip.
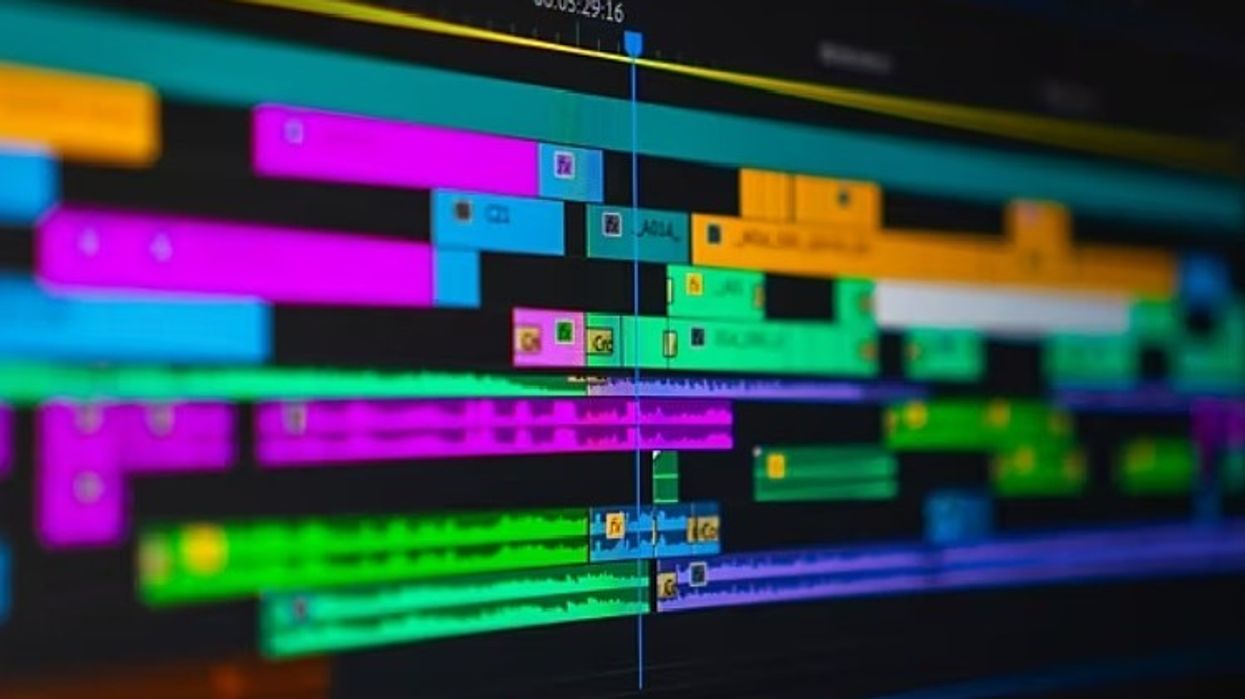
The timeline consists of video tracks on top and audio tracks on the bottom. You’ll also notice another monitor pop up. This is the Program monitor, and it reflects what’s on the timeline. If you were a painter, think of the timeline as your canvas, while the project panel houses all of your paint.
Navigate the Timeline
Learning a few navigation shortcuts will improve your editing experience exponentially. The key shortcuts to learn are for basic navigation. Use spacebar to start and stop playback. You can also use the J, K and L keys to shuttle around the timeline. Use the plus and minus keys to zoom in and out, and use backslash to quickly get a bird’s eye view of your project via the Zoom to Sequence command. To quickly expand and/or minimize a specific track, simply double click in the empty space of the header, just next to the track controls.
Edit a Sequence
In addition to adding In and Out points in the source monitor, you can also perform Insert, Overwrite, Overlay, and Replace edits just by simply dragging your clips directly over the Program monitor. Be cognizant of where your playhead is on the timeline, as that’s where the edit will be performed. You can also drag clips directly from the Project panel onto the timeline, which is how I often like to work. A number of keyboard shortcuts will allow you to perform specific edits, so to check those out go to Premiere Pro > Keyboard Shortcuts.
To trim clips in the Timeline panel, simply grab the edge of a clip and drag. In addition to the Selection tool, there are a number of basic and advanced editing tools available in the Tools panel. One of the most used tools is the Razor, which you can activate via keyboard shortcut C. Use this to cut and split clips. The remaining edit tools are a bit more advanced, so let’s save those for another tutorial.
With my current knowledge, I can now quickly put together a rough cut. I’ll view some of the other b-roll clips via the Source monitor, or simply bring everything down into the timeline and use the Program monitor. It’s important to understand that there are always multiple ways to do the same thing, and whatever you like, that’s the way you should do it. As you get more practice using Premiere, you’ll find your preferred methods and keyboard shortcuts.
Adjust the Audio
With my rough cut in place, I now want to take care of the sound. To properly view my audio levels, I’ll open up the Window > Audio Meters. First, I’ll focus on the interview audio, so I’ll solo this particular track on the timeline. The audio of my interview subject is quite low, so I need to boost it a bit.
For this, I’ll select the interview clips and then go to Clip > Audio Options > Audio Gain. I want my levels to max out right around -5db, so I’ll input this number in the Normalize Max Peaks to section. To smooth everything out, I’ll grab highlight all audio clips with audio and go to Sequence > Apply Audio Transition. Now I need to go through and make sure that the transitions sound good with nothing overlapping.
As a final touch, I'll drag in a music clip on audio track 2. To make sure it's not too loud, I'll open up the Window > Audio Track Mixer. Here I can control the levels of each track, performing a proper 'mix'. Since the music is on track 2, I'll grab and bring down the fader bar to an adequate level.
Add Transitions
In addition to audio transitions, I’d like to add a nice and subtle video transition. You will find a Video Transitions folder by going to the Window > Effects panel. To apply a transition, simply drag and drop. Cmd + D will automatically apply a default transition to your selected clips. To retime, simply click and drag with the selection tool.
Create Graphics
For the final step, I’ll add a quick text element to my video. Let’s say that I want to just add his last name in big letters. First, I’ll grab the Text tool and start typing directly on the Program monitor. You’ll notice that a new graphic layer has been added to the timeline. To edit my text, I need to open up Window > Essential Graphics.
With my graphic layer selected, I’ll navigate to the Edit tab of the Essential Graphics panel. Here is where you’ll find all of your text tools. You can find a plethora of premade templates in the Browse tab, but once again let’s save this for an advanced tutorial. Once my text is designed and in place, I’m ready to export my edit.
Export and Upload
With my video sequence ready to go, I’ll select File > Export > Media, which will bring up the Export Settings dialog box. The number of export options can be overwhelming at first, so it helps to check out the Presets. First, I’ll select the H.264 format, which is the standard for social media platforms. Since I’m exporting for Twitter, I’ll select one of the presets available in the Presets drop-down menu. Now all I need to do is select the Output name and location.
If I really want to automate things, I could go to the Publish tab and have my video automatically upload to Twitter after the export is finished. As I said, there are a plethora of options in the Export Settings dialog box. I could even throw on a LUT, normalize the audio, and add custom image overlays such as logos and other brand elements.
Voila! You're now on your way to becoming a Premiere Pro master.