Adobe's April release is officially here with 28 new features and updates. A few of them were awaited for years amongst editors and some were not even expected. Freeform View is one of those important new features that we'll have a closer look at in the next article.
But now, get comfortable and get ready to learn about 28 updates to the most popular editing software...as well as the 103 bug fixes. Not bad.
1. System Compatibility Report
In the Help menu, you’ll now find System Compatibility Report which will notify you about any possible system misconfiguration. System Compatibility Report can also be saved as a text document which can help with troubleshooting because even if no issues are found, it captures data about your system configuration.
2. Multiple Strokes
We can add up to 10 strokes to text and shape layers in Essential Graphics panel. The color and width of each stroke can be customized individually and we even have the ability to add strokes on a per-character basis.
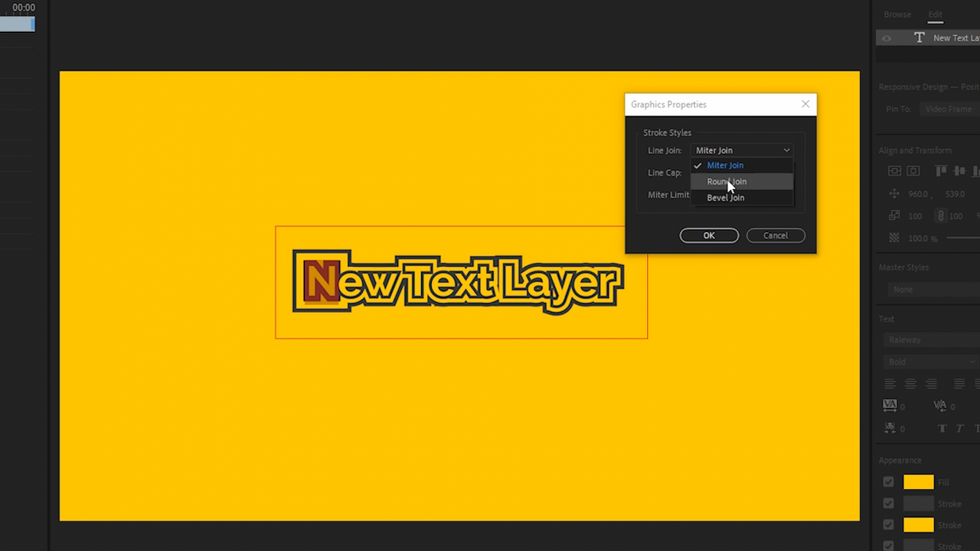
3. Graphics Properties for Strokes
We can now adjust graphics properties for strokes which include settings for joins and caps. We can also set a global behavior for these in the Essential Graphics Panel menu under Text Properties or Shapes Properties.
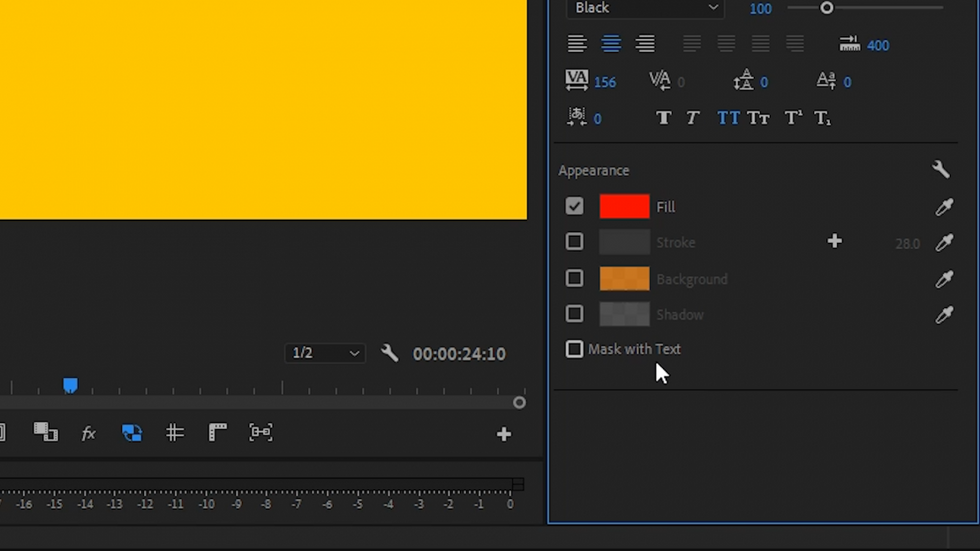
4. Text Background
Another addition to the Appearance Settings is the text background. It's much faster to use it than creating a shape layer and pinning it to the text. We can control the color of the background, the opacity, and the size.
5. Groups and Mask Layers
In the Essential Graphics panel, we can convert text and shape layers to masks with this Mask with Shape or Mask with Text checkbox in the Appearance section. This will mask all layers below the graphic in the layer stack. We can also limit the extent of the masking a specific set of layers by using groups.
6. Drag and Drop Install of MOGRTs
Finally, the installation of Motion Graphics Templates got easier. We can now drag-and-drop multiple Motion Graphics Templates from Explorer or Finder directly into the Essential Graphics Panel.
And if the MOGRT already exists, it will bring up a dialog asking us to decide to overwrite or cancel.
7. Auto-Sync of Free Adobe Fonts
If you are connected to Creative Cloud than all free missing fonts will be synced automatically at project open or when adding a MOGRT to the timeline.
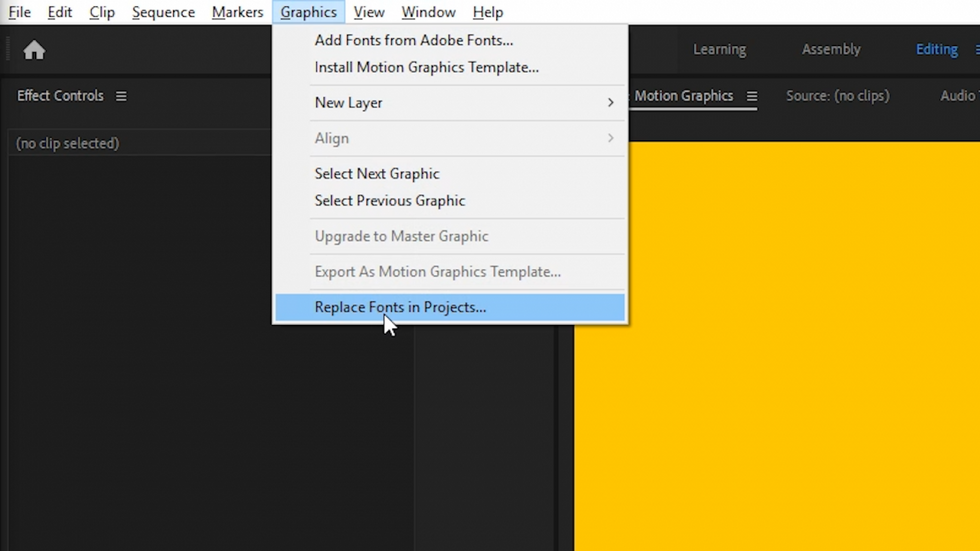
8. Replace Fonts in Projects
A huge time saver is a new menu item Replace Fonts in Projects. We can replace fonts for all open projects with just a few clicks.
9. Default Replacement Font
We can now set a default replacement font in the Preferences under the Graphics tab.
10. Optimized Mask Tracker
If you track the mask, the live preview will be now turned off by default, which is supposed to make tracking about twice as fast as before.
In this release, the tracker will also perform downscaling for large frames. Basically, it means that the tracker will not use all pixels for tracking, for example, 4K footage. They say that the accuracy is more or less the same but the speed improvement is very significant. For example, tracking 4K footage in Windows is 12 times faster.
11. RED Metal SDK Integration
A new SDK from RED is now integrated which means faster RED footage decoding on Mac using the Metal renderer.
12. Intel Hardware Decoding for HEVC
The playback performance of 8-bit and 10-bit HEVC files has been improved.
13. 32-bit AIFF Audio Support
32-bit AIFF audio support is restored after it was lost due to 32-bit QuickTime deprecation.
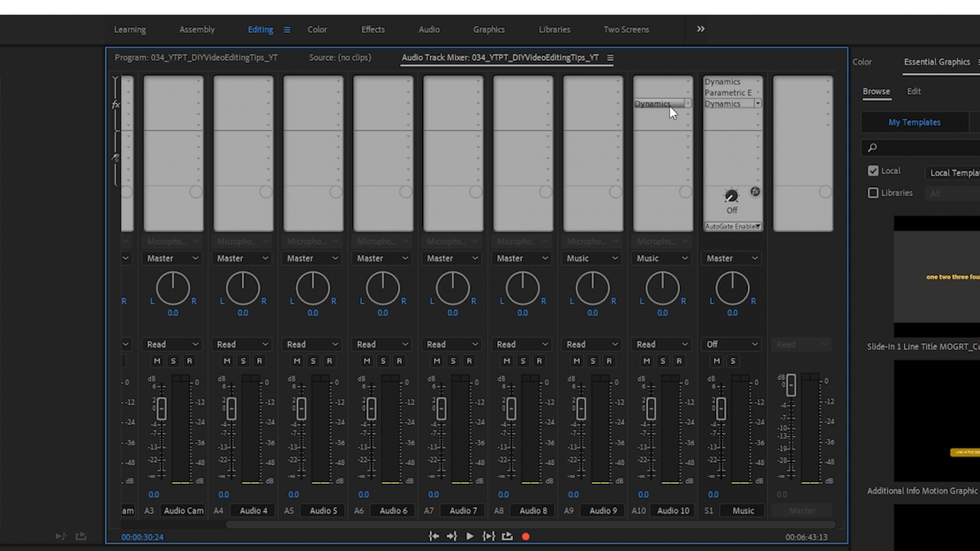
14. Audio Track Mixer Effects Can Be Re-Ordered and Copied
I really waited for this one! We finally have the ability to move, copy and re-order audio track effects in the Audio Track Mixer.
By default within a track, we move it and with Ctrl/Cmd we can copy. And conversely, when moving an effect between tracks, the default is to copy and with Ctrl/Cmd we will perform the move on an effect.
15. Ducking Section for Ambience Sounds
The Ducking parameter has been added to the Ambience section in Essential Sound Panel so we can now automatically duck ambients under dialogue.
16. Support overriding of Creative LUT for RED footage
When there is no embedded LUT for a RED clip, we can select an external LUT to be used. If there is already a referenced LUT, we can browse to select a different one instead and replace it and we can always easily go back to the original LUT or to the "No File" state.
17. Proportional and Absolute Scaling
In sequence settings, we can now choose between proportional and absolute scaling for motion effects when changing sequence size. So if you want to change a sequence size from, let's say, 1080p to 720p, everything can be scaled proportionally to the new sequence size.
18. Include Effects in Render & Replace
Render and Replace was originally designed for After Effects dynamic compositions that may not playback smoothly. Now there’s a new "Include Video Effects" checkbox that gives us the option to also render any effects applied to the clip in Premiere Pro. Beware, though, that if you check it on, the rendered effects cannot be moved or edited any longer.
19. Add a Name to Autosave File
If you use project locking, which is a feature designed for editors working on a shared storage environment, autosave will now add the username to autosaved project files. That way it’s easier to tell who created each autosave file.
20. View Menu
There is a new View item added to the Main Menu. Most options here can be found in other places in Premiere Pro but for example, there’s newly added Guide Templates option. On Mac, you will find the option to Customize the MacBook Pro Control Strip here and we also have items like Show Rulers and Show Guides.
21. Guides and Extended Snapping in the Program Monitor
Finally, we can add and edit guides in the Program Monitor! Guides can be added with precise coordinates in the Add Guide and Edit Guide dialog.
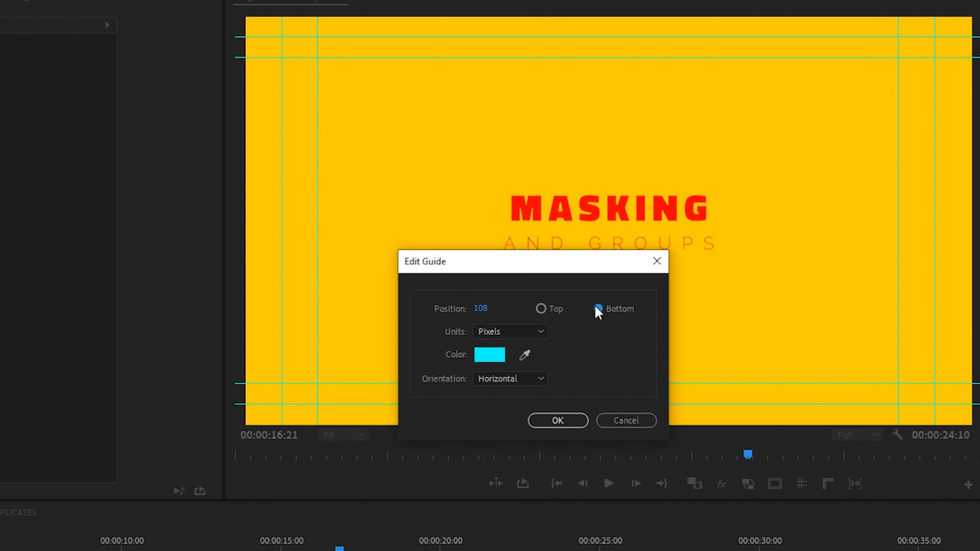
There are also two new buttons added to the transport controls to toggle “Show Rulers” and “Show Guides”.
We can save custom guides and share them with others to use in Premiere Pro or After Effects by exporting them as a .guides file.
22. Better Performance for Multi-GPUs
Performance for multi GPUs, including eGPUs, has been improved. It provides faster rendering, especially with professional codecs like, for example, Apple ProRes.
23. Freeform View in Project Panel
Freeform View can be activated in the Project Panel next to the icon and list view. In my opinion, this is the most important new feature of this release.
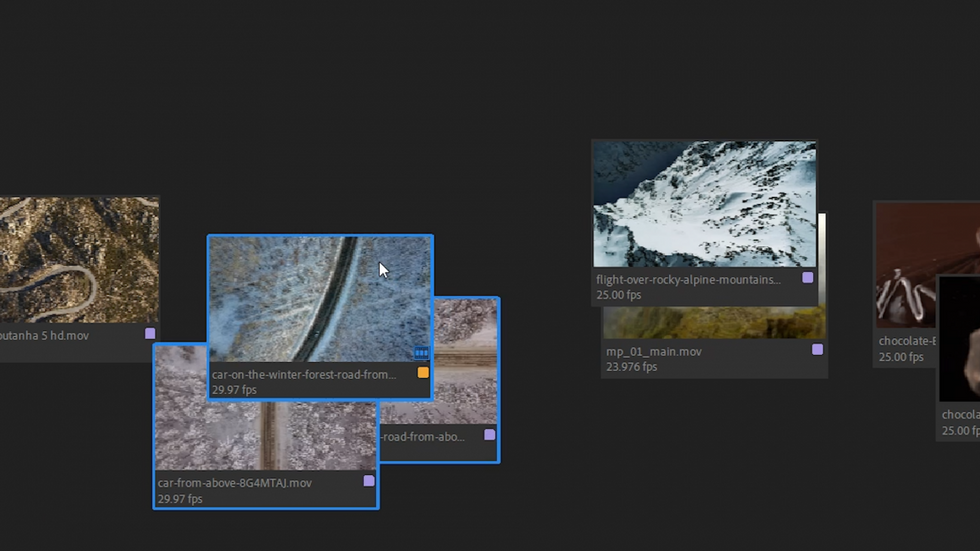
Generally, it allows you to freely move and organize thumbnails into a custom layout which is not restricted by the grid and sort order like the other two views. The relation and spacing between thumbnails are maintained in Freeform View. We can place clips in stacks, hover over them to preview the ones that overlap each other or mark In and Out points like in the Icon view.
In Freeform View Options, we can specify what information is being displayed under the thumbnails and we can Save Freeform View Layout as a preset.
24. Shortcuts for Non-US Keyboards
Up to this day, Premiere Pro queried the app language only when loading the shortcuts file. But with this version, Premiere Pro also queries the keyboard language. And this should fix a problem for non-English keyboards that couldn't use certain keyboard shortcuts.
25. Project View Presets
They added the ability to create Project View Presets. It saves information about which metadata columns are visible in List View, as well as their arrangement from left to right and any other piece of display information in the panel.
26. More Settings in the Export-Captions Dialog
Some improvements have been made to Caption Export Settings. In my opinion Captions in Premiere Pro are the least reliable feature but hopefully, together with extended export settings for captions, their stability has been improved as well.
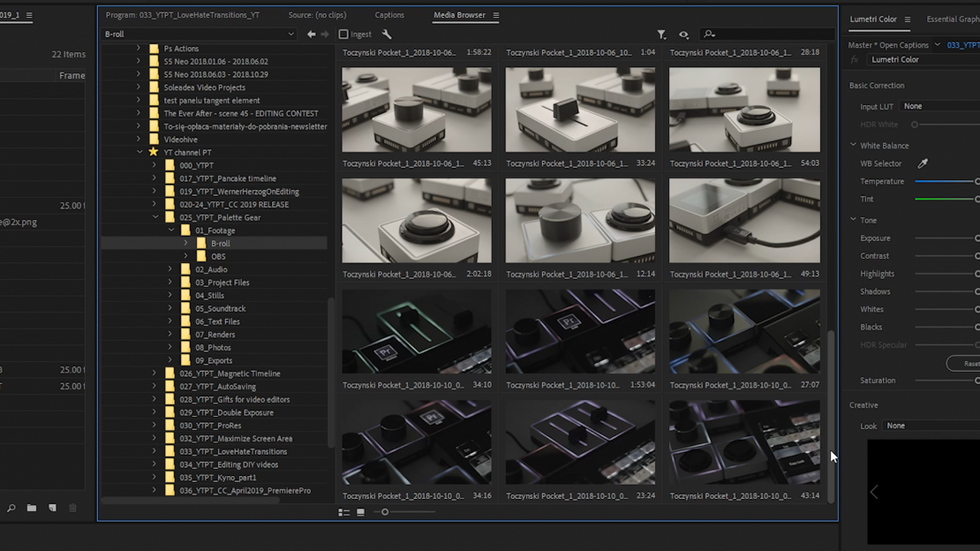
27. Faster Loading of Thumbnails in the Media Browser
Thumbnails loading in Media Browser panel has been improved by prioritizing the display of clips that are currently in the view. Previously the thumbnails were loaded from the top to the bottom. Loading for H.264 (1080p) is supposed to be about 11 times faster and HEVC (in 4K) about 2 times faster.
28. Adjacent Frame Replacement for Decode Errors
Premiere Pro will now automatically replace individual frames that have decode errors by using adjacent frames that have decoded successfully. Previously decode errors were rendered as red frames which if overlooked, could end up on air.
Frame replacement is limited to 5 consecutive decode errors but if there’ll be more or the first frame of the clip will have decode errors than it will be replaced with a black frame which makes more sense than a red one.
What do you think about the new release of Premiere Pro? Comment down below which one of these new features seems to be the best.