How to Do One-Step J-Cuts in Premiere Pro
Get ready to edit "J-cuts" at lightning speed.
J-cuts are an essential tool in every editor's arsenal because they provide seamless, professional transitions between clips. Because they're straight-forward, they don't seem like the most time-consuming transitions in the world—I mean, all you're really doing is adjusting the length of two video clips so the audio on the proceeding clip plays before the video.
But for many new editors, that means unlinking audio and video clips, trimming back one video clip, and extending another, and that's a lot of steps for a simple transition that you'll most likely be using quite often in your edit.
To help you save time, Nathaniel Dodson of tutvid shows you a few techniques you can use to create J-cuts: one that is slow but standard, one that is fast but still has too many steps, and one that is so fast it only requires a single step. Check it out below:
What's a J-Cut?
Okay, before we get into the quickest way to make J-cuts, let's talk about what they are and why they're important.
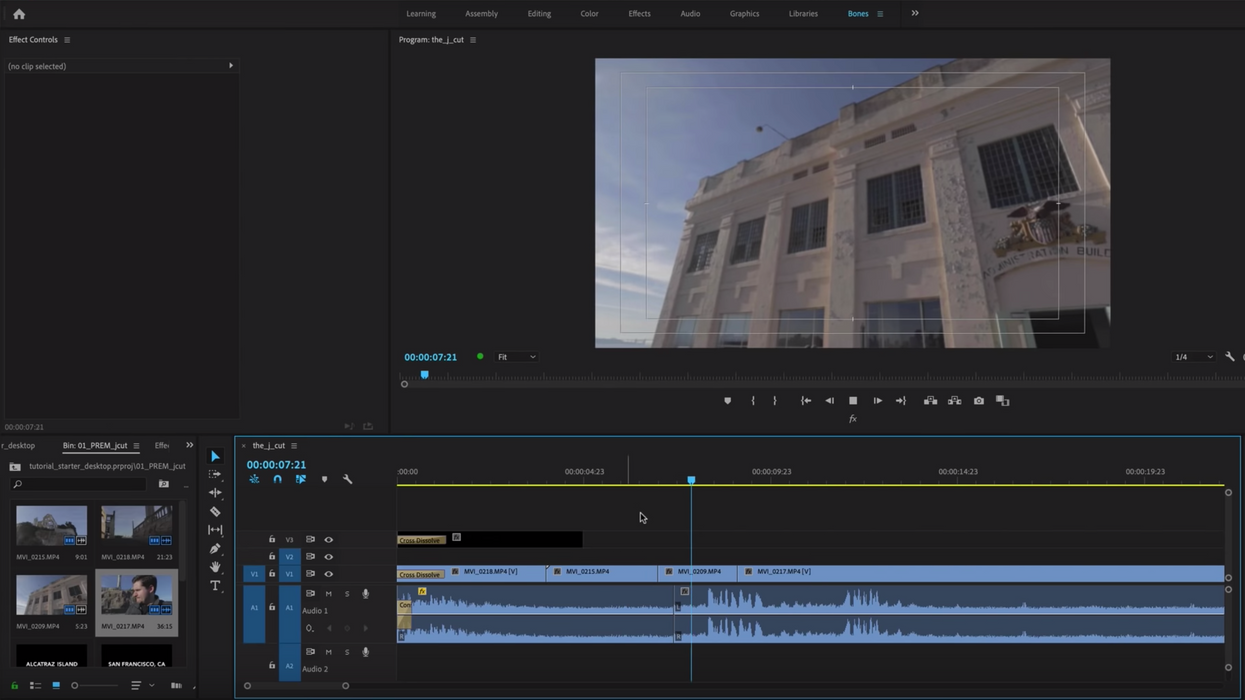
J-cuts are so named because the clip looks like a little "J" in the timeline because the audio of a certain clip (let's call it "Clip B") starts playing before its ("Clip B") video, and the video of the preceding clip ("Clip A") overlaps the audio of the following clip ("Clip B").
J-cuts are important because rather than having a bunch of hard cuts from one clip to another (or one scene to another), you have a nice, smooth transition that seamlessly takes your viewer through the timeline without abrupt stops.
(Side Note: "L-cuts" are also a thing...pretty much the same thing only in reverse.)
Here's a quick video from editor Justin Odisho that explains J-cuts in more detail:
Making J-Cuts: The Slow Way
If you're new to editing, you probably use this method for making J-cuts. It's not efficient, it has a lot of unnecessary steps, and could potentially lead to problems with video/sound synching down the line. It's also a huge pain in the ass to move them around on the timeline if you need to make slight adjustments, but it works, so...there's that.
- Right click on your audio/video clip and select "Unlink". (This turns your audio and video clip into two clips that can be trimmed and moved independently.)
- Trim back the video of "Clip B".
- Extend the video of "Clip A".
Making J-Cuts: The Quick Way
This method is a lot easier and quicker than the previous one. You don't need to go through any menus or worry about right-clicking anything, your audio and video clips stay linked, and it only takes two steps to do it. Plus, you get to use keyboard shortcuts!
- Hold down ALT/OPT key and trim the video of "Clip B".
- Hold down ALT/OPT key and extend the video of "Clip A".
Making J-Cuts: The Quickest Way
Okay, this trick is the shiz. I love it and you'll probably love it, too. It's the quickest way to make a J-cut that I know of because it literally only has one step.
- Using the Rolling Edit Tool (N), hold down the CMD/CTRL key and the ALT/OPT key and trim the video clip of "Clip B". (The video of "Clip A" will be extended at the same time "Clip B" is being trimmed.)
How do you edit J-cuts? Do you know of any other methods that are faster or easier? Let us know down in the comments.
Source: tutvid

 No Film School's coverage of


