If you are a small skeleton crew or a one-man-or-woman-band wearing many hats, it can be easy to plunk your subject in a chair somewhere and start rolling. We’ve all been there. You’re in a time-constrained situation. You don't want to test the patience of your subject. And unfortunately, the aesthetics of your location just plain suck. You shudder, roll camera, and wonder if you can cut away from the interview and hope for the best.
Don’t hope for the best, create it!
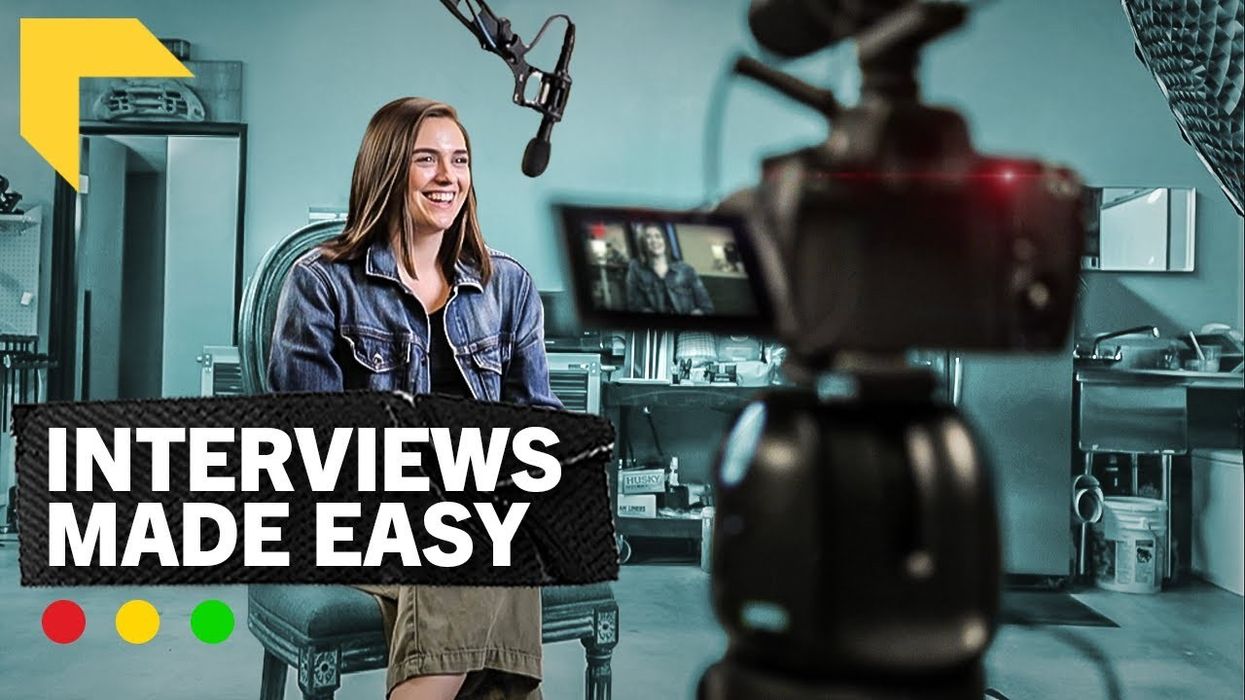
In this video from Indy Mogul, Oscar/Golden Globes DP Casey McBeath goes over the most important 10 steps to making sure that your interview is solid visually. (With some steps that address sound and interview techniques too.)
You've probably already shot an interview that falls below the standards that Casey McBeath is setting above. Be comforted that the content of an interview is way more important than how cool it looks. (Unless you’re making an infomercial, in which case, looking good is about all you’ve got.)
But if you can adhere to a few of these steps, there’s no reason a stand-out conversation with a subject shouldn’t also stand out visually—even if you are in a gross location.
Here’s a recap of the 10 steps that Indie Mogul is talking about in the video above. Print them and keep it handy for your next interview setup.
Step 1: Scout the Location
The first thing that DP Casey McBeath suggests is to look for what you DON’T want to be in the frame. A bathroom. An awkward corner. Find the least offensive spot, and then make sure to put your interview subject far away enough from the background wall to create space.
Step 2: Camera Placement
According to McBeath, people benefit from a slightly lower angle, not right at eye angle as we often place them. He’ll have the subject look left to right, which is a standard he feels makes the person in the frame look more glamorous. And finally, get the headroom right. Too much and the person looks lost in the frame or short. Too little and the viewer is claustrophobic. He recommends three to four fingers of space above a head.
Step 3: Key Light
McBeath starts with a key light that is soft and attractive. He feels that 45 degree is best, with a 40-degree fabric grid to prevent too much spill distracting the viewer.
Step 4: Backlight
Short and simple, it helps separate your interview subject from everything else.
Step 5: Background light
McBeath’s trick for background? Add some color to contrast.
Step 6: Light with Practicals
Get a hand dimmer for $10 from Walmart, and then dim a nice lamp in the background. Just make sure your practical is not poking out of your subject's head.
 If you're interview location leaves a little to be desired, stick to the basics in this video to redeem yourself.
Step 7: Set Design
Basically, you can start by removing distracting elements from the frame. When it doubt, use brightness to guide the viewer's eye. Guiding to what? The interview subject. We’re starting to catch on.
Step 8: Second Camera
Why should you use a second camera? Because it makes it a lot damned easier to cut between moments of what your subject is saying. You can only cut to B-roll to splice to interview clips together so often.
One way to make your post work easier is to use the same brand (and hence, the same color space.)
Step 9: Audio
The head of Deity Microphones, Andrew Jones, steps in to give us some insight on proper mic setup for an interview. His take? Put a boom on a stand. (Not with a shotgun, as we are indoors, but rather a hypercardiod pencil mic.) Then, point the boom at the chest area. It’s safer than pointing it at someone’s mouth because if they slope as people often do, you’d then be getting the forehead.
Also, buy moving blankets (from Harbor Freight) and use those to dampen the echo in a space by placing them around your subject on a stand or on the ground.
Step 10: Talking to your subject
Break the ice, but when you start, avoid talking over the subject. You will have a hell of a time editing your voice as you step on what the interview subject is saying. And try to get your interviewee to respond in full sentences.
Good luck with your next interview!
If you have tips or tricks to add, or disagree with any of these, share in the comments.
What's Next? Learn how to conduct a great interview!
These are great points to think about, although it barely scratches the surface of how to conduct an interview the right way. So, if you need more advice, I wrote a heartfelt piece on here a few years back that breaks down nearly everything I know about doing it right. Read it and see if it helps you have better conversations with your subjects.
Source: Indy Mogul