As far as camera stabilizers go, tripods are relatively simple tools, right? At least compared to motorized 3 or 4-axis gyroscopic gimbals and Steadicam's iso-elastic arms. Tripods have been around forever, supporting the camera rigs of studio projects and the Sony Handycams of soccer dads everywhere. And they just—sort of—stand there, so it's easy to assume that there's not much to "operating" one.
If you want to find the BEST tripods for filmmakers and creators we actually did the research for you! And if you have a few of these guys lying around, we have some hacks for storing them! Plus if you want more insights into how to set up your shots, check out our complete guide to all of camera angles, shot types and moves you need to be a cinematographer.
But sticks really do require quite a bit of finesse and expertise. (Talkin' to you, Kurt...stepping over the sideline with your chunky cross-trainers and wraparound sports shades.)
In this video, Kai W goes over some helpful tips on using a tripod like an actual professional. Check it out below.
Scout First
I know you're itching to best out that tripod and get shooting, but you might want to keep those sticks put away until you're done scouting the location. This will allow you to find your shots without the added headache of carting around a fully extended tripod, whacking passersby in the shins or getting stuck in thick, prickly brush as you awkwardly maneuver.
Spread Those Legs Out
Fully spreading out your tripod legs will give you more stability than if you keep them part-way closed. Now, if you're just being a little lazy, just go ahead and spread 'em. However, if you're thinking you need a smaller footprint while working in a tight space, that makes sense. Just be sure to keep a steady hand on your camera in case your setup gets an unintentional hip bump.
How to Position Your Legs (Level Ground Edition)
Very simple: point one leg toward your subject. Why? Because that means that one leg isn't invading the space between your own human legs.
How to Position Your Legs (Uneven Ground Edition)
If you're trying to shoot on uneven ground, like on the side of a mountain or hill, stability becomes a bigger issue. That's why Kai suggests placing two legs downhill, because your setup will have more balance and stability if there's a sudden gust of wind, a bump, or nudge. Placing one leg downhill makes your setup more prone to tipping, meaning you'll most likely have a fallen camera on your hands.

Tips for setting up your tripod on uneven ground
Kai W
Extend From the Top
Why? Because that means you're using the thicc, beefy parts of your tripod legs first, keeping your setup as stable and durable as possible. That's not to say that you shouldn't extend the thinnest section of your tripod, or your center column for that matter—if you need more height, do it. However, it's a no-brainer to ensure that the majority of your camera setup's weight is supported by the strongest parts of your tripod.
Composing Shots on a Tripod
Okay, you've scouted your location, extended your legs out, positioned it like a champ, and now you're ready to shoot. Except you're not. You still have to adjust the ball head. Kai suggests loosening the ball head, cupping your camera lens with one hand to make adjustments, and using your other hand to tighten things up once you've got your shot.
Remove Weight from Your Tripod Hook When Moving
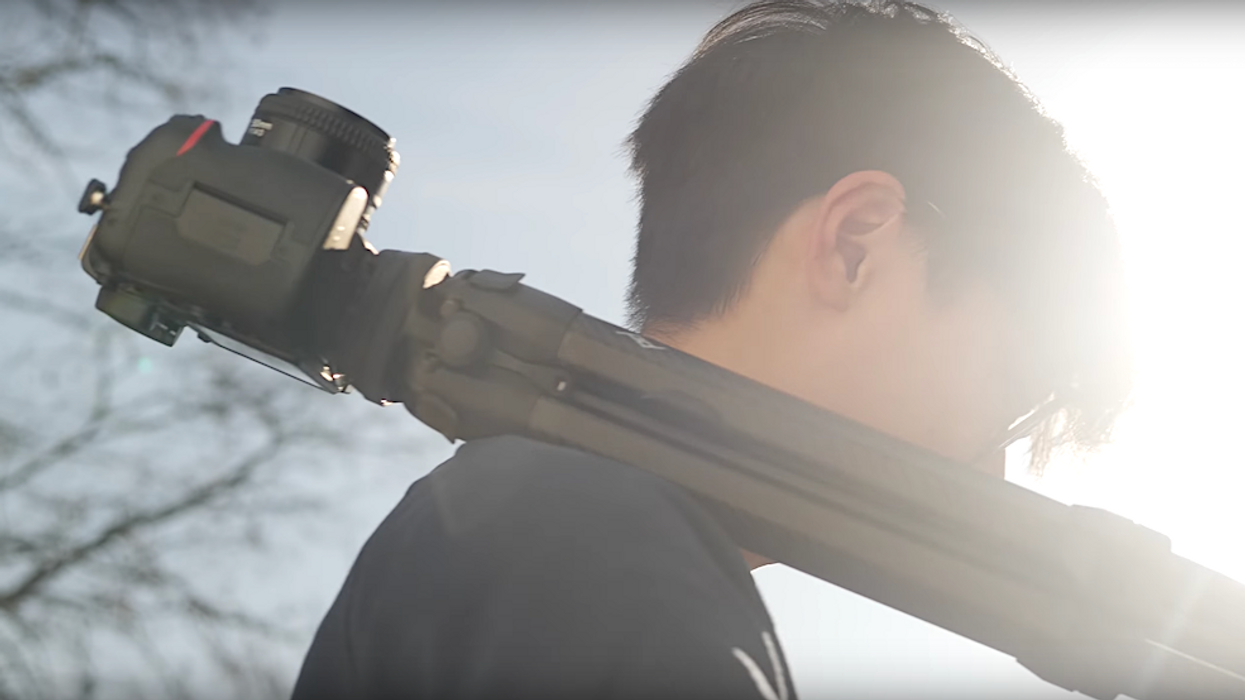
It's a great idea to add some weight and stability to your setup by hanging your camera bag (or something) from your tripod hook. However, if you're changing locations, even just moving over a few yards, take that weight off. You don't want to be fumbling around with a tripod that keeps changing its weight distribution due to a pendulous bag. In fact, it's a good idea to close the legs and carry that baby over your shoulder as you move from one spot to another.
DIY Weight for Your Tripod Hook
Don't have a heavy camera bag to hang on your tripod hook? Well, if you have a camera strap you can add some weight to your camera setup by attaching it to the hook (Kai uses some bungees), and applying some pressure with his foot. Boom!
Turn Image Stabilization Off
If your camera has image stabilization, great! It's really helpful for certain applications...but maybe not for this one. Your camera is already locked off on a steady (and very still) tripod, so you're not going to need the magic of IS. Better to save your battery and turn it off.

Your face when you've successfully set up a tripod
Kai W
What are some other helpful tripod tips? Leave them in the comments below!
We also have 13 additional tips for maximizing your tripod!
Source: Kai W