Wondering precisely what a LUT is and why people are asking you to supply one? There are times for LUTs, and times to avoid LUTs, and we can walk you through it all.
You aren't alone.
LUTs are one of the tools we use in filmmaking with the most confusion surrounding them, which is surprising because they are actually pretty simple things once you get to know them.
Let's get started.
What is a LUT?
To start with, let's supply a simple LUT definition: a LUT is just a "lookup table."
That's it. It's a table of values.
In fact, if you have a LUT of some sort (you can download them many places on the internet), you can open that LUT in TextEdit or Notepad and read it.
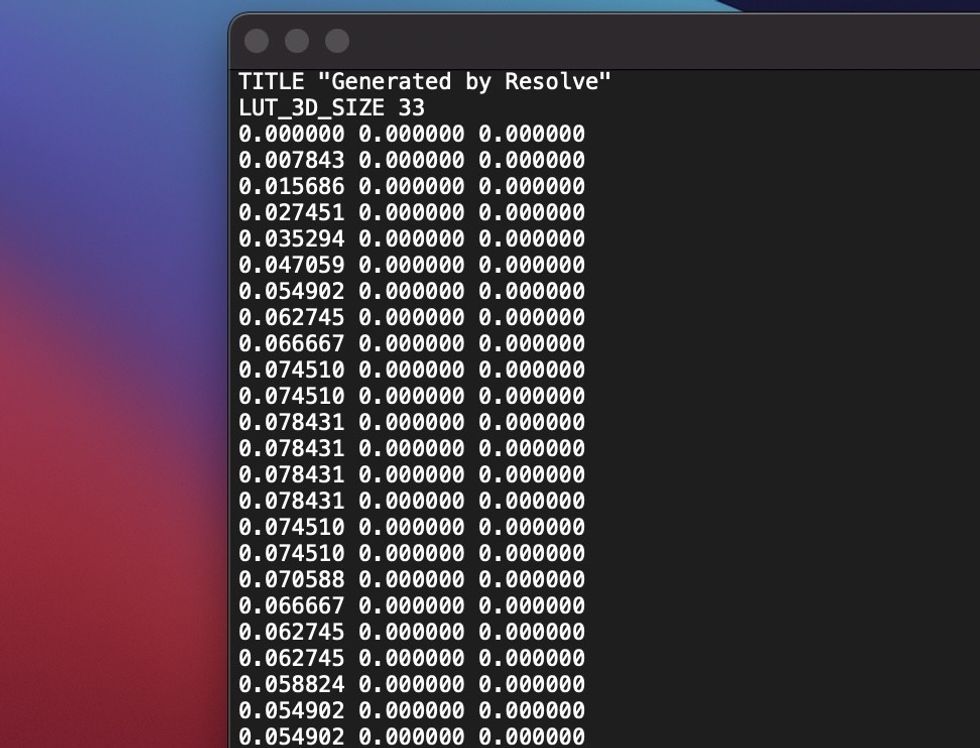
That's it. Just plain text readable numbers in a specific order.
Every LUT format spells out what those numbers mean. So each number in the table refers to a specific color value in your image, and the numbers in the table tell the system how to change it. Make it brighter, make it darker, make it bluer, redder, greener.
That is it, it's really that simple.
What this means is that a LUT file is one that can be applied to your image to change how it looks. Maybe you are shooting on a camera that is a little desaturated, and you want it to look more saturated? A LUT can do that.
It can make the image more contrasty, bluer, flatting, darker, or brighter.
 Tiny files sizes are one of the perks of LUTs
Most importantly, it can do that with relatively easy math. It's a small file and very simple processing, so it's easy for relatively lower-power systems to run. This is why you see it in editing platforms where you can apply a LUT to every shot. A LUT is small enough that it won't completely slow down your system. Or a LUT can be loaded into a camera or a monitor, where their smaller processors won't be overwhelmed.
You can think of a LUT as being a bit like a filter that changes what your footage looks like.
Where do LUTs come from?
While you can download LUTs from creative websites and also directly from manufacturers, you can always make LUTs yourselves.
In grading applications like DaVinci Resolve, you can color grade footage, then, when you like the grade, export the LUT to a new LUT file that you then pass on to wherever it is needed.
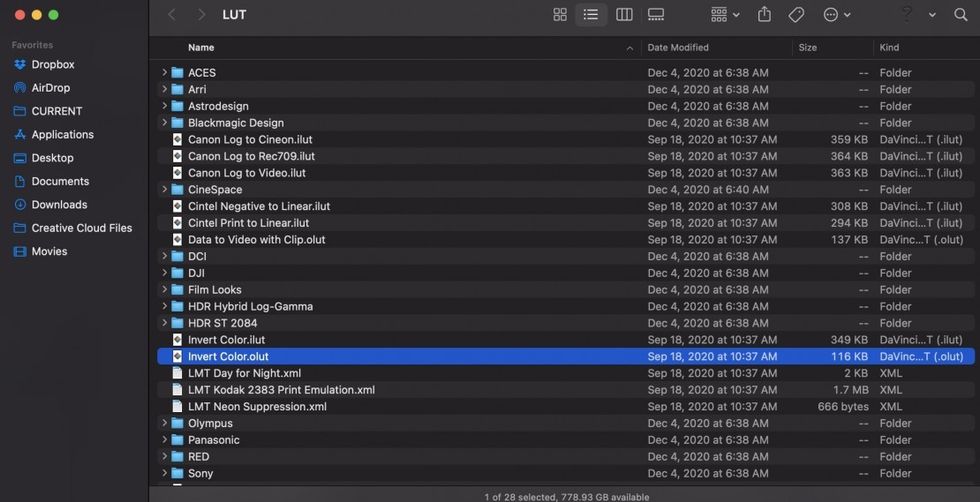
Be sure to research the precise format of LUT supported by the device you want to use.
LUTs are available in a variety of different formats (.lut, .cube, etc.) and in a variety of different sizes like 11-point LUTs and 33-point LUTs.
Every device that supports LUTs will tell you in the manual what type of LUT it supports, and if you are looking to plug a LUT into a camera, monitor, or editing platform, it's good to know what LUT it accepts.
LUTs vs. Looks
Some might hear this and think, "Oh, a LUT is just a look!" And in some ways, a LUT and a "look" are somewhat similar.
However, a look usually has more elements in it. For instance, if you go into the camera menus on most cameras, there is often a "sharpness" setting, and "sharpness" or "softness" is usually a big part of creating a "look" for a project.
A LUT can't do sharpness. So it's important to remember that a LUT and a look are different, with a LUT being a simple file designed for contrast, brightness, and color cast changes, while a "look" refers to all the things affecting the personality or vibe of an image.
Drawbacks to LUTs
While LUTs are very powerful considering their small file size, they do have a few drawbacks to be aware of.
First and foremost, it's that a LUT affects your whole image the same way. You can't apply any shape information on a LUT, so you can't do a subtle vignette to point the eye or do anything else with shapes. A LUT affects every pixel in the frame the same way.
On top of that, LUTs have some technical issues that come from bit depth and banding. Because the file sizes of LUTs are small, you sometimes run into an issue where fine detail in a gradient comes in between steps in the table. This leads to an output that looks banded.
It's not a problem for on-set previews or while editing, but a major buzzkill in your final release. Also, a LUT has a limited number of entries in its table, so if you have pixels that are too dark or too bright for the table, they'll be out of gamut, and every software has its own weird ways of dealing with out of gamut errors
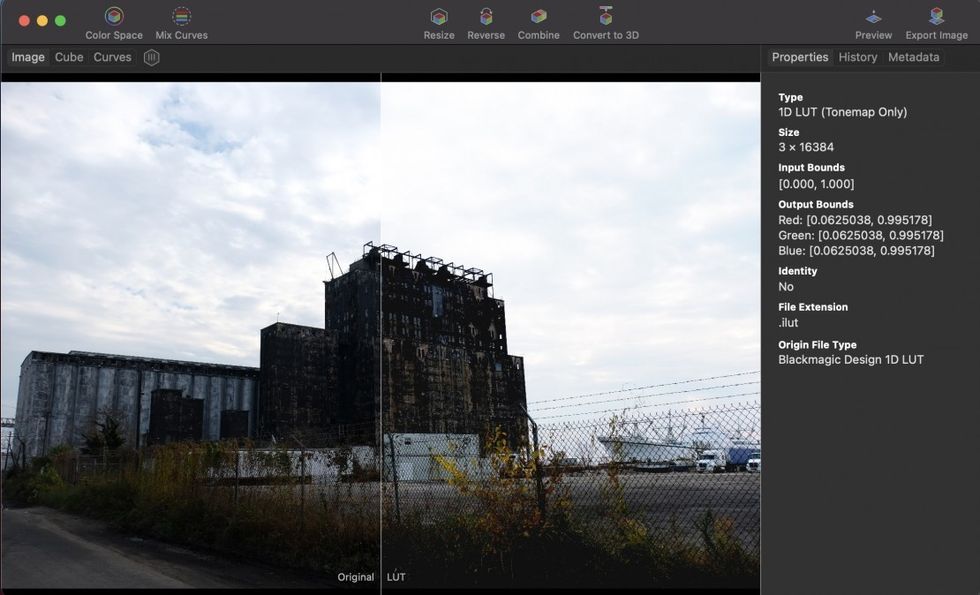 Applying this LUT, designed for log footage, onto linear footage shows a completely clipped out sky, which later color grading might not be able to recover, a good example of an out of gamut issue.
It's also important to remember that a LUT is going to do the same thing to every shot, no matter what. So if you put a LUT on a perfectly exposed shot and like what it does, hurrah, you are in good shape. But let's say there is a dark shot in your movie accidentally overexposed. Putting the same LUT on that shot isn't going to have the same effect, since the source shot is darker.
A LUT is not a fix-all for all problems of production.
1D vs. 3D LUTs
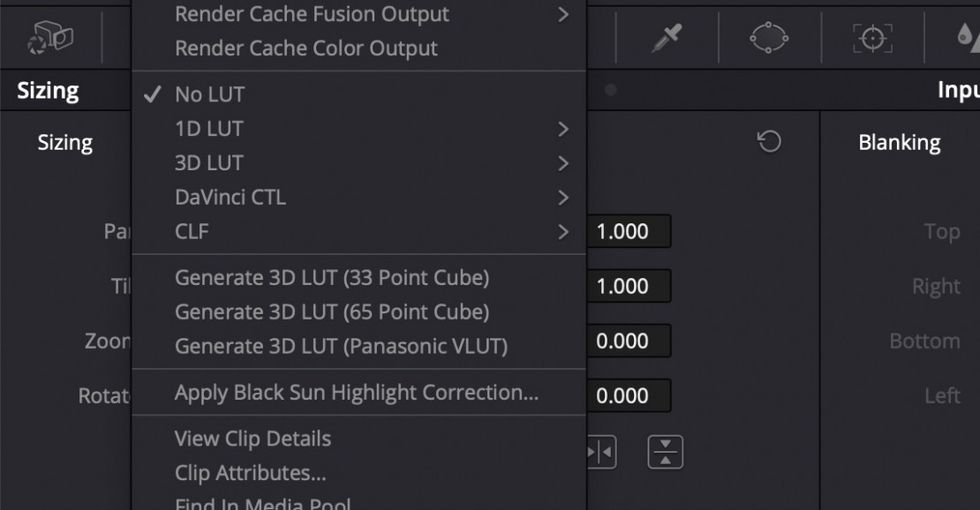
You'll see a lot about 1D and 3D LUTs, and once you know the difference, it's easy to remember.
A 1D LUT only covers one direction, brightness. So you'll often see 1D LUTs used for converting log to linear footage, since that is a transformation of brightness.
A 3D LUT covers 3 dimensions, which are the red, green, and blue channels of color video. If you want to change the color of something, you'll need a 3D LUT. Of course, brightness can be changed with a 3D LUT, but not as precisely and the files are bigger, so 1D LUTs remain popular for what they are used for.
You also might run into situations, like monitor calibration, where you use both a 1D and a 3D LUT at the same time.
When you should use LUTs
Because of these drawbacks, LUTs make the most sense during production and the early stages of post. If you are working on a shoot and know what kind of look you want to put on the footage, using a LUT on set can help your collaborators see your vision and help make key decisions easier.
If you know you are going for a lot of contrast, for instance, a contrasty LUT can help you see that on set and light accordingly, setting your exposure so key information remains in frame.
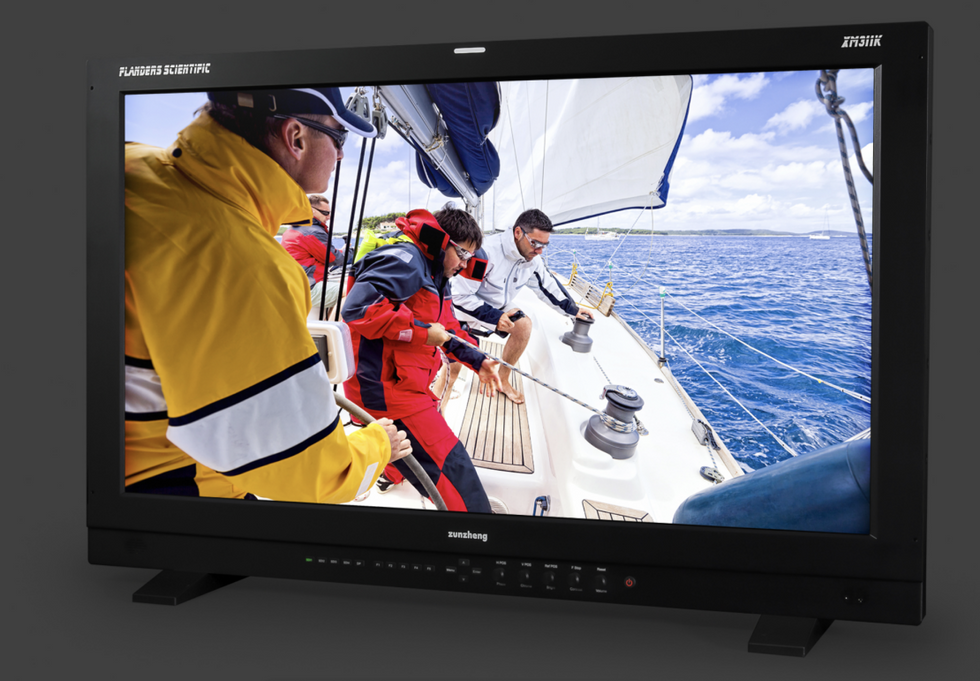 Flanders Scientific are one of several companie's whose monitors allow a LUT to be imported.
The same is true in the early stages of post-production. If you are bringing in dailies without a look on them to your NLE, a LUT can be a great way to get a rough look on the footage for managing client expectations without the time required to do a full dailies grade. Since LUT files are so small, even less powerful editing platforms can usually apply them to the footage in realtime.
LUTs are also sometimes beneficial in the final, final, final stage of the process, versioning.
Once you have created your master full-resolution high bit depth HDR file, you often need to make other versions, an SDR, a web version, a Blu-ray, and more. High bit depth LUTs, often too big to be used in on-set situations, are often applied at this point to transform your final image into other formats.
The high bit depth avoids banding issues, and out of gamut errors are less of a worry here since you are creating a delivery to a new format with a limited gamut anyway.
 The newest LG OLED monitors support LUTs for monitor calibration.
One final use of LUTs is in calibration. Monitors are getting better and better, but they still aren't perfect, and almost every monitor filmmakers use supports the ability to add a calibration LUT to make the images it displays as accurate as possible.
Creating these calibration LUTs involves the use of a color probe to read the color chips the monitor shows, and then some software to take that information and create a LUT from it.
When you shouldn't use LUTs
LUTs are best avoided as part of the final creative color grading process. When you get into your grading session, you might bring along your LUTs to show them to the colorist to help give them perspective on the looks you were using while shooting and editing, but it's better for the colorist to recreate that look from scratch in their editing platform than to work with the LUT on.
Because of banding and gamut issues, LUTs can get in the way of taking full advantage of everything available to you in a final grade.
Often the production LUT was actually created by the colorist during pre-production, so it should be possible for the colorist to go back and re-open that file and get the grading data that was used to make the LUT in the first place.
Manipulating LUTs
There is a wonderful piece of software called Lattice for when you find you need to manipulate a LUT.
For instance, let's say you have a calibration LUT for a monitor, but the director always wants a "look"-type LUT on there as well, but the monitor you are using only supports one LUT.
You can use Lattice to combine two LUTs into a single LUT for use in that situation. You can always convert LUTs between LUT formats. Best of all, you can preview what a LUT does to the image on whatever source image you choose.
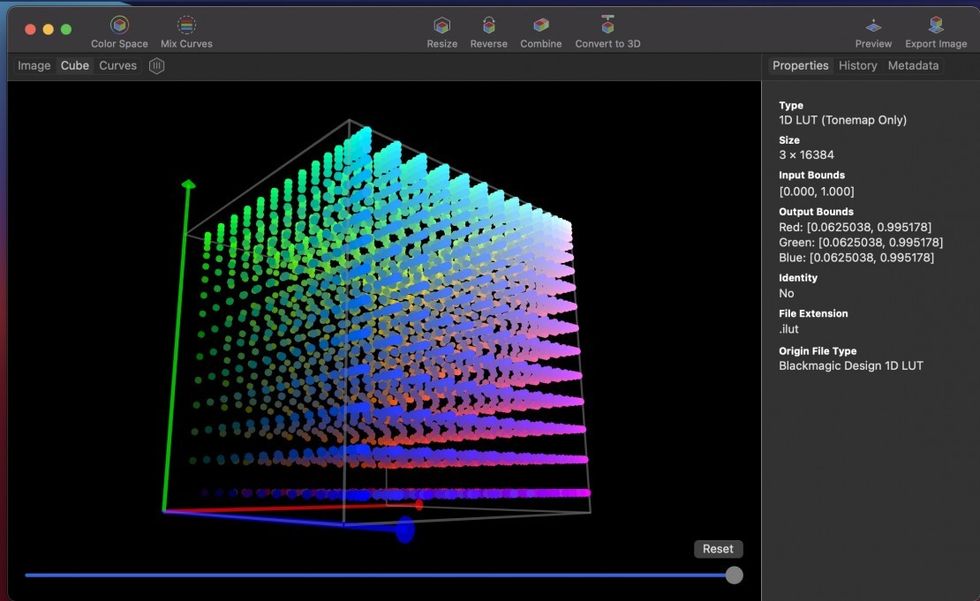 Lattice also offers helpful displays like this color cube to see how the LUT is changing the image.
What is replacing LUTs?
While LUTs are wonderful and are likely here to stay on set, they are slowly being moved out of post. The replacement is what is called a transform.
Unlike a LUT, which is a set table, a transform is a math equation. So instead of a given brightness value having a place in the table, and the software looks at the table and changes it, with a transform the software applies math to each pixel to change it.
Transforms are incredibly powerful because they don't have the banding and gamut issues of LUTs. Since it's math, there is no "out of gamut" error caused by the transform. It can always calculate a new value.
The drawback is that they require more processor power. However, we generally have that processing power in post, so you see more post applications supporting transforms. If you are using any type of color-managed workflow, you are seeing transforms in action.
Adobe Premiere
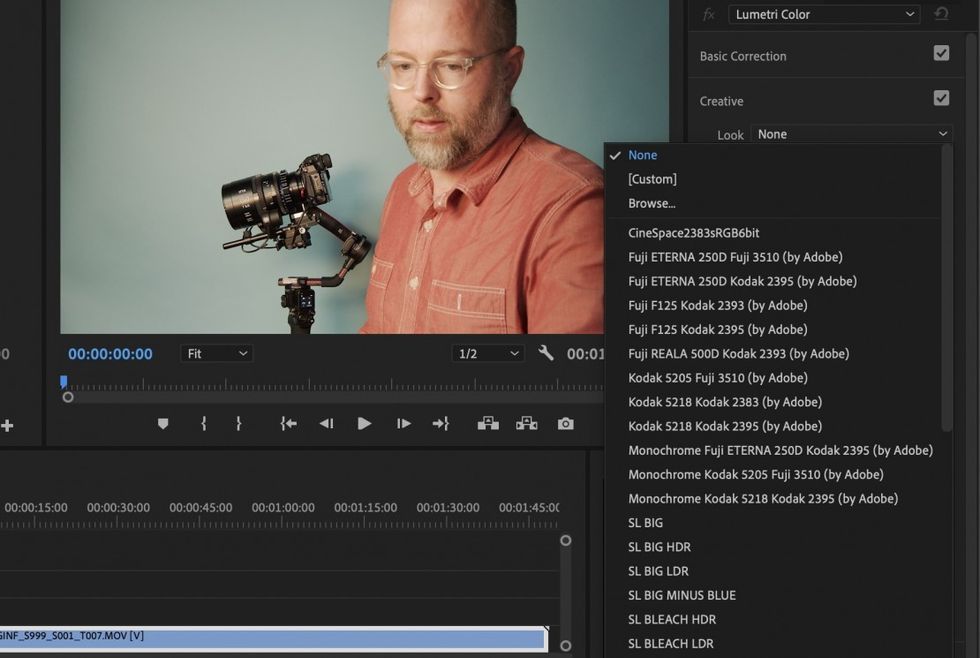
One of the things that makes this a little bit more confusing is how LUTs are integrated in Adobe Premiere with the Lumetri color panel.
Adobe has a whole array of prebuilt looks with a variety of cool-sounding names like Big Minus Blue and Bleach HDR. To add looks to that list, you can select custom and add a LUT file, which leaves many users thinking a Look and a LUT are the same things. Not fully true, of course, but Premiere uses the terms somewhat interchangeably.
Conclusion
Hopefully, you now have a better sense of the LUT and how you might use it in your filmmaking workflow.
They really are powerful things, especially considering how small the files that create them are, and especially in on-set monitoring and dailies creation they can serve a great purpose.
But don't go thinking they can do everything, and if you want a specific look, it's generally a better idea to focus on crafting it by hand when going for a final grade.
- LUT Video Guide: Learn What Looks Can and Can't Do for Your Images ›
- Need to Match Colors Between Two Different Cameras? Here's a LUT That Can Do It ›
- What is a Look Up Table (LUT), Anyway? ›
 No Film School's coverage of


