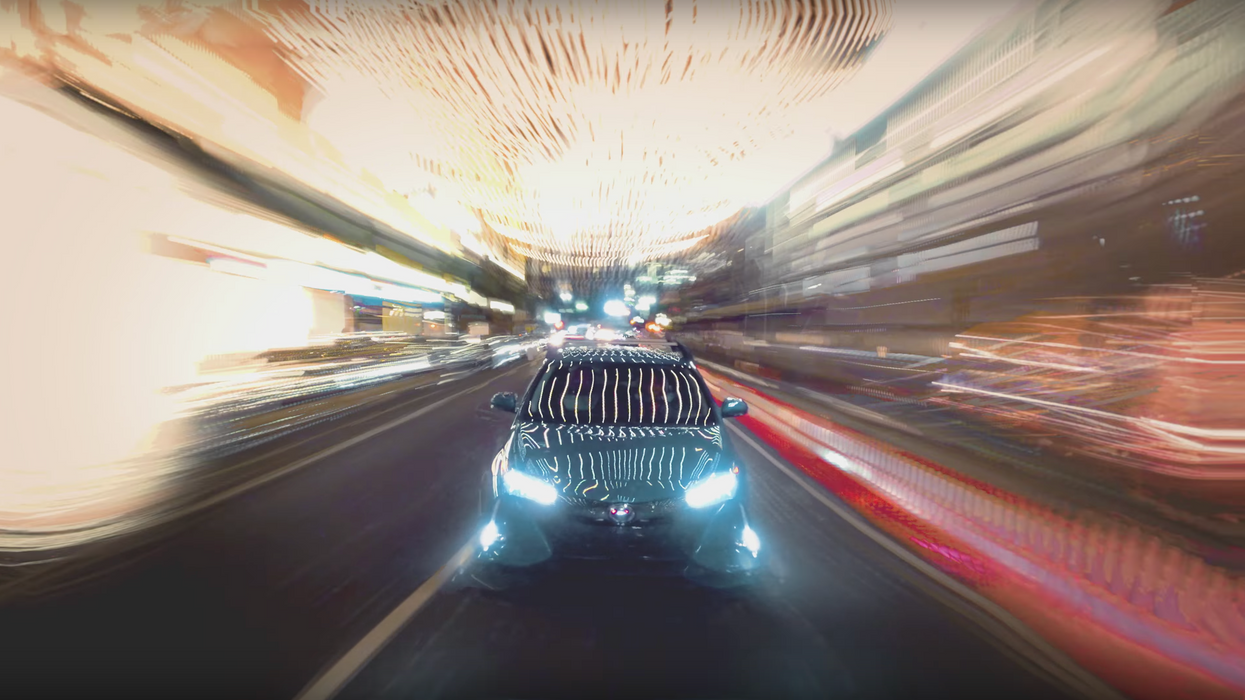
How to Create a Long Exposure Video Effect in After Effects
Pulling off long exposure photos is relatively easy, but doing so with video is another story.

One of the first still camera "tricks" you learn as a photographer is how to create light trails using long exposures. All you do is crank up your shutter speed to five or six seconds (or whatever works), adjust your aperture accordingly, and boom, you've got some nice light trails streaking all along some random freeway. But can you achieve the same effect with video? Totally, but you'll need to head into post to do it.
Photographer/cinematographer Dan Marker-Moore, known for his iconic time-slices, created a video for Toyota that employs this interesting long exposure video effect, and in the tutorial below, he shows you how he did it using nothing more than standard Adobe After Effects tools—no plug-ins required.
And here is the completed ad for Toyota so you can see the effect in real-time:
This isn't the first time this effect has been used, but the reason I like this particular tutorial and think it's helpful is because you don't need any third party plug-ins or additional software to pull it off. (And that means potentially saving money on a tool you may only use a few times.)
Marker-Moore shows you two approaches you can take to create this effect:
- Set your blending mode to "Lighter Color," then duplicate the layer and stagger the video clips by one frame
- Use "Echo" on your video or adjustment layer and set to maximum

Once you've finished duplicating, staggering, or adding Echo, then sit back and enjoy the longest render of your life (maybe). Marker-Moore's render time was 48 hours, but it may be more or less depending on how many layers you add and how many other effects you include.
Also, he doesn't talk about it much in the video, but the process of tracking the car in post played an important role in making his Toyota video nice and sleek. Luckily, he explains it a little bit in a response to one of his viewers. (Heads up: this approach does require a plug-in.)
I used Adobe's camera cracker plug-in and choose to render the tracker points. By doing this I fixed the trackers to the scene. I then adjusted their color and luminance and then fed that entire scene through the Long Expo video technique. Those tracker points then created even more streaks for my scene.
This long exposure video effect is cool as hell and has plenty of applications: dream sequences, experimental films, or trippy ass music videos. How would you use this effect in your own work? Is there an easier/better way to pull this off? Let us know down in the comments!
Source: PetaPixel


 'Aliens'CREDIT: 20th Century Fox
 'Promising Young Woman'CREDIT: FilmNation


