You can learn a tremendous amount by simply watching great films -- paying attention to the details, breaking down a scene, concentrating on how elements come together. But if you really want to start making movies, learning a specific cinematic craft, it's not enough. You have to get hands on. It was with this in mind that I found myself increasingly intrigued with the idea of taking a compelling shot from a movie and seeing what could be learned by attempting to recreate the lighting as a cinematography exercise. I reached out to the very talented DP Seth Iliff, and asked him if he’d be up for the challenge. Despite our lack of budget and limited time he jumped into it with gusto. I got to witness the process first hand -- here's what I learned:
The Shot
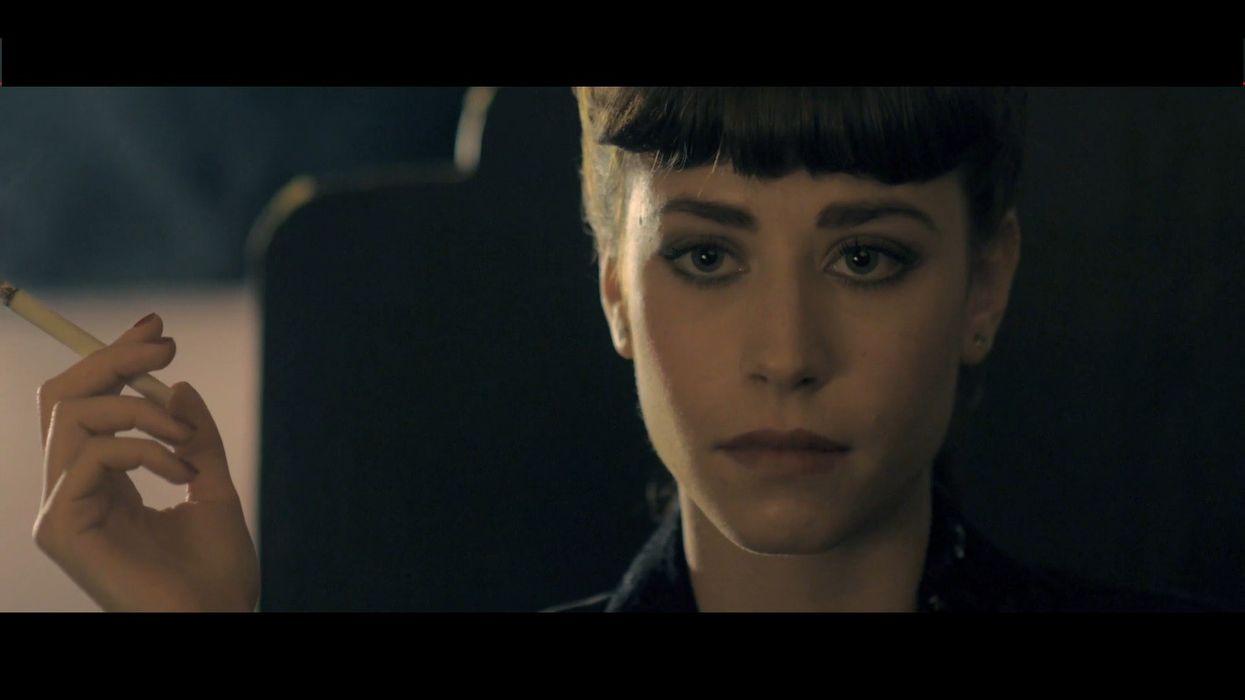
As a fan of film noir’s heavily stylized approach to lighting, I knew I wanted us to do a shot from a film that was either classic film noir, or used the conventions of noir’s expressionistic lighting -- Blade Runner fit the latter bill beautifully. Keeping in mind our time, space and equipment constraints for the exercise, I looked for a shot that was not only beautiful, but hopefully doable with what we had on hand. With that in mind, we quickly settled on the replicant interview scene with Rachael (played by Sean Young), and specifically, the close up shot of her as can be seen from :03-:07 in the following clip:
Reverse Engineering the Lighting
So we had our shot, now what? This is where Seth Iliff took over the show. As a DP, Seth has been challenged to create beautiful imagery for a variety of projects -- from commercials to independent films, from corporate videos to documentaries -- check out a sampling of his work on his website.
A big part of his skill set is understanding what the client/director wants and achieving it with the tools and budget at hand. When I arrived at the shoot, Seth was already busy setting up while directing a crew of two. Light stands were at ready, equipment was in various states of prep, and Seth had even constructed a prop to imitate the chair back, not to mention our "Rachael" stand-in was patiently waiting in full costume, hair and make-up. As he moved around the set/living room I asked him to walk me through the process--
E.M.: So, let's start from the top. We found the shot we wanted to recreate, where do you start?
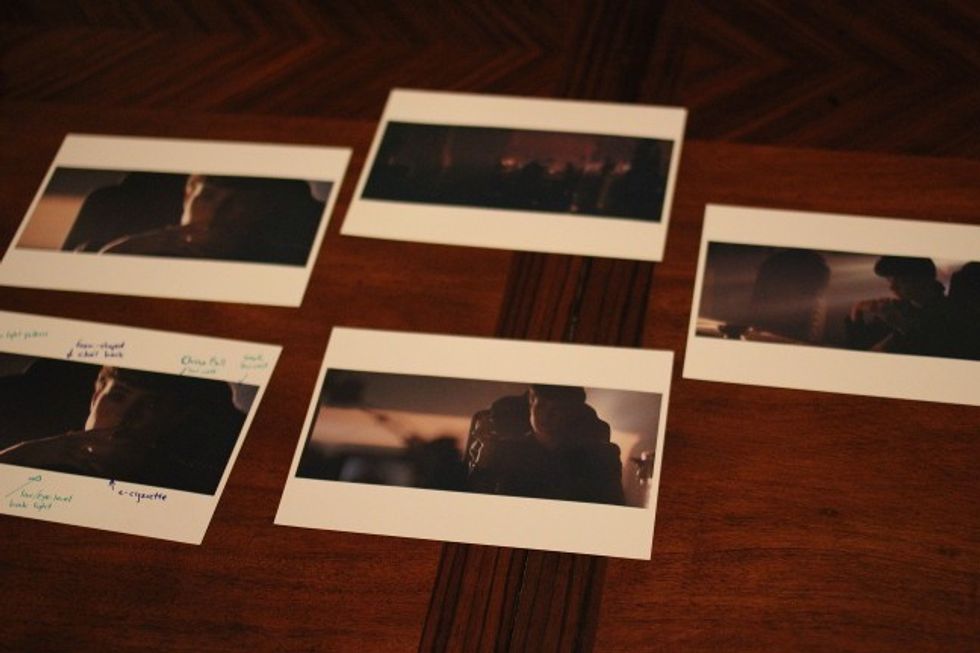 Printed out screenshots from scene
Seth: First plan of attack was grabbing the Blu-ray, checking out the scene, taking screenshots from the whole scene in addition to just the single shot we are trying to recreate. Right off the bat, the challenge is to create the illusion of a big space in a small space, because the set they were working on was quite large. Then I start the process of reverse engineering the lighting by looking at our actress Sean Young in the scene.
E.M.: Which light element stands out to you?
Seth: Our strongest, our brightest exposure in the scene, is the rim light that comes across the camera-left side of her face. The direction of it, we determined, was relatively eye level and a little bit low, and it was coming from kind of a quarter back, a quarter to the side of her back.
E.M.: Now, how exactly did you make that call?
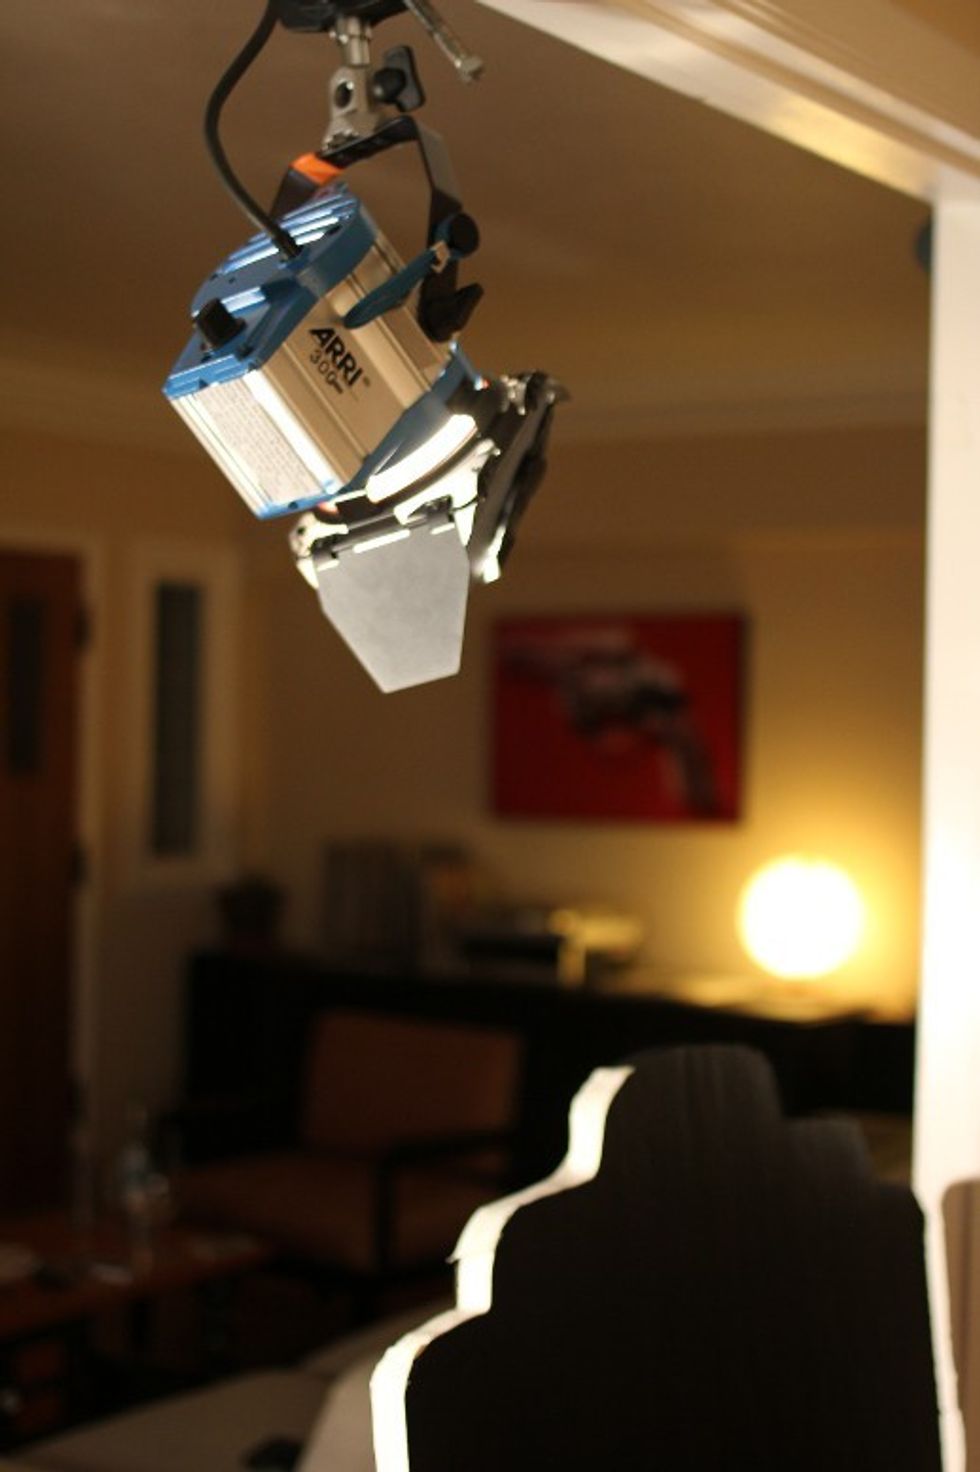
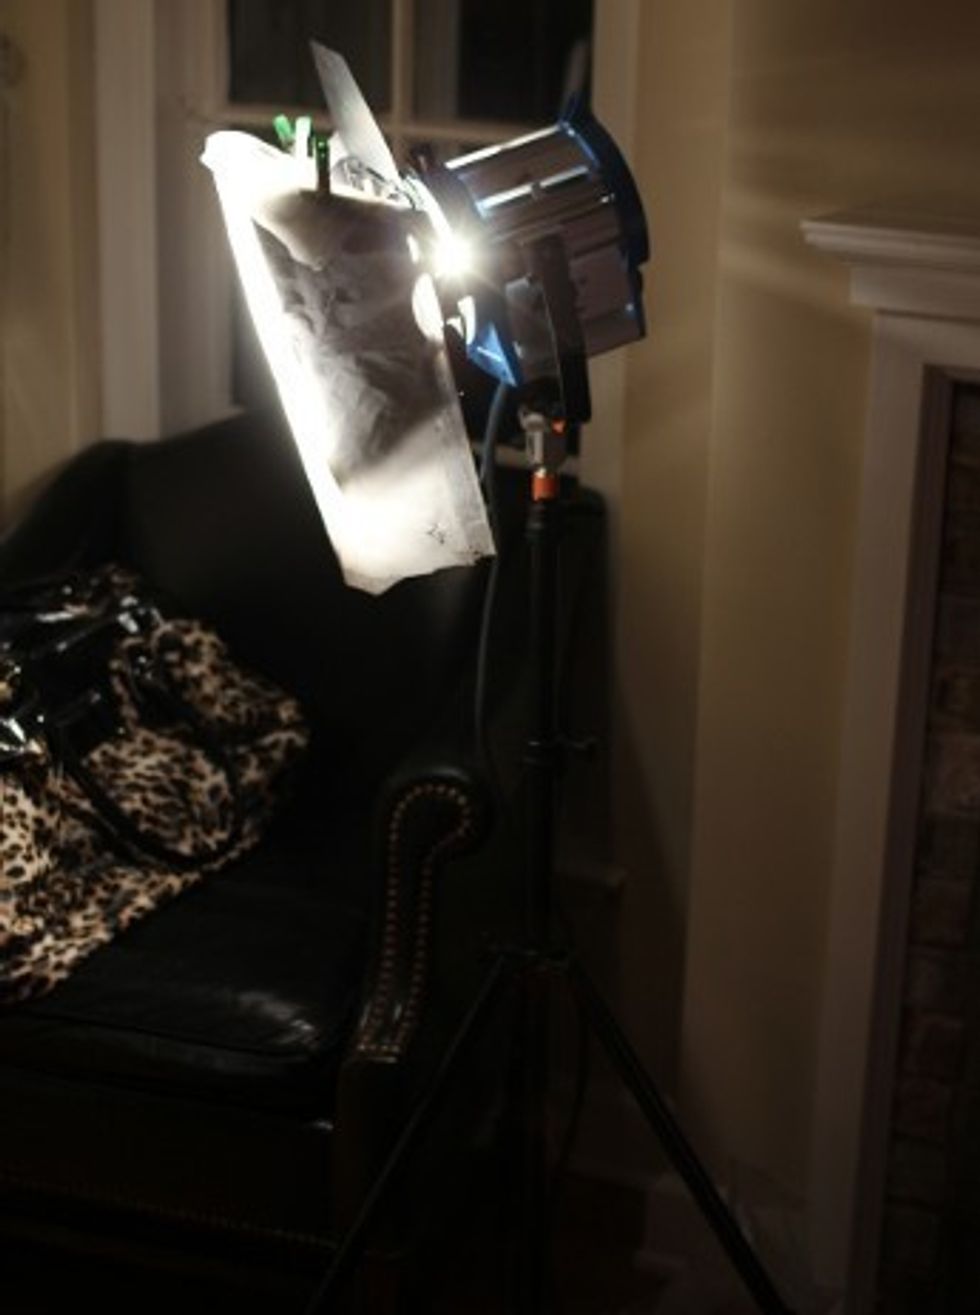 Rim light — Arri 650 watt light with 250 diffusion, positioned behind our actress, camera-left
Seth: You know, as you work with light you kind of begin to understand how light strikes a face, roughly where the light is going to come from. […] You can reverse engineer the position [of the lights] by just kind of looking at subtle cues on the face -- how far it reaches under the chin, does it reach under the chin at all?
The second thing you need to take into account is the quality of the light. So what we noticed with the strongest light in the scene is that it has a diffusion to it -- it is diffuse because it does start to wrap around the face -- it also doesn't create harsh shadows within the part of the face in which it is actually striking.
So we determined that it is relatively diffuse -- once we get our actress in here we will double-check it against the still, make sure that it's roughly the same quality of light.
E.M.: Ok, what’s next?
Seth: Other units that are playing in the scene are the slight gradient in the background, a kind of horizontal patch of light which we have recreated with some Kinos and some pretty heavy diffusion, 250 I believe.
Our fill light is from a quarter off of the camera-left side of her face towards the front. It's very low luminance and the quality of the light is extremely soft. Really the only way to create that soft quality is by creating a book light.
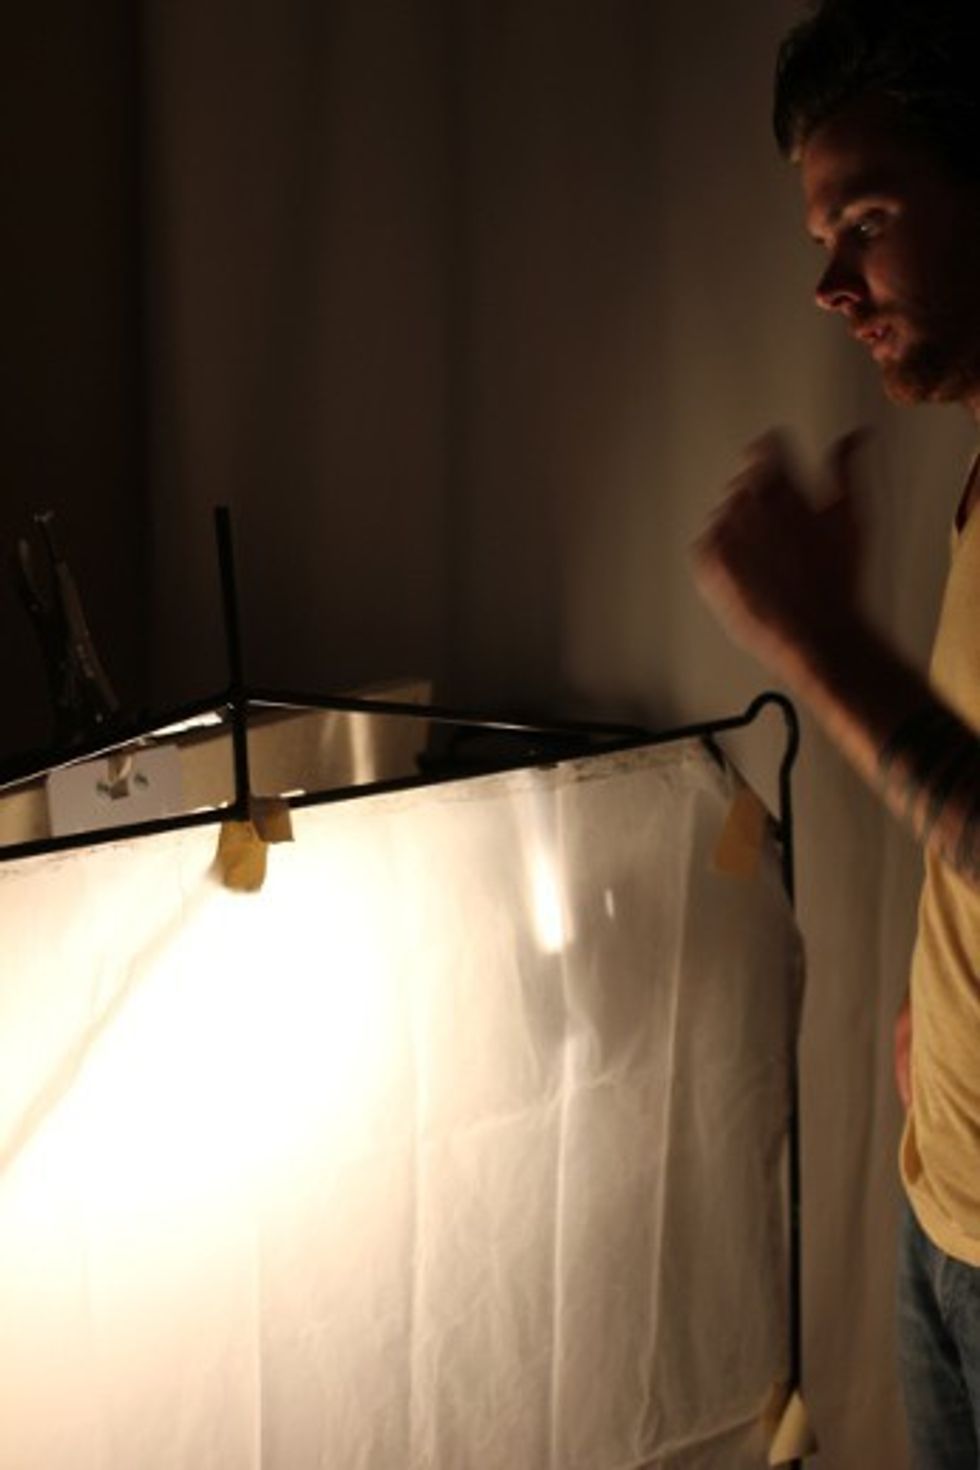 Book light created by bouncing light off cream-colored board and back through diffusion
E.M: How did you create the book light, and how did you decide where to put it?
Seth: We created a book light by shooting into a creamy colored bounce board and back through some 250 diffusion. We determined the position of that light, [by observing that] just as it strikes her face, you get a little bit of a triangle on the shadow side of her face -- you get a little triangle under the eye and that helps you determine which direction that light is coming from.
E.M.: Now, I see you have a light up above her, what’s that going to provide?
Seth: We have a little bit of rim light coming down on her shadow-side shoulder, we decided to create a little kicker from above to help outline her shoulder. The costume is black, the chair is roughly black, so what the cinematographer is doing there is making sure that the audience can separate her figure from the background chair. All this being noir, you are working with blacks and dark greys and very, very dark tones. So it's important for the DP to make sure that everything is separated, even though everything falls off into black.
E.M: Now for the china ball -- what are you going for with that?
 Overhead kicker
Seth: The last light element of the scene is the eye light. What Ridley Scott was doing there was creating an in-camera trick to cue the audience that she is a replicant, and we've recreated that by using a very low wattage china ball.
This is probably the hardest part of what we are doing because they were probably working with a really large source, a little bit farther back in the background so they could essentially achieve a big glowing mass without casting any light onto her face. We're challenged in re-creating that because we have a much smaller object to work with in terms of her eye light and we have to place it relatively close to fill her eye with the actual object, so it may cause some light. That's gonna be the hardest part of recreating the scene.
The Gear
I figure this is as good a moment as any other to pause and go over the equipment used during the shoot. Seth shot on a Panasonic GH3. He used a longer lens (85mm) to replicate the depth of field in the original image (although the precise lens length was difficult to determine with certainty from the stills). Aperture was kept at a T-stop of 2, as this is close to the sweet spot for the Rokinon lens being used, and shutter speed was 1/50. For more details as to the gear and settings, check out the list below:
Camera
- Panasonic GH3 (1080p; All-Intra codec; custom "Vivid" setting)
Rig
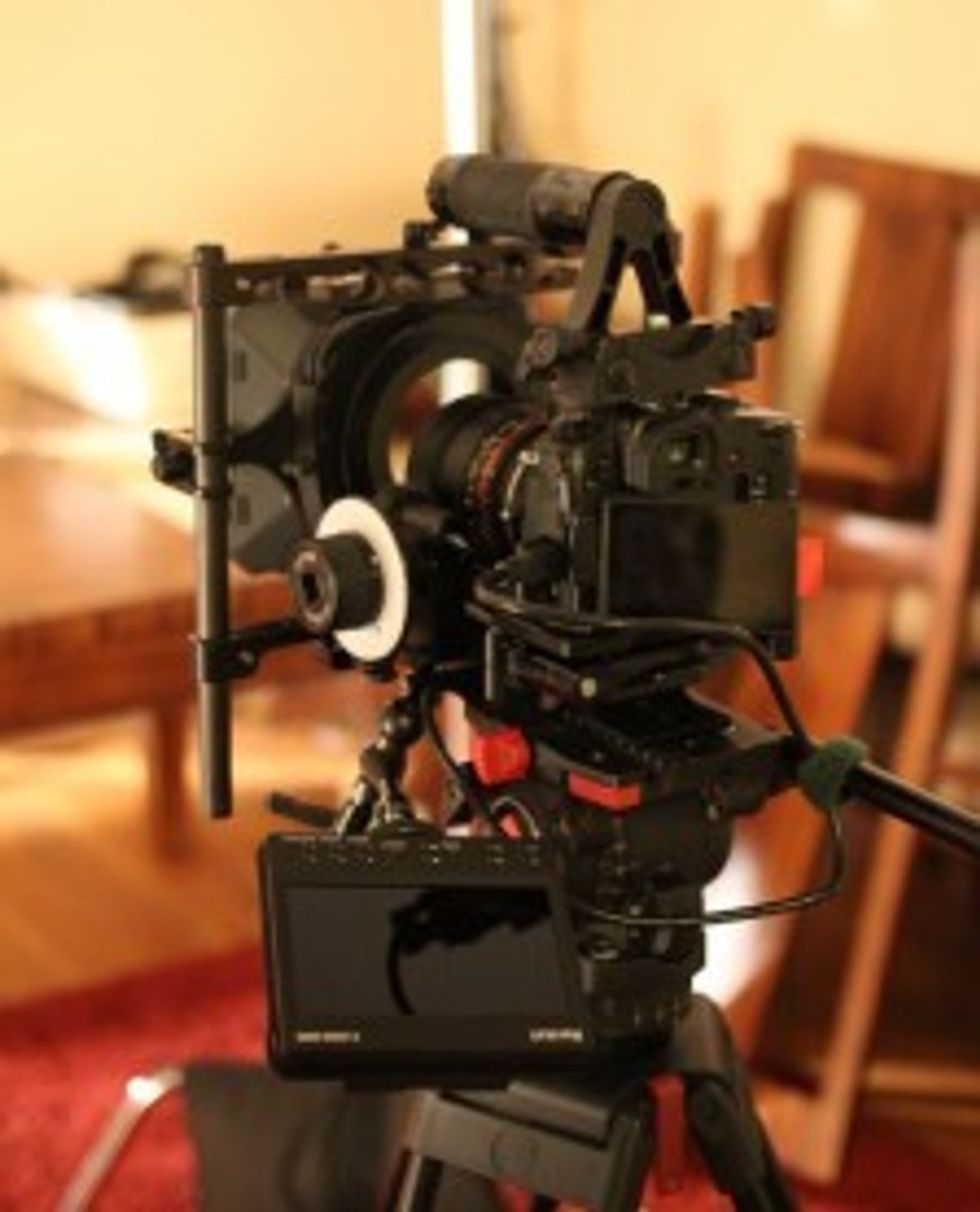
- Rokinon Lens 85mm (courtesy of Aren't We Clever) (T-stop - 2; Shutter speed - 1/50; 400 ISO)
- Cinevate's Titan Swing-Away Matte Box
- Marshall Monitor 5'' LCD
- Edelkrone Pocket Rig
- Softler Soom Tripod/Monopod combo
- Cavision follow focus
Lights
- Arri Softbank Kit (2 650's, 300, 750)
- 2 Kinoflo Diva Units
Sound
Results
Once our remarkably Sean Young-like actress sat down, Seth made final adjustments to the lighting and atmosphere -- cigarette smoke was blown, lights were dimmed or moved closer as needed, a stray hair or two were fixed in place -- and the image was shot.
So how did it come out? See for yourself!
Here's an instructive video Seth provided showing how each light element adds to the image (the color has been desaturated to emphasize the lighting):
Here's the video pre- and post- color correction:
And the final image, post color correction:
What Did I Learn?
A powerful image, a subtle image, a compelling image -- skillful lighting accomplishes all of that and more. It's always a thrill for me to watch the process of shaping and molding the image on set, and this was no exception. I haven't had as much hands on lighting experience as I would like, so any chance I get to do it myself, or, as in this case, watch someone far more skilled and experienced do it, it's a treat!
I must say we came up with a beautiful image in its own right, and one that compares favorably to the original. While the most important aspect of the shoot was the lighting process, I was incredibly pleased with the final result.
In terms of what I learned, I got a better grasp on how one can determine the position of a light based on shadows being cast on the face, as well as identifying the quality of a given light source based on how the light "wraps" itself around an object. You have to really study the light, and understand how the light affects your subject along with your perception of the subject -- that's definitely something that comes with practice, as I found myself continually surprised by how slight adjustments morphed the vibe of the image.
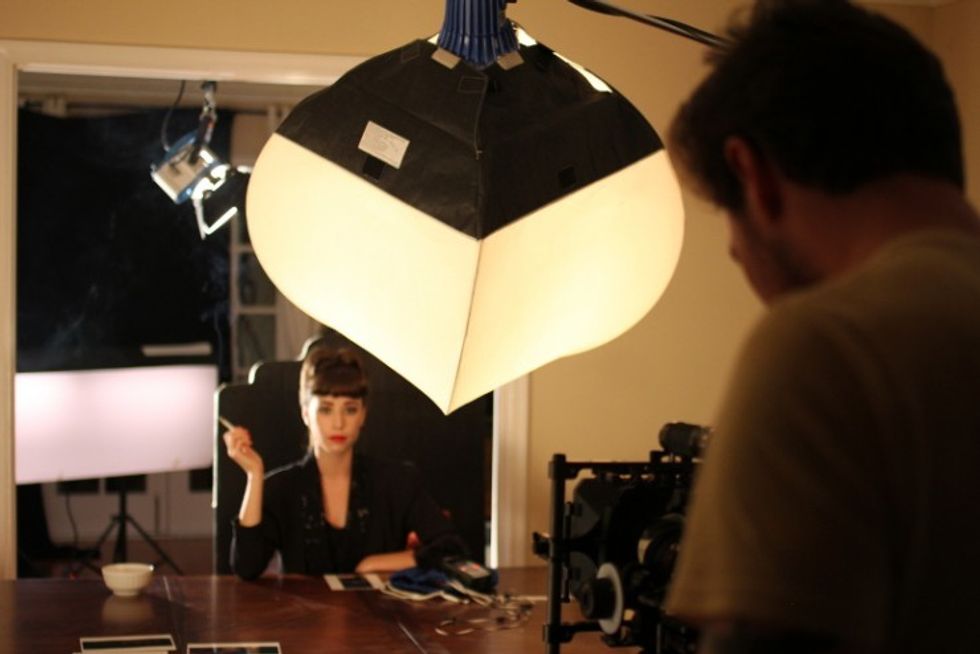 China ball placed in front and above "Rachael" (overhead kicker and horizontal light can be seen in background)
Beyond the physical aspect of the light, seeing how a strategically placed light can help objects pop out more (i.e the overhead kicker) was equally enlightening. It was great to be able to look at the original image, and "see" how each light element is paralleled in our reproduction and how it helps build up the final image. For me, the reverse-engineering process was a great way to understand how lighting comes together and how I can use those underlying principles to create my own original images.
Now, was it an exact reproduction? No. Beyond more obvious limitations such as shooting on video vs film, working within a confined space vs a large one, there were technical details that if were to re-do the shoot we could probably resolve. Could we have gotten closer? Seth sent along some thoughts about what could have been done differently afterwards. Key issues he identified:
Warmth of image
The reference material we used during the shoot -- the printed out screenshots -- ended up being a lot warmer than the original footage. Seth pointed out:
I should've just had the Blu-Ray pulled up on the best monitor I could find for reference. I got too far away from the source material. This resulted in an image that was far too warm. And because I was working with color temp that's baked in (Panasonic GH3) it proved difficult to get the image back to what it should've been.
If we'd caught this on-set, it would have been a relatively easy fix to adjust the white balance to something closer to the original footage.
Key light
Seth explained that the key light in the original was probably not quite as diffuse as ours, and it was also probably much stronger "It's nuclear when she blows out smoke in the scene. My guess would be that it's a 4k that's sitting a good ways away from the actress."
Lens length
The lens used [for the original] was longer than I initially thought. I was using an 85mm on a m4/3 sensor, and I needed something even longer. I suspect they were using over an 100mm lens (Super35mm film), but I can't say for sure.
Atmosphere
I regretted [...] not tracking down a fogger in time for the shoot. I really needed that atmosphere to sit there during the entire shot. You can tell with the cigarette smoke that the scene has a balance of blue light and warm skin tones, but when the smoke isn't present, the blue tones are gone.
Conclusions
This was an incredibly informative and rewarding exercise. It goes to show that lighting principles are lighting principles, and that whether you have a crew of dozens and a Hollywood budget behind you, or a skeleton crew, Arri Softbank kit and a Panasonic GH3, you can create beautiful imagery if you understand lighting.
Again, huge thanks to Seth Iliff who was incredibly generous with his time and knowledge, in addition to the good folks at Aren't We Clever who provided help and equipment, along with our lovely Sean Young stand-in, Rebecca Abraham, who also did her own hair and make-up!
Do you have a shot you'd want to try to recreate? Have you ever tried a similar exercise? Do you have any questions about the set up we used? Feel free to ask and share below!