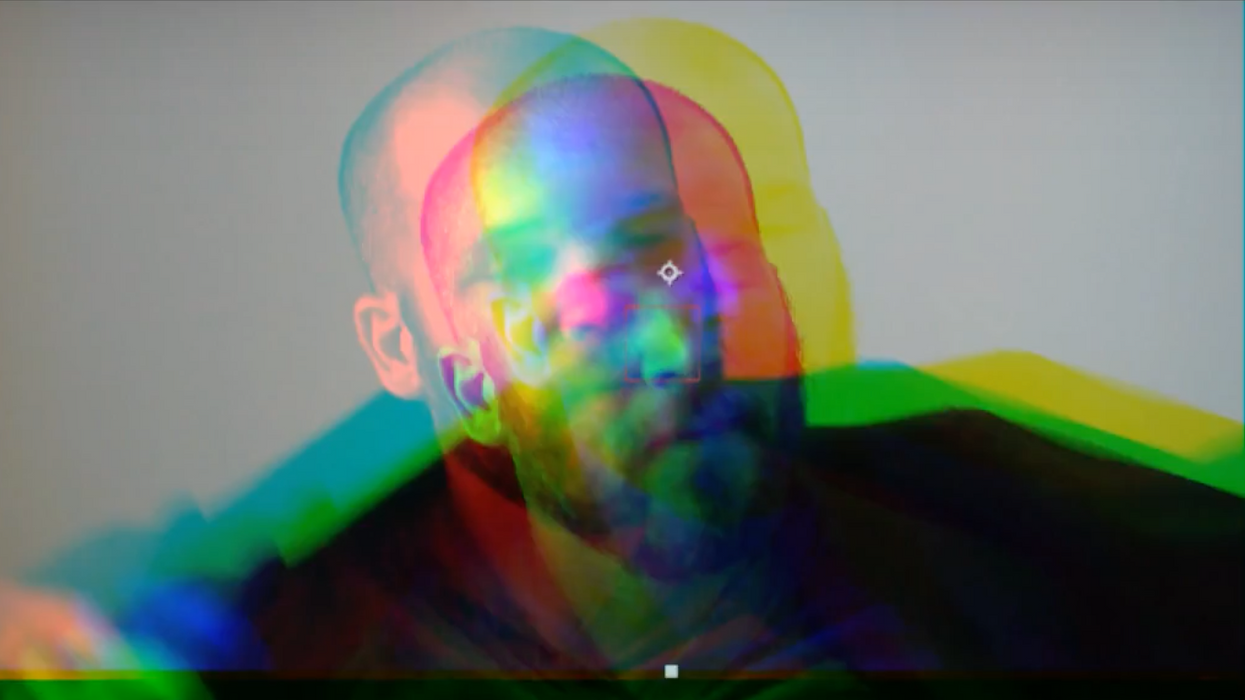
Tutorial: How to Create an RGB Split Effect in After Effects
Isolating color channels can yield some interesting results.

For this tutorial, we’ll take a look at how to create an RGB split effect in Adobe After Effects. This technique can help you create a variety of different glitch effects and transitions, or simply help to stylize your footage. Use RGB split by itself or in conjunction with other glitch effects to achieve powerful and interesting results.
Step 1: Duplicate and Rename the Layers
The first thing you need to do is create two duplicates of your original layer, as you want to have a layer for each color channel. Having a layer for each color gives you total control over the RGB split effect. Once you have all three layers created, rename them according to the varying color channels—red, green, and blue. This will help you to stay organized throughout the project.
Step 2: Isolate the Color Channels
Next, you need to isolate each color channel. To do this, add the Channel Mixer effect to each layer. This effect allows you me to turn down the value of each particular color channel. For example, to isolate your red channel, simply turn the values of green and blue down to zero. After you've isolated all three color channels, you need to change the blend mode of each layer. Since RGB images use additive color, simply change the blend mode of each layer to Add, and then you’ll be able to see the original image.
Step 3: Create a Control Layer
To avoid massive amounts of keyframing by hand you’ll be utilizing expressions. While expressions are very powerful, you will still need to have some control over them. To achieve this, create a Null Object and add a Slider Control effect on it. You can control all of your expressions by keyframing this single Slider Control on your Null Object. Next, you'll get the expressions set up.
Step 4: Add the Wiggle Expression
Now that you've got your color channels isolated and your control layer set up, it’s time to add your expressions. First, you’ll select all of the three color channel layers and open up the Position attributes with keyboard shortcut P. To add an expression to your red layer, hold down Alt and click on the stopwatch icon. The wiggle expression looks like this: wiggle (45,50). The first number represents the frequency of the wiggle, the second number amplitude. Now it's time to connect the expression to the control layer.
Step 5: Parent the Expressions
Adding a wiggle effect will create a wiggle for your layer. However, this doesn’t give you control. You want to be able to change the amplitude of the wiggle via your slider control. To do this, you need to place your cursor in the amplitude position of the wiggle expression and then drag the expression's pick whip up onto the slider effect on the Null Object. Once you release, you'll notice a new expression populate your color channel layer. Next, you’ll copy the new expression and paste in the Position expressions for the Green and Blue layers. The slider is now in control of all three layers.
Step 6: Keyframe and Fine Tune
Finally, to bring the effect to life, you'll add keyframes to your Slider Control. With the slider at 0, the expression will essentially be turned off. To create a glitch effect, you can add three keyframes to rapidly change the amplitude from zero to 100, and then back down to zero, all within 3-5 frames. You can play around to get the look you want by adding motion blur to different layers and adjusting the frequency amounts in the expressions of the color channel layers. To avoid seeing the edges of a layer, you can use the Motion Tile effect.
How did these instructions work out for you? Would you add or change anything? Let us know in the comments.


