In the below tutorial from The Slanted Lens, photographer JP Morgan shows us how to correct the white balance of an image using a color chart and Adobe Camera Raw. The process is simple and streamlined, and can easily be applied to large groups of images or even on a multi-cam video shoot. Let’s take a closer look at Morgan’s method and break it down into a few basic steps.
https://www.youtube.com/watch?v=a2cMI8qgcIU
Capture a Reference Shot
To easily correct the white balance in post, it’s important to capture a reference shot of the color chart while on location. Morgan’s SpyderCHECKR color chart acts as a constant reference to white, including 24 saturated color patches. When using a chart, it’s best to capture a shot of it every time there’s a change in the color, light, or position of your subject. In Morgan’s example, he’s shooting a subject with a variety of light sources, including a variety of different types and color. In this scenario, it’s especially important to keep a close eye on the color. Morgan has his subject hold the chart near her face in order to capture the main key light, and then he captures a reference shot every time he changes the scene. This will give him tight control over the skin tones in post.

White Balance the Image
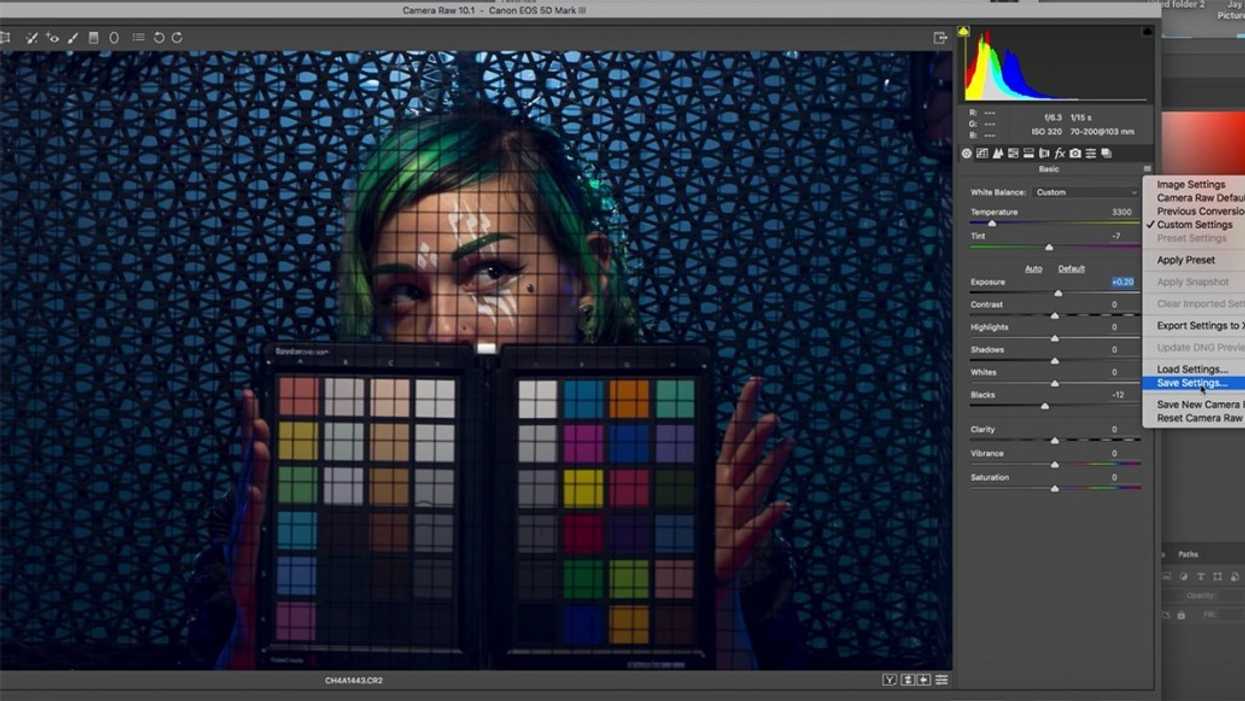
While the SpyderCHECKR color chart includes its own software, it’s not necessary to use. You can do everything you need inside of Adobe Camera Raw. However, if you want to use the software, it works inside of Photoshop and Lightroom. If you’re color grading a film or video, the software will even work inside of Blackmagic Design’s Davinci Resolve editing software. To correct the white balance, Morgan will open up one of the reference photos inside of Camera Raw. Using the white balance tool, he can quickly get a white balance on one of the white blocks on the color chart. Now that he has the reference shot balanced, he can save this out as a preset.

Make a Preset
While this method works great to color correction, you’ll still need to go through and make any necessary exposure and luma adjustments. In Morgan’s example, each photo is exposed slightly different due to how the fog interacts with the light, so additional tweaks are required. And remember, all of these techniques are easily applied in a video/film environment. Once Morgan corrects the white balance of the reference image, he can then save the settings of the image and create a preset. To do this, he will go to the Camera Raw settings menu and select Save Settings. After selecting a name and location, he now has his preset. To apply, he can simply go to the same menu and select Apply Preset. He can even process large numbers of photos using this same preset.
Do you use color charts? Let us know in the comment section!