This is a guest post by producer/colorist Jay Friesen.
 There are a lot of great tools out for grading and finishing. Cineform’s First Light has been out for a while now and Red Giant’s LUT Buddy was just released. Technicolor also released their CineStyle profile for Canon DSLRs and their documentation talks about using the included Look Up Table (LUT) in the post processing of your footage. The new Sony F3 will soon have a firmware upgrade that enables an uncompressed 4:4:4 S-LOG mode that utilizes LUTs. So, what exactly is a LUT?
First of all what is a LUT and what are its typical uses?
LUT means “Look Up Table.” It’s helpful to think of it like a math problem: R= S+L
“R” being your result or what you want to attain.
“S” being your source or what you start with.
“L” being your LUT or the difference needed to make up between your source and your desired outcome.
In all cases of LUT use, the LUT is the means to make up the difference between source and result.((All cases assume the colorist (or you) is grading through a correctly calibrated monitor for evaluation and finishing. LUTs in no way replace proper calibration or color correction. They only assist in the process.)) It’s never the result by itself. How does this play out? I’ll layout a couple probably over-simplified examples:
Color Correction
A very common example is printing your final film to…real, actual film. Print film came in a variety of flavors and styles. Each style had different nuances in color. The film lab would have all that nuance information or be able to send you a print test to work with. That would be your final result. The colorist grades a picture on his calibrated monitor but if he were to send that to print, it could come out looking far different due to the nuances of the physical film.
So in our math analogy, his graded film is “S” and his film print is “R.” He then uses the information from the film lab or on his own, creates and applies the LUT or the “L” to get him from his graded film to the print and to have it look as intended after it’s on the physical film. After applying the LUT, his graded film may look awful on his monitor, but will come out correct on the film print.
Color Calibration
The other option our colorist could take is to apply his film information to his monitor first -- before starting in on his color correction -- so he’s grading as if his movie is already on film. It looks good to him on his monitor now, but if he were to grade the entire film and then upload it to the web or play a different project through his monitor, it wouldn’t look correct because he applied his LUT to his monitor first. While this is a common method to calibrate monitors for normal REC709 and P3 grading, that’s more advanced than I want to get into right now.
Summary
The key takeaway here is that LUTs are not used to creatively grade a final result, they’re used to make up a difference between a source and a result. In practical application -- with the CineStyle profile, for instance -- the LUT will let you view your footage during editing more naturally than the flat, desaturated image originally recorded. However, it’s best to remove it for final color grading and rely on your properly calibrated monitor to tell you what color it is and yourself to determine what color it should be. If not used carefully, improper LUT use could screw up your footage or limit your image manipulation options in post.
Nobody says you can’t apply a LUT for a creative grade, but be forewarned: if your shots don't match each other to begin with, they're not going to match after you’ve applied the LUT. In this instance, you’ve basically turned the LUT into a glorified color correction filter, which is not what it's intended to be.
 Jay Friesen is a professional colorist with a Davinci Resolve for Mac suite with LUT Calibrated Plasma and SXRD projection technology, working out of his house because it's cooler to work from home. Enabling productions via a massive network of professionals for full-range projects. This post originally appeared in a slightly different form on his blog.

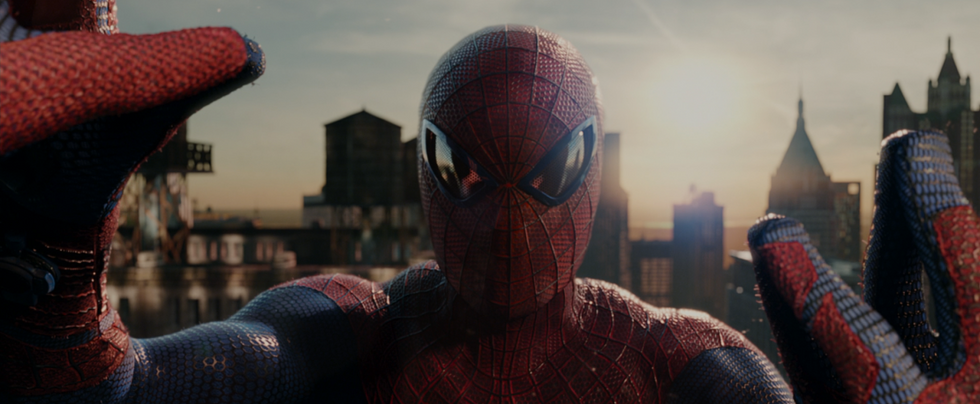 'The Amazing Spider-Man' (2012)
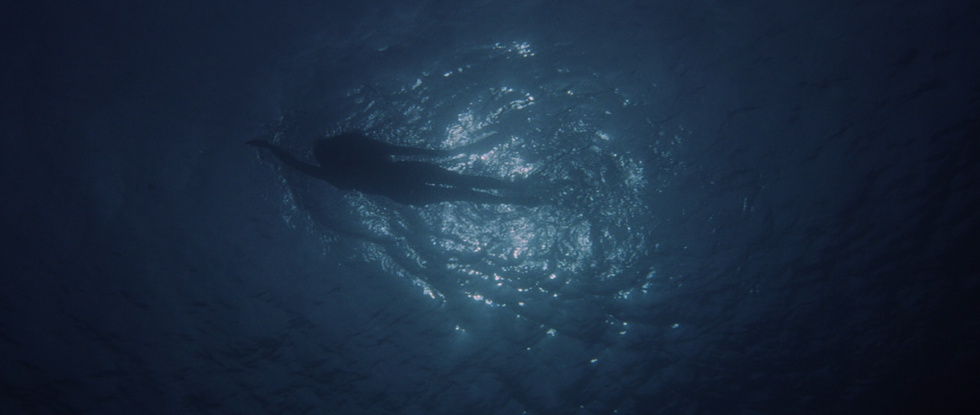 'Jaws' (1975)


