9 Cinematography Tips for Directors with No Space & No Budget

Over the past few years I've contributed articles focused on my experience independently promoting and distributing my previous two features, The Graduates and Turtle Hill, Brooklyn. But before an indie filmmaker can distribute their film, they have to shoot it, and one of the biggest challenges on features of any size is the cost of creativity -- the demands of production can make it extremely challenging to take the time to visually articulate moments, scenes, sequences and themes the way you dreamed up in pre-production.
On my most recent feature, Drinking Games, we faced this challenge constantly -- we made the suspense-filled drama for under $100,000 in twelve days, on location inside a real dormitory. My cinematographer Andrew "Tank" Rivara had to light tiny rooms for the RED, while the budget and the clock were working against us from the beginning! While touring the film at various colleges and film schools prior to our digital release, the audience reaction was incredibly positive, and two big questions kept popping up:
- How did we create a film look on a low budget?
- Was it hard to film an entire feature in such a small space?
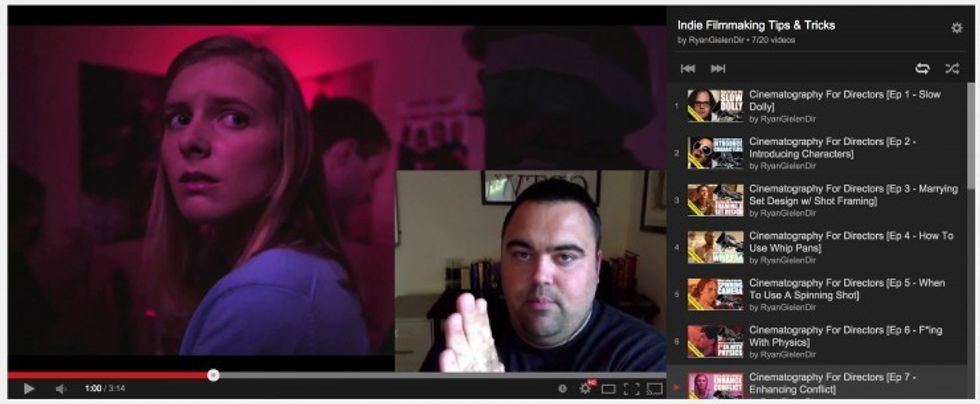
Given the challenges we faced, the questions we received, and our success (I admit, I'm biased) in making the film work, I decided to put together a series of five to ten-minute videos focusing on the scenes that best highlighted our use of the limited tools we did have -- a jib, a dolly, the RED, good lenses and creativity -- to help those who may face the same challenges.

My hope is that whether you like the film or not, the thought processes behind these nine sequences help you make decisions when preparing to shoot your narrative short or feature with too little money and too little time. Feel free to post any comments, questions or feedback in the comments section and I'll reply over the next couple days.
UPDATE: Drinking Games Cinematographer Andrew "Tank" Rivara sent me a nice, detailed note about his approach to lighting and shooting in such a small space. Great blurb and a must-read if you're interested in the videos below!
"I mainly used the desk lamps that were in the room because we didn't have the time to move around a fresnel unit, not to mention the space and heat issues. We controlled the desk lamps with lighter diffusion grades and black wrap, and all practicals were hooked up to dimmers. We swapped out bulbs regularly. Notably, we used clear glass bulbs for Noopie driven scenes later in the film to get harsher key lights. Sometimes this came out a touch uglier, but these bulbs felt right. We rewired the top fluorescent fixtures and rigged up a China ball that we jammed into the ceiling panelling, which was then controlled by the switch on the wall that actors could control. This was our main ambient light for the beginning of the film. We grip armed in 10'-18' China balls often, including a red polka dot one from Pier 1 that gave us a heavily saturated red fill light. We used small bounce and neg fill items often. Another interesting lighting issue was keeping out the daylight from our window, but still slow for Noopie to throw the phone out this window. All dorm room scenes were shot during the daytime, so this was a problem. Fortunately, the dorm room was located on the first floor, so we chose to build an 8'x8'x8' duvetyne box outside the window so that Rob could interact with it."
Thanks, Tank!


