Exposure & Contrast Issues? Blend Modes Might Just Be Your New Best Friend
There are many simple methods to perform color and exposure correction on your footage.

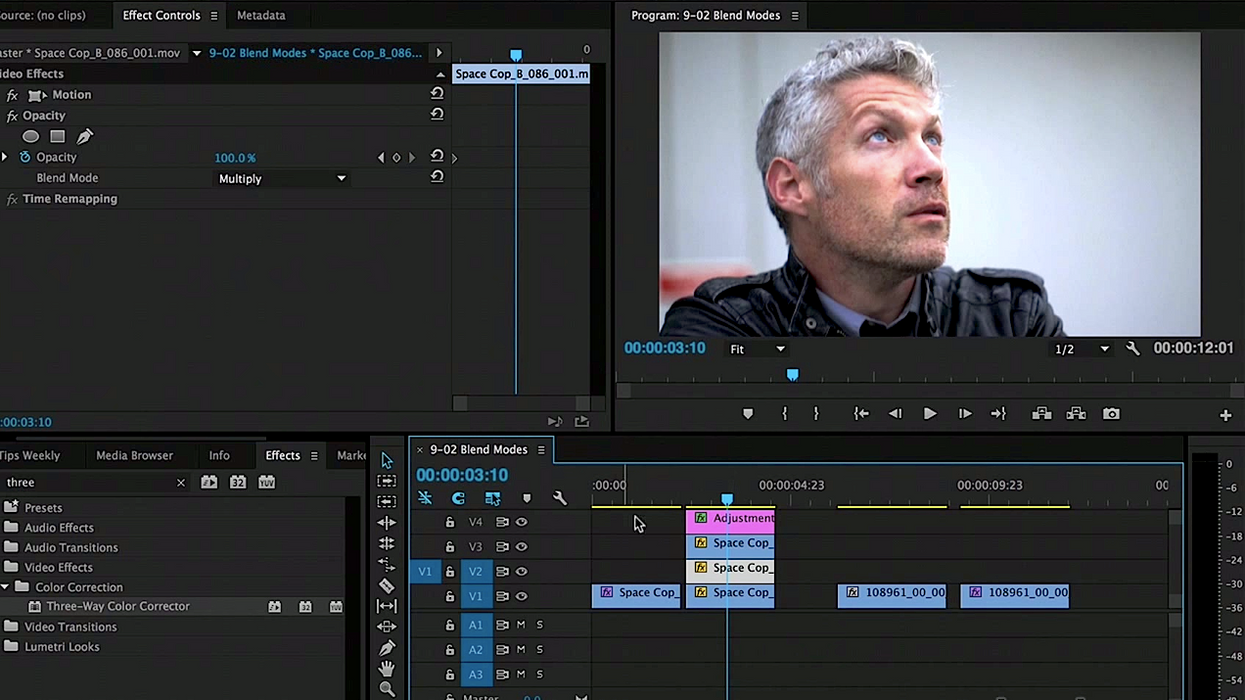
However, if you're a control freak (which, let's be honest, many of us are), then layering your footage and using blend modes to mesh the layers together can provide unique and visually-pleasing results that can't easily be achieved in any other way. In her fantastic recurring Lynda series, Video Post Tips Weekly, Ashley Kennedy recently shared some extremely helpful tips for using blend modes to correct exposure and contrast issues, as well as some tips for using blend modes to create color casts.
There are a few caveats to performing exposure and contrast correction using blend modes. First and foremost, it is incredibly time-consuming. Unlike other native color correction effects in Premiere Pro, you can't simply apply this effect in an adjustment layer, put it on top of your footage, and call it good. You need to duplicate each an every shot, layer them directly on top of one another, manipulate the blend mode and opacity to get the aesthetic you want, and then manipulate the color of the shot with color effects and an adjustment layer. Of course, you can always copy and paste the attributes of the opacity effect in Premiere to other clips so that you can move your exact blend settings from one clip to another, but it's time-consuming none the less.
The other issue that you would need to watch out for when using this technique comes from the fact that having so many video layers in an edited timeline can cause problems if you need to make changes by trimming clips or rearranging the order of clips in your timeline. Unless you want to trim or move each clip on its own, you can simply select all of the clips that you want to change, right click, then either link them all together or nest them in your sequence.
Have you guys used blend modes to correct exposure and contrast issues in your footage? How else have you used blend modes to solve problems or creatively enhance your work? Let us know down in the comments!
Source: Lynda


