Tutorial: What Do You Do with a LUT Once You Have One?
So, you've downloaded some LUTs to use for color grading. Now what?
Even though LUTs (lookup tables) are not the most complicated tools to use in post-production, they can be a little tricky if you aren't exactly sure what to do with them once you have them. Editor Casey Faris has got you covered, though, in his latest video tutorial, in which he gives a step-by-step walk through of the process of downloading and applying LUTs to your footage. Check it out below:
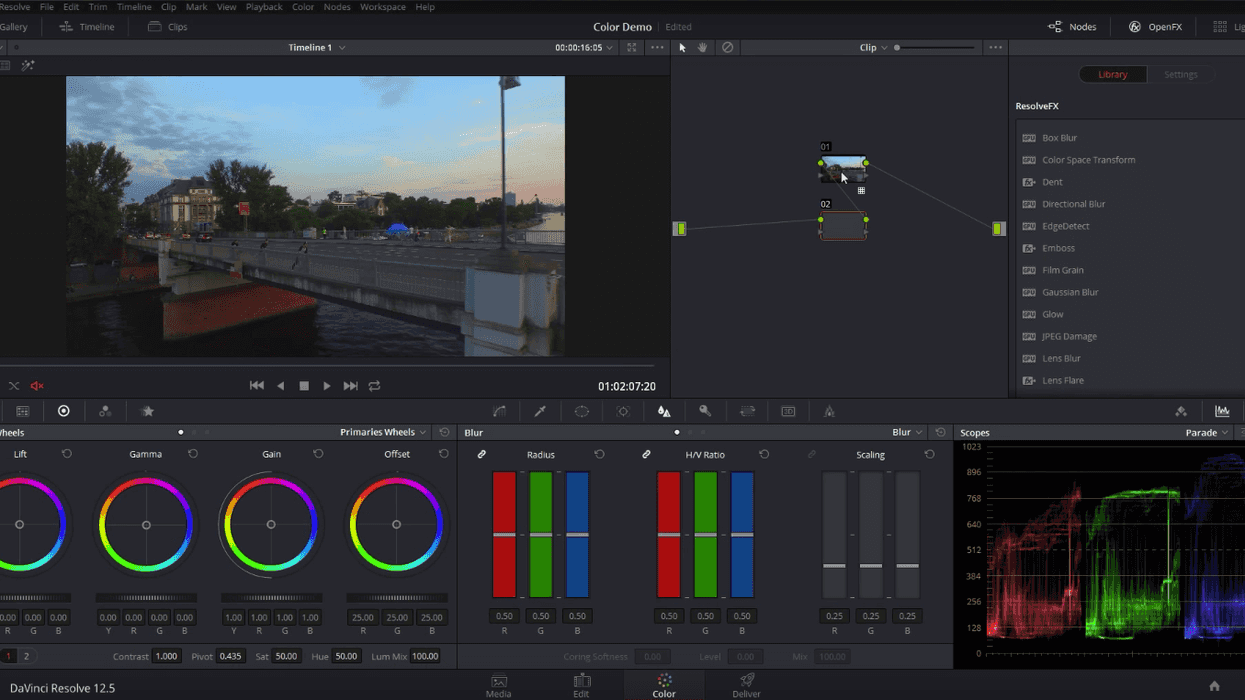
If you're completely unfamiliar with LUTs, they're basically filters that you can apply to your footage in order to change the way the colors look—that's a super simplified description, but we'll leave it at that for now. You can download LUTs from countless places on the internet (Faris even offers his for free on his site, Ground Control) and even though Faris uses DaVinci Resolve and Adobe Premiere Pro in the tutorial, you can apply LUTs in just about any NLE.
The process of downloading and apply LUTs is pretty simply once you know what you're doing, but the important thing to remember is that LUTs are not programs, so you can't just double click them in order to use them. They're simply a table of values that tells your computer to change the colors of an image, so you have to take a few extra steps in order to apply them to your footage, like updating your LUT folder inside your NLE, and then selecting the LUT from the drop-down list. (This may vary based on the post program you're using.)
But there you go! A quick and easy explanation of how to utilize a LUT after you download it. Now the fun part—collecting a ton of sweet looking LUTs and applying all of them to your footage because maybe you've never used a LUT before and you have no self-control. Enjoy!
Source: Casey Faris