Here Are 5 Simple Color Effects You Can Do in Adobe Premiere Pro
If you're just starting out, these color effects are not only super easy to pull off, and don't require any plugins.
Designing a great color effect can be pretty complicated. The easiest part is making sure you have everything you need, whether it's a plugin or additional software, but actually figuring out which levels to adjust and which buttons to push can be incredibly frustrating. That's why this tutorial from Justin Odisho is so excellent, because he not only shows you how to create a handful of very easy, very stylish color effects, but you can do it all without any expensive third party tools. Check it out below:
For all of my fellow lazy filmmakers out there, you might be happy to know that all of these color effects can be done using the built-in effects in Adobe Premiere Pro. These are the ones Odisho demos in his tutorial:
- Channel Blur: For a cool 3D effect
- Leave Color: For isolating a single color
- Tint: For giving your shot a stylish tint
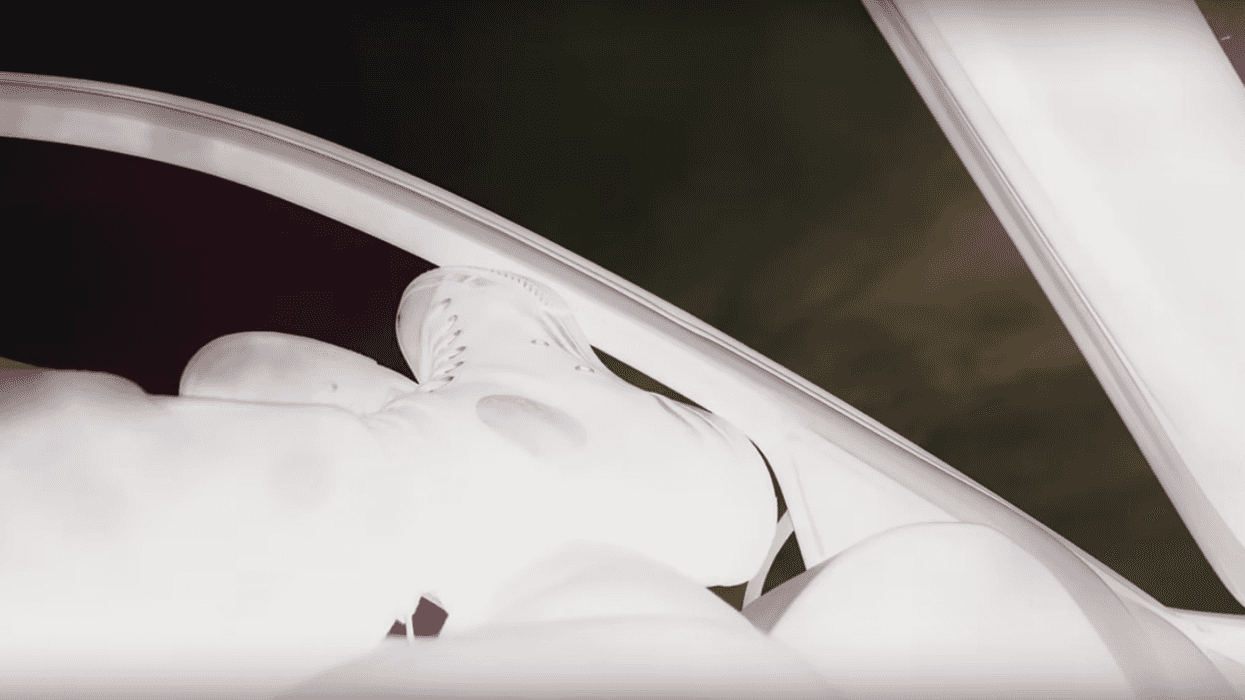
- Invert: For many different looks, whether you want "X-ray" or even a subtle color correction
- HLS Shift: For adjusting hues in rotations
Even though some of these tools are used to produce—how do I put it delicately—played out effects (isolating colors is so 2000, right?), Premiere Pro gives you enough control to adjust them a little to do different things.
For instance, you might look at the Invert tool and think, "Cool, next time I make a grunge rock music video from 1991, I'll be sure to use it." However, Premiere Pro allows you to invert individual color channels, hue, luminance, and chrominance, which gives you many different options for creating unique looks.
What are some other easy color effects that can be done with Premiere Pro's built-in effects? Let us know in the comments below.
Source: Justin Odisho