Introducing Premiere Pro's Essential Graphics Panel (And How to Use It)
Create and customize text with Premiere's new Essential Graphics Panel.

Premiere Pro has an entirely new graphics workflow, which now gives editors the ability to work with text directly in the Program Monitor. With Premiere’s new Essential Graphics panel, create text with a Type tool and then customize. Control the positioning of your graphic elements with Align and Transform options, and refine the design with a variety of appearance properties. Quickly save and reuse graphic layouts with Master Text Styles and Motion Graphic Templates.
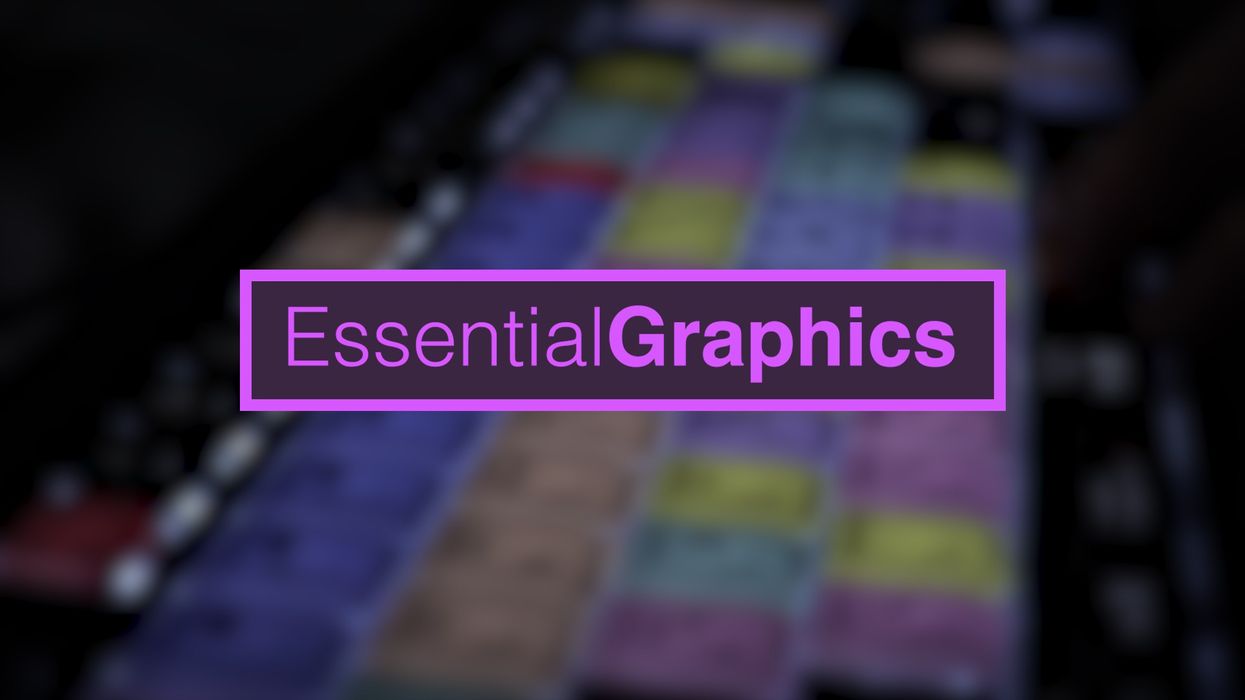
Let’s take a closer look at how we can use Premiere's new graphics workflow to create the image above.
Type
Premiere’s new Type tool is located in the Tools panel. To create the new text graphic, simply click directly in the Program monitor and start typing. Once you've typed the word Essential Graphics, a new graphic clip will appear in your timeline. However, unlike the previous Titler panel, creating text with the Type tool will not create a master graphic clip in the Project panel. To further control the format and design of your text, select your clip in the timeline and bring up the Essential Graphics panel by selecting Window > Essential Graphics.
Now, you're ready to design the text graphic.
Design
The Essential Graphics panel offers plenty of customization features, including Align, Transform, and Appearance options. You can adjust the font, tracking, kerning, and leading, as well as the fill, stroke, and shadow options.
First, center your text with the Align Vertical and Align Horizontal buttons; then, change the font to Helvetica. Next, change the word Essential to a Light Helvetica and the word Graphics to Bold. There are a plethora of other options, but we need to focus on adding a few layers prior to applying finishing touches to the overall design.
One of the most powerful features of the Essential Graphics panel is the Motion Graphics Template library.
Layer
Unlike the previous Titler dialogue box, the new Essential Graphics panel allows you to layer text and graphic assets all within one clip.
To add a layer to your graphic, use the New Layer button to create a rectangle shape. Using the Selection tool, resize the shape to fit around the text. Next, drag the layer underneath the text layer. (The layer order in the Essential Graphics panel works exactly as it does in the timeline, with the top-most layer displaying in the foreground.) Finally, add a stroke to the rectangle and adjust the width and colors accordingly.
Save
For the last step, save your final graphic as a template for later use. Select the graphic clip in the timeline and choose File > Export > Motion Graphics Template. Once saved, you can find the template in the Essential Graphics panel under the Browse tab.
One of the most powerful features of the Essential Graphics panel is the Motion Graphics Template library. The collection includes a number of Motion Graphic presets, including news, sports, and video game packages, as well as lower thirds, slates, and titles.
Saving your graphic as a Motion Graphics Template will save all of the layer, animation, and text information. To reuse, simply drag the template into your timeline and change the text in the Essential Graphics panel.

 'Aliens'CREDIT: 20th Century Fox
 'Promising Young Woman'CREDIT: FilmNation


