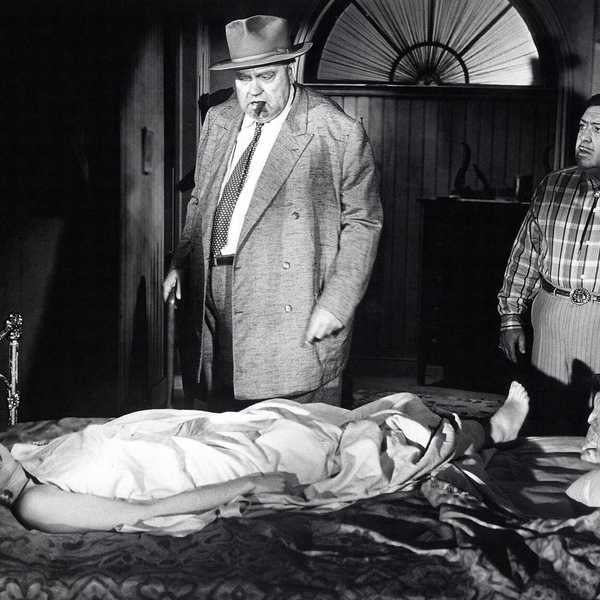
I’m currently cutting together a short-form political documentary, but I have a problem. Unfortunately, the majority of the assets with which I have to work are photographs. How can I make a film visually appealing using just still images? Well, I could go through and add simple scale, position, and rotation animations, but let’s say I want something a little more dynamic, but still subtle.
One method I can use is the 3D effect. To give my photograph a (fake) three-dimensional look, I’ll need to quickly dissect it in Adobe Photoshop. This technique allows me to give a photograph the illusion of depth and opens up a plethora of animation options in the process. Let me elaborate.
This method is very comparable to the popular parallax method. Whether you know it or not, you’ve most likely seen parallax in action. It essentially gives the illusion of depth by moving foreground and background objects at varying speeds, and you can currently find it being used heavily on popular websites. Web designers use the technique to bring objects to life as users navigate through a site. Check out this awesome example put together by a group of student designers from the University of South Dakota in collaboration with NASA. While not exactly the same method, this 3D effect is a very similar concept.
In a few simple steps, I can quickly tear apart my photograph inside of Adobe Photoshop, breaking it up into multiple layers. By isolating foreground and background objects in the photo, I can then bring these layers into Adobe Premiere Pro and animate them separately. Once I have my layers in Premiere Pro, all it takes is a few keyframes to quickly add life to a rather boring image. Let me show you step-by-step how we can apply this effect.
Step 1 - Isolate the Foreground
The first thing I need to do is open up my image in Photoshop. Since I’m cutting in Premiere Pro, I will select my image and go to Edit > Edit in Photoshop. Now I can isolate the subject from the background. To do this, I will first duplicate my background layer and rename the new layer "Obama". This new layer will serve as my isolated subject which will reside in the foreground.
To separate Obama from the background, I’ll grab the Obama layer and then select the Quick Selection Tool. Now, I could use this tool to quickly make a selection, or I can press the Select Subject button at the top. Remember kids, work smarter, not harder. After the Select Subject button does all of the heavy lifting for me, I’ll do some fine tuning with the tool. Now I can get rid of the background by simply inverting the selection (Select > Invert) and then pressing delete.

Step 2 - Clean Up the Background
With my selection still active, it’s time to work on the background. First, I’ll turn off the visibility of my Obama layer and then I’ll grab the background layer and turn it on. For this layer, l need to delete my subject and then fill in the hole so it looks relatively seamless. I’ll re-invert my selection by going to Select > Invert. To avoid the edges of my selection causing any trouble, I’ll expand the selection by 35 pixels. I can do this with Select > Modify > Expand.
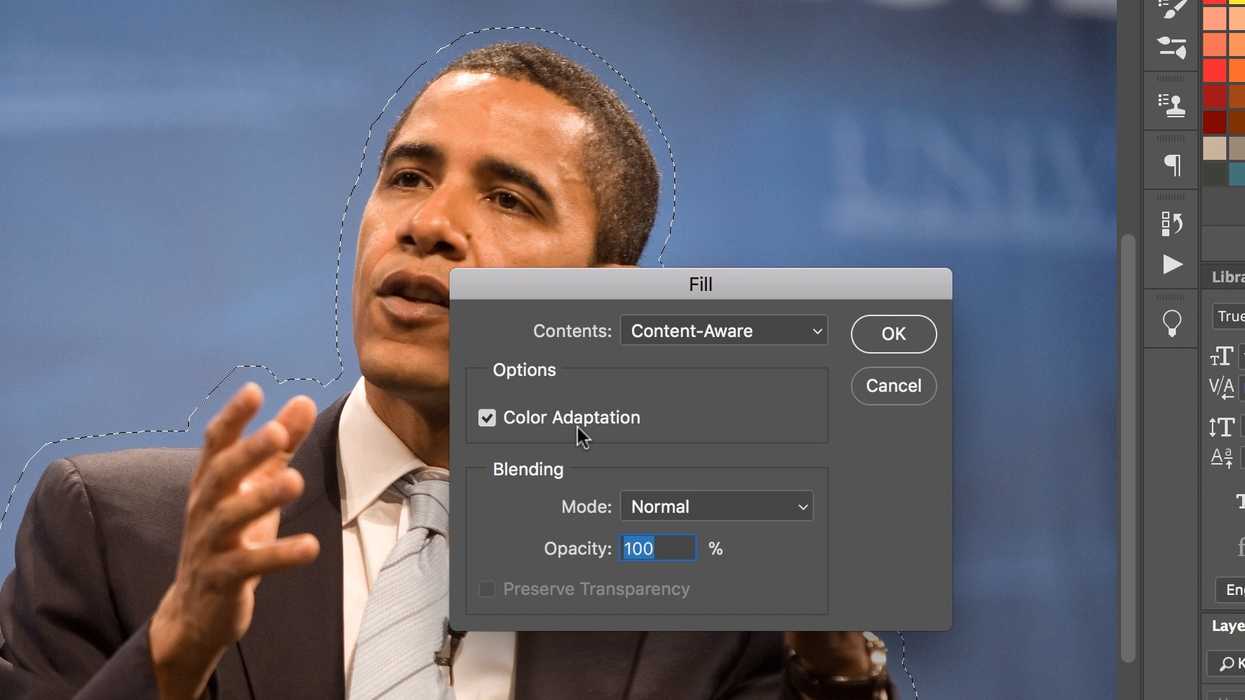
Next, I’ll erase my subject by going to Edit > Fill. Once the Fill dialogue box comes up, I’ll make sure that Contents is set to Content-Aware. Once I click OK, my subject will be covered up. You’ll notice right away that the fill isn’t perfect. To smooth things out I’ll go over the hard edges with the Patch and Clone tools. Once I’m happy with the results, I’ll turn the visibility of the Obama layer back on. I can now save my file as a Photoshop file, which will retain the individual layers.

Step 3 - Animate the Photo
For the last step, I’ll go back over to Premiere Pro and import my Photoshop file. Once the Import dialogue box is active, I can specify to have my file import as individual layers or in a layered sequence. I can further specify if I want the footage dimensions to match the size of the photoshop document or the size of the actual layers. I’ll select Import As Sequence with footage dimensions matching the document. This will keep everything aligned and in its proper position once imported back into Premiere Pro.
For the last step, I’ll open up my sequence in Premiere. I can now see the two graphic layers ready for animation. To bring the layers to life I’ll open up the Effect Controls panel and add a simple scale animation to the Obama layer, and a small position animation to the background layer. Voila, I now have a very basic three-dimensional effect applied to my image. The movement may be subtle, but it is much nicer than a static image. The beauty is in the details.

This process can be simple or complex depending on the image with which you’re working. If you have an image with good contrast on the edges of your foreground object, isolating it will naturally be easier. However, If you have other objects overlapping with the foreground subject and/or the contrast is poor, you’ll have to put in more work when isolating the layers in Photoshop.