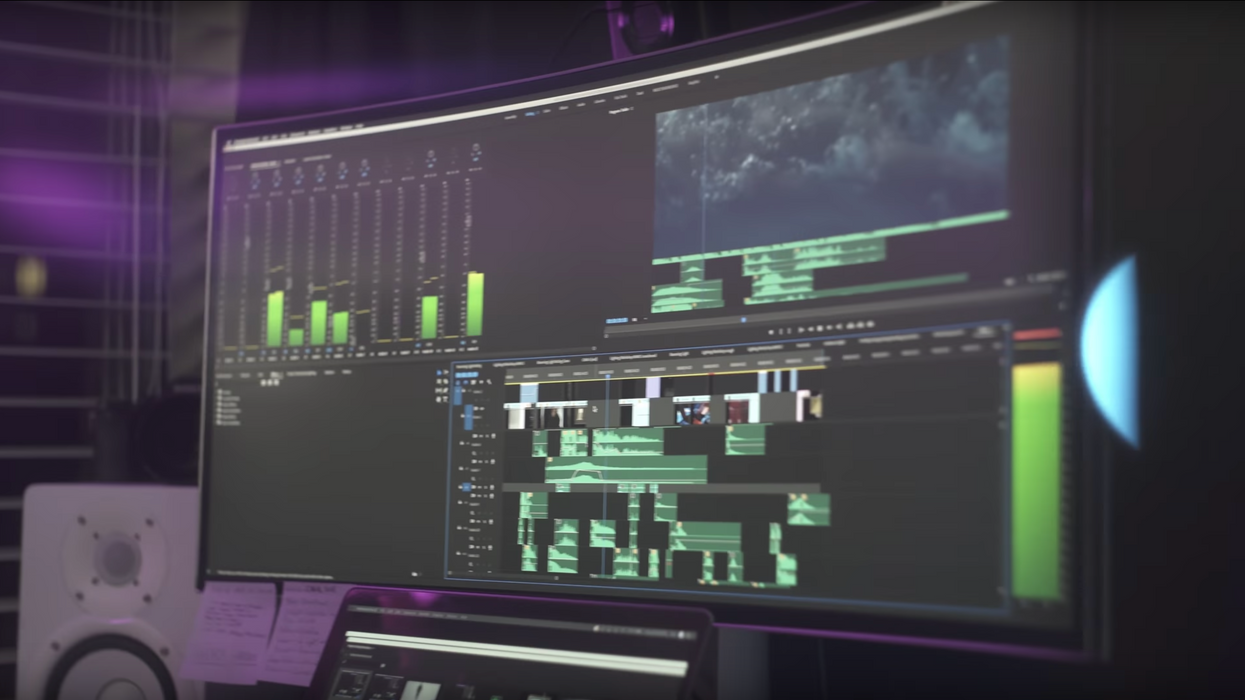
A Few Tricks That Will Help You Conquer That Massive Edit in Premiere Pro
Some projects are gargantuan in size—all the more reason to have a fast and efficient workflow.

Working on massive edits can be really intimidating with all of that footage waiting to be sifted through, imported, and arranged on your timeline. These kinds of projects naturally take a lot of time to complete, but they can actually take you less time than you think if you know how some simple methods for streamlining your workflow. In this video, Kris A. Truini of Kriscoart shares a few tips on how to tackle big projects (as well as small ones), including techniques on faster importing, stacked timelines, and more. Check it out below:
Every editor has their own unique approach to their work, but if you've wanted to find ways to make your workflow faster and more efficient, Truini certainly provides the goods in the video. Here are some of the key techniques he shares:
Faster Importing
Make the importing process a little quicker by simply dragging and dropping your files from your Finder window (or My Computer if you're a PC user) into your Project Bin. No need to go through all the drop-down menus. You can also sort your clips by name in the Bin Folder so they're easier to find. Now, before you start adding clips to your timeline, you might want to first bring them up in your Source Monitor (double click on them) so you can set In and Out points. This is a great way to give your footage a (very) rough edit before they ever even make it to the timeline. After that, dragging and dropping a clip onto your timeline will automatically match its settings to those of your clip, which means you don't have to set them manually. (Note: If you're working with multiple media sources with different resolutions, frames rates, and file types, you may want to set your timeline settings manually.)
Stacking Timelines
One thing that always seems to gum up the works, at least for me, is adding b-roll footage to my main timeline. Usually, I get a rough edit going of my principal photography, and once that's done, I begin to add b-roll where I think it should go. The problem with that is it's not only incredibly time-consuming but it can get confusing trying to edit both on the same timeline. This is why stacked timelines are so helpful, because you can use one to edit your b-roll, another to edit your principal photography, and when you want to add your b-roll, you can just drag and drop it right into your main timeline.
To do this, go to File > New Sequence (CMND+N) and give it a name that differs from your other sequence. Now, Truini shows you a couple of different approaches to stacking timelines: dragging your sequence from your timeline and dropping it into the source monitor or dragging it from your Project Bin, dropping it into your Source Monitor, then opening it up in the Timeline Panel. I personally prefer the second method, because I can monitor one sequence on the Source Monitor and the other on the Program Monitor.
Odds and Ends
Truini also mentions a couple of quick tips for faster editing.
- Your project is huge, which means there will be a lot of things you'll have to be able to recall later on. Write yourself notes to help you remember ideas and be more organized. You can use Sticky Notes and post them right on your monitor, the Stickies app if you're on a Mac, or whatever method works best for you.
- There's nothing worse than doing a ton of work only to have the power go out mid-edit or realizing your file has been corrupted somehow. To avoid this catastrophe, always backup your timeline before you make any big changes.
What are some other helpful tips for working on big projects in Premiere Pro? Let us know down in the comments.
Source: Kriscoart

 'Aliens'CREDIT: 20th Century Fox
 'Promising Young Woman'CREDIT: FilmNation


