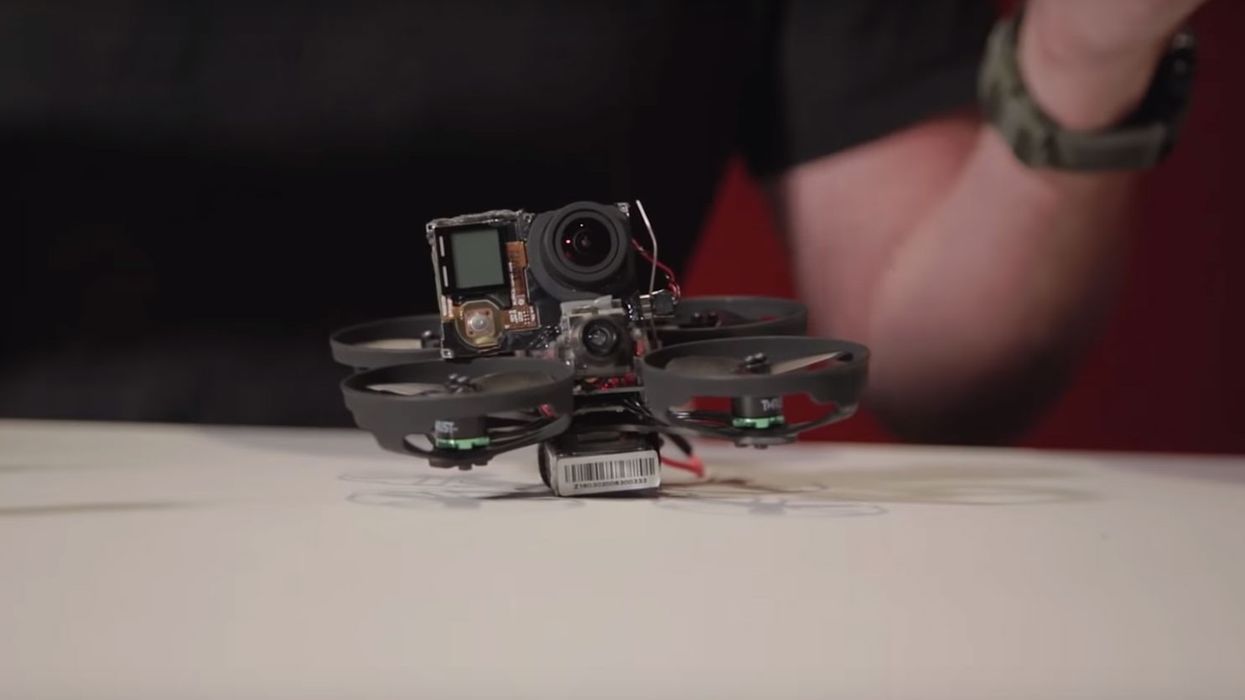
Watch: How to Build Your Own Tiny Quadcopter Drone for Interior Shoots
If you're looking for a truly unique angle, a tiny quadcopter could be the answer.

It’s hard to come up with a point-of-view (POV) angle that could surprise your audience. How do you craft the POV of a fly, for instance?
Thankfully, gear that would help you accomplish this has never before been so affordable and, for a few hundred bucks, you can build your own tiny quadcopter. Trust us, the shot will really look like the POV of an extremely fast insect flying through the air.
What you will need
Used GoPro Hero4 Black or any other action camera (Hero4 Black has probably the best price/image quality ratio for this project)
Small FPV Quadcopter (Justin uses BLADE Torrent 110 FPV Quadcopter in the video above)
Spektrum Dx8 (or another compatible controller)
Fat Shark goggles (would be nice to have these or something similar already)
Wire Snips
Hex Keys
Mini Phillips screwdriver
Double sided tape. A strong one.
Soldering Iron
Solder
Basically, you need to strip down your GoPro to the essential hardware and stick it onto the quadcopter, which will power the GoPro as well. If it sounds crazy, it probably is...but it also sounds like fun, doesn’t it?
Casey Neistat used it to film an experimental office tour and oh my… until the day I had seen this video, I had never before felt so much like a fly. The responsiveness that you can get from a tiny FPV quadcopter is much better than a regular drone like, for example, the DJI Phantom 4 Pro.
This is not to mention that the tiny drone can fit almost anywhere and if you happen to lose control over it, the drone would probably be easily repairable (as it’s already stripped down). It’s so lightweight that the gravitation has a smaller impact on it, just like the impact of insects..
There is one step that is missing in the video above. I hope you know how to use a solder. In the description, you’ll find that the GoPro power cable needs to be soldered into the 5-volt power source going into the FPV video transmitter on the drone (it looks like a small blackboard with a black antenna). It's mounted to the inside top of the white plastic drone canopy cover.
Solder the red and black GoPro power cable into the corresponding red and black power cable for the transmitter. Once that has been completed, both the GoPro and the drone will be powered by the same battery.
By the way, you will probably need to stabilize the footage. Take this into account when planning out your post-production time; it can take longer than you'd expect. If you are using Adobe Creative Cloud, here’s the article about using Warp Stabilizer in Premiere Pro. It will smoothen the shots and make the viewing experience more enjoyable.
What are your thoughts? Is this project worth investing in? Let us know down in the comments below.


