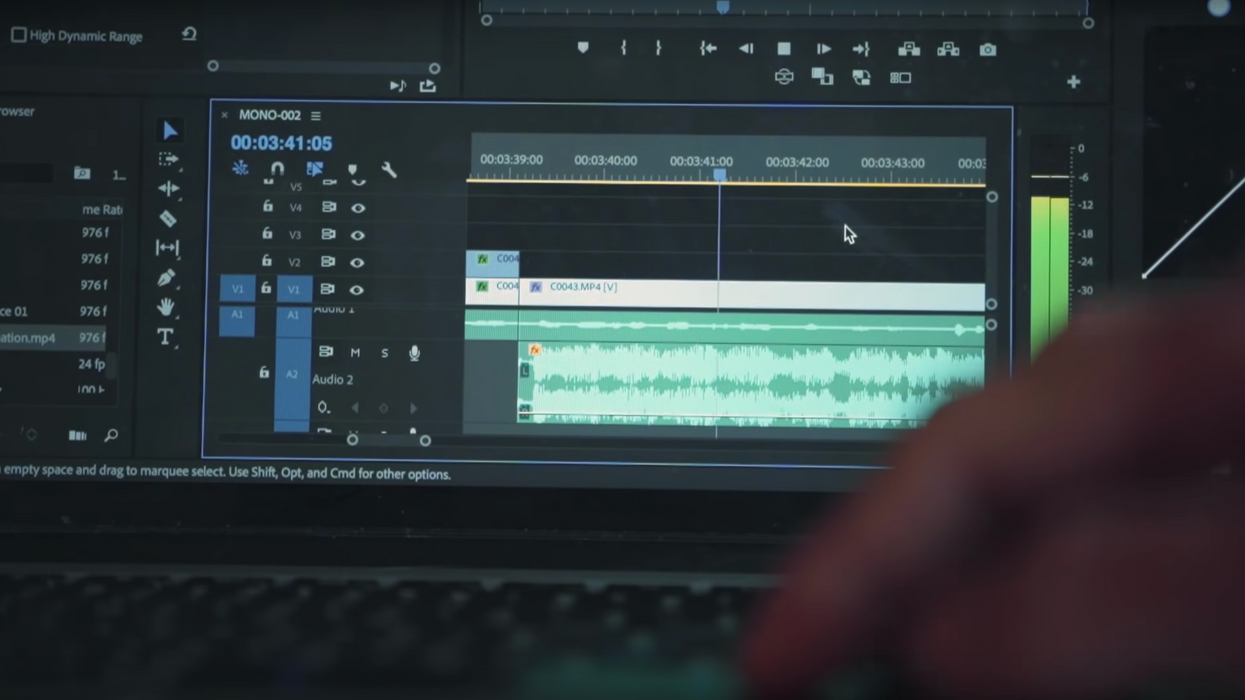
How to Use the J, K, and L Keys in Premiere Pro to Speed Up Your Workflow
Knowing how to utilize shortcuts are so important for editing more efficiently, and the J, K, and L keys are a great place to start.

If editing is starting to feel like a tedious task—well, welcome to the club. It is a tedious task, but there are ways to make it less so, like using keyboard shortcuts. Now, a lot of you are new to the whole editing thing, so let's not get bogged down with a giant list of keys that do things that you've never even heard of and wouldn't know how to use even if you had. Instead, let's start with the basics: navigating your timeline.
In this video, PremiumBeat's Zach Ramelan gives a nice introduction on how a few easily accessible keys, J, K, and L, can help you move through your timeline more quickly, effectively speeding up your workflow.
Beginner Level Shortcuts for Navigating Your Timeline
Okay, this is some 101 stuff, but if you're a newcomer, it's important to know that these keys are essential if you want to avoid having to scrub through your timeline by clicking and dragging the playhead. Something as small and seemingly insignificant as keeping your hands on your keyboard rather than switching between it and your mouse can really cut (no pun intended) your editing time down.
Here's a quick explanation of the keyboard shortcuts Ramelan talks about in the video:
- J Key: Shuttle left (plays backward)
- K Key: Shuttle stop (pause playback)
- L Key: Shuttle right (plays forward)
- Space: Play-Stop toggle
A couple of things to think about: the space bar is better than the K key, I'm just saying. You can start and stop playback with it, while K just stops playback. (However, if you like the whole linear setup, you might be into it.) Also, you can increase the speed of playback by tapping the corresponding key multiple times—the more you tap, the faster it goes.
More Advanced Shortcuts for Navigating Your Timeline
If you're an editor who already knows and uses the J, K, and L keys, there are more advanced shortcuts that will let you navigate your timeline in a more precise way. Let's go over them:
- Shift+J: Shuttle slow left (plays backward in slow motion)
- Shift+L: Shuttle slow right (plays forward in slow motion)
- Right Arrow: Step back (moves playhead one frame to the right)
- Left Arrow: Step forward (moves playhead one frame to the left)
- Down Arrow: Move selection down (moves playhead forward to next edit point on the clip)
- Up Arrow: Move selection up (moves playhead backward to next edit point on the clip)
- Shift+Right Arrow: Step forward five frames (moves playhead five frames to the right)
- Shift+Left Arrow: Step back five frames (moves playhead five frames to the left)
- Shift+Up Arrow: Extend selection up (moves playhead to next edit on any track)
- Shift+Down Arrow: Extend selection down (moves playhead to previous edit on any track)
While all of these keyboard shortcuts are helpful, the left and right arrows are a friggin' godsend when you're trying to do some really fine edits that require expert precision. Plus, they're super easy to use and remember—none of these key combo nonsense. (Okay, it's not nonsense, but I'm lazy and have dainty hands.)
If you're a pro who has been at it a long time, feel free to share the keyboard shortcuts that have helped you make your workflow faster and more efficient. Head on down to the comments!
Source: PremiumBeat

 'Aliens'CREDIT: 20th Century Fox
 'Promising Young Woman'CREDIT: FilmNation


