Earlier this month Adobe released Creative Cloud 2019, introducing major upgrades across all of their popular software applications. One of the most significant updates was given to Typekit, Adobe’s online marketplace of high quality fonts. If you aren’t familiar with the service, Typekit allowed users to sync up fonts with Creative Cloud applications on a desktop computer and also use them directly on websites.
With the 2019 release of Creative Cloud, Adobe has changed the name from Typekit to Adobe Fonts, and essentially turned the marketplace into a library. If you have a Creative Cloud account, you now have access to this massive collection (for free). Let’s take a closer look at how to use Adobe Fonts with Premiere Pro and After Effects.
Enable Adobe Fonts
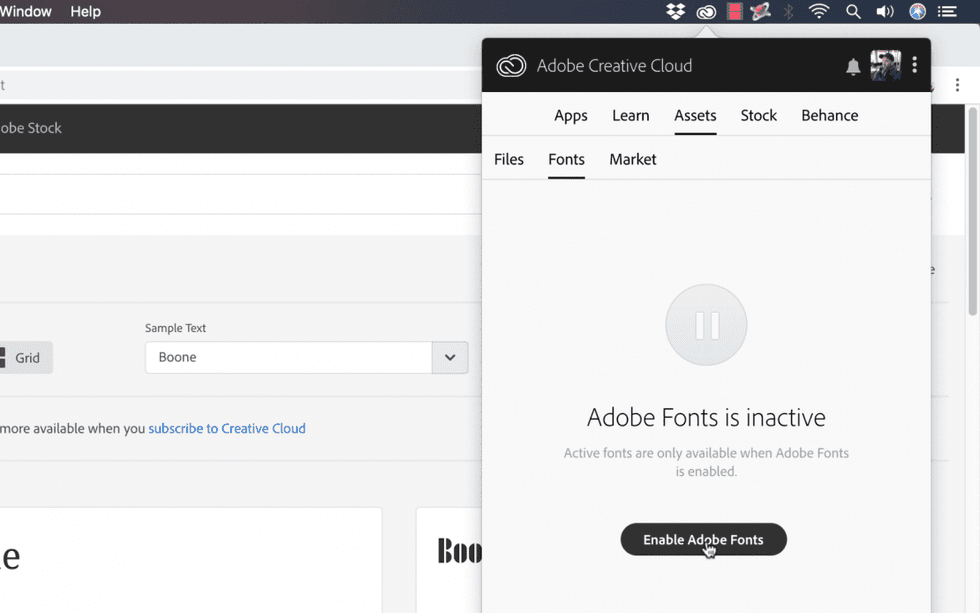
To work with the new Adobe Fonts, you first need to enable fonts via the Creative Cloud desktop application by going to Assets > Fonts. Once enabled, a link will direct you to the Adobe Fonts website. If you don’t already have it installed, download it here. Once you select and activate fonts you like, you can manage all of them at the same location in the desktop app.
Browse and Filter
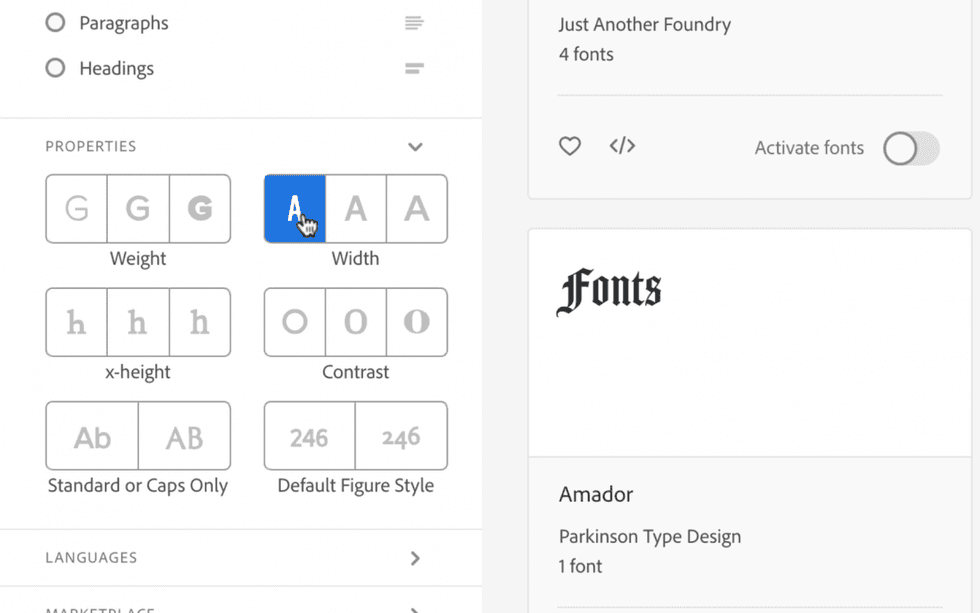
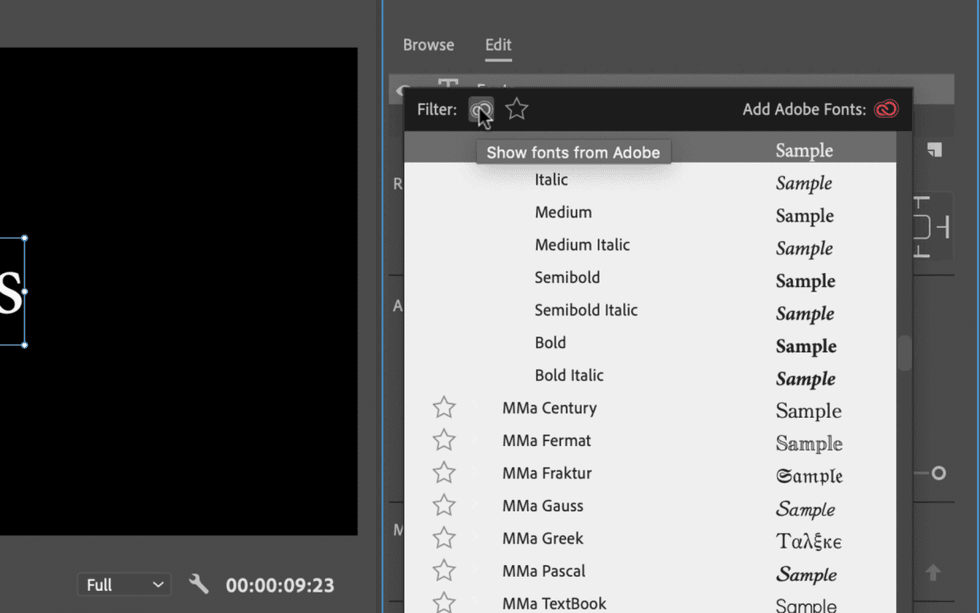
Once fonts are enabled in the desktop app, click on the Browse fonts button. This will direct you to the new and improved Adobe Fonts website. Here you can browse fonts through a variety of different categories, including classification, weight, height, contrast, and a handful of other attributes. View and change the size of sample text, and browse themed font packs curated by professional typographers.
Activate Fonts
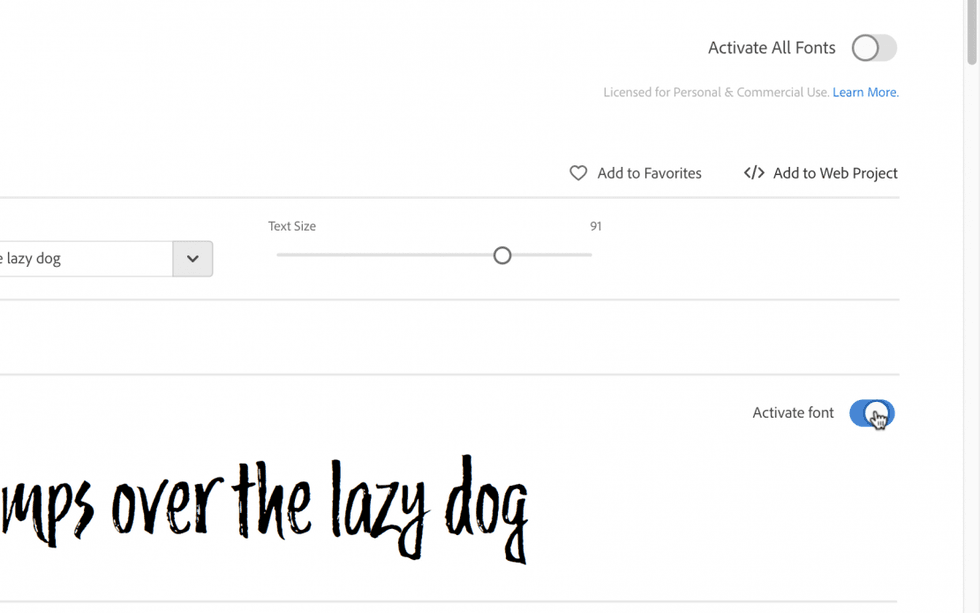
Once you’ve found some fonts you like, install them via the activate button. Activate an entire font family, or go in and activate a specific style within the family. You can view all of your active fonts by clicking on the My Adobe Fonts section of the website, or by viewing them in the Creative Cloud desktop app. Again, active fonts are ready for use in your desktop applications as long as you have the Creative Cloud desktop app running.
Premiere Pro & After Effects