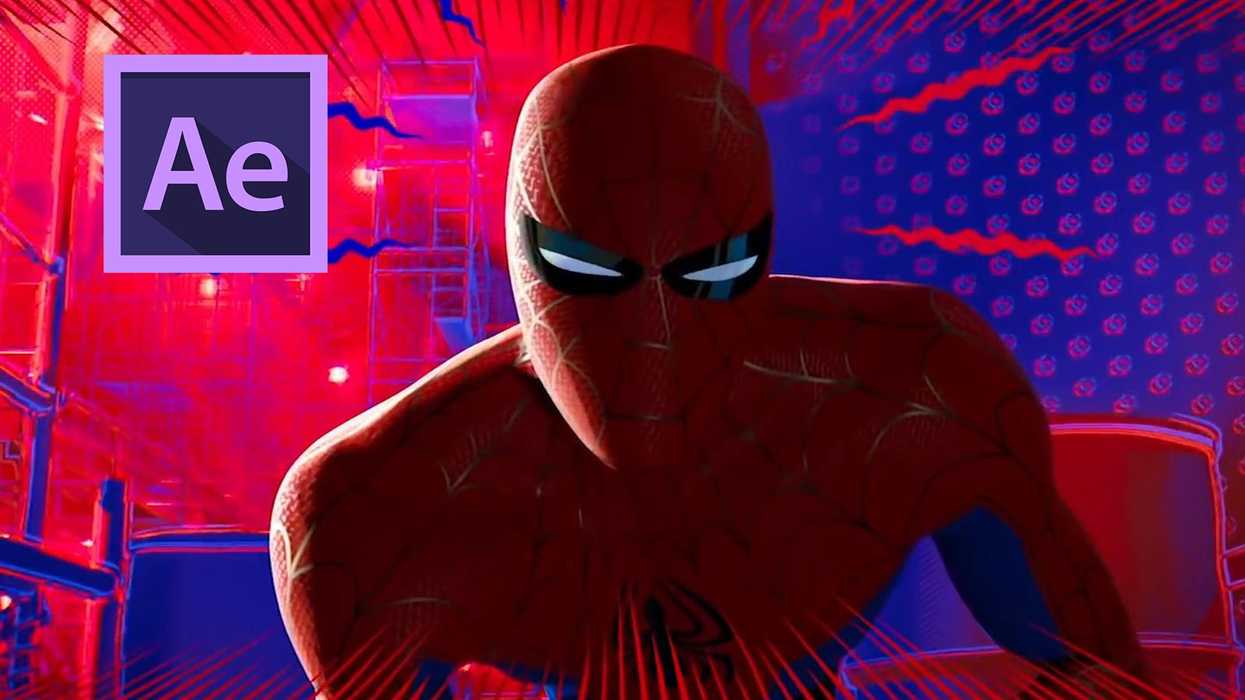
The animated web-slinger is currently in theaters and watching the film is like strolling through a comic book. Halftone, text bubbles and split screen techniques are utilized throughout, along with an explosion of blue and red hues.
One especially interesting aspect is how the filmmakers portray Spider-man’s spidey-senses, with wiggly lines animating in and around Spidey’s head. Let’s take a look at how we can recreate these graphics in Adobe After Effects.
Create the Shapes

First, I’ll create a simple line shape with the Pen tool, using the bezier handles to make the middle relatively thick. I’ll place the left end of the shape in the middle of the screen. I’ll use the Pan Behind tool (Y) to move the anchor point to the center as well. Once the shape is in place, I’m ready to add a Repeater.
The Repeater will allow me to duplicate the shape as many times as I’d like. To add one, go to the Add button next to the Contents of your shape layer. To make sure the shapes function properly, make sure the Repeater is not placed inside of the shape group. You want it just below. I’ll set the Repeater to 9 copies, offset at -1, Position at 0, and Rotation to -30.
Next, I’ll open up the Transform attributes of the shape element. Here is where I can position and make size adjustments to the lines. Adjusting X position will expand or contract the circle, while adjusting X and Y scale attributes will influence the width and length of the lines. Once I’m happy with a look, I’m ready to create a wave effect.
Add Effects

To bring the shapes to life, I’ll go to Layer > New > Adjustment Layer and then add an Effect > Distort > Wave Warp. I can create a number of different looks with the Wave Warp effect, but the main attribute I want to focus on is the direction. I want all seven lines to wave out from the center, which is a bit of a problem as the effect only allows you to wave in one direction.
To get around this obstacle, I’ll create two additional Adjustment Layers, each with the Wave Warp effect. To give the illusion that the wave is originating from the center, I’ll have one waving right (90°), one waving up (0°), and one waving left (270°). I’ll mask each adjustment layer according to the lines that their warping. Now that I’ve created the line and added some movement, I’m ready to animate!
Animate & Composite

Just as I have a number of options with the Wave Warp effect, I also have plenty of ways to animate my spidey-senses in and out of frame. The main attributes I want to keyframe are the Position and Scale properties of my individual shape element (not the actual shape layer). I can animate the lines in and out of frame via the X Position attribute, and have the lines grow and/or shrink via the X Scale property.
For the final composite, you’ll need to precomp all of the graphic elements, as the Adjustment layers will add a Wave Warp to any footage you put underneath. Also, if you're using this effect on a moving subject or a handheld shot, you’ll want to use a tracker. For this, simply select your footage and go to Window > Tracker. Choose the Track Motion button and then select a track point on your footage in the Layer panel. Click on the Edit Target and choose your Spidey Senses precomp, analyze, and apply the track. To fine tune the position of your graphic, adjust the Anchor Point of the precomp layer.
Voila, your spidey-senses are officially tingling!