This Might Be the Fastest Way to Do Compositing In After Effects
Need to do some compositing work in After Effects but don't want to spend hours animating? I've got two words for you: reverse stabilization.

Everybody knows that compositing can be a huge pain in the ass. I mean, you have to sit there and track your effect frame by frame to make sure it stays in the right place throughout the duration of your video. What? Your subject moved a fraction of a centimeter to the left? Keyframe that. Oh, and now to the right? Yeah, keyframe that. Keyframe it all until you swear off of working with film and video for the rest of your life.
There's an easy way to do this, honey...one that won't require you to abandon the magic of the moving image.
In this video, the team over at Cinecom show you a crazy simple and ridiculously quick After Effects technique called Reverse Stabilization that will have you compositing and tracking faster than ever. Check it out below:
Shit's cool, right? I mean, even in the not so distant good ol' days, being able to automatically generate tracking data was a humongous win, especially for those of us that were used to keyframing by hand. Of course, you still had to go through the process of animating your effects using that tracking data.
But this Reverse Stabilization trick takes it a step further by not only retrieving tracking data but by pretty much animating your effects for you, too.
How? In the slyest way, you guys.
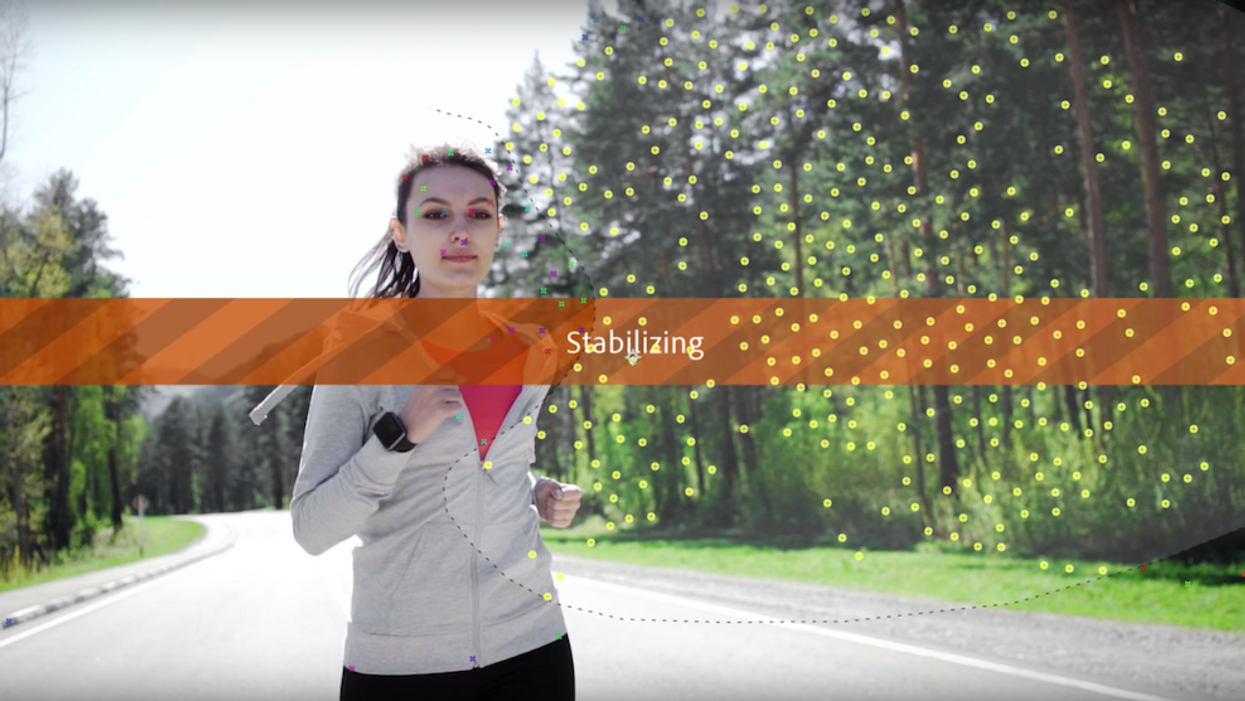
Warp Stabilizer is typically used to stabilize an entire shot, but for this technique, you're going to use it to grab the tracking data from the part of the frame where you want your effect to go. Once you delete all non-essential tracking points, you're going to use Warp Stabilizer's "Reversible Stabilization" option in the "Objective" pull-down. What does this do? It stabilizes the area that will have your effect. Now that your "effect area" (let's call it that for now) is stabilized, you can throw your effect on it without having to animate it.
"Cool post, V. I'll be sure to bookmark this for every time I want to create a weird "dancing Pennywise" effect. You're absolute garbage."
First of all, that effect is...not that bad. Second, we're not done.
Pre-compose your layers, copy and paste the Warp Stabilizer effect onto it, and then in the "Objective" pull-down, select "Reverse Stabilization."
BOOM! You see that! Your effect is now tracking with your video and you didn't have to do any animating yourself. The best part...you can add whichever elements you want after the fact and they'll work.
Source: Cinecom


 'Aliens'CREDIT: 20th Century Fox
 'Promising Young Woman'CREDIT: FilmNation


